After what was mostly a mild winter so far, here in Ohio, we finally were hit with some more typical weather. Snow for almost a week straight has blanketed the northern part of this state with a few intermittent days above freezing where it melts and drags all the dust, grime, dirt, and debris before snowing again. This means tons of salt, along with all that grime puddled up in the snowmelt, is not only all over the roads but on your car. Today, we’re going to touch on a few points, but we will mostly focus on how to keep your cars clean even in the nastiest of weather.
If you’re like me, you meticulously clean your car all year round and can’t stand to see anything inside or outside the car that isn’t supposed to be there. If you’re also like me, you work on your cars year-round, despite the weather. This past week has combined two of my least favorite things: dirty, nasty, snowy roads and being forced to drive my summer car in that weather. Yes, I made the fun decision to work on my Subaru, my winter car, a day before we had nearly six days straight of snow.
Thinking I could knock out the simple shifter modifications in an evening, I did not worry much about the weather. I had been working on the Volvo for a friend of mine and was ready to finally install a short shift adapter, shifter stop, and brass shift cable bushing to tighten up the notoriously sloppy manual transmission in my WRX. Having done similar modifications to my old WRX before, and armed with the detailed instructions for all the parts, I felt confident that I would not need more than a few hours to tackle the jobs. Unfortunately, I was wrong.
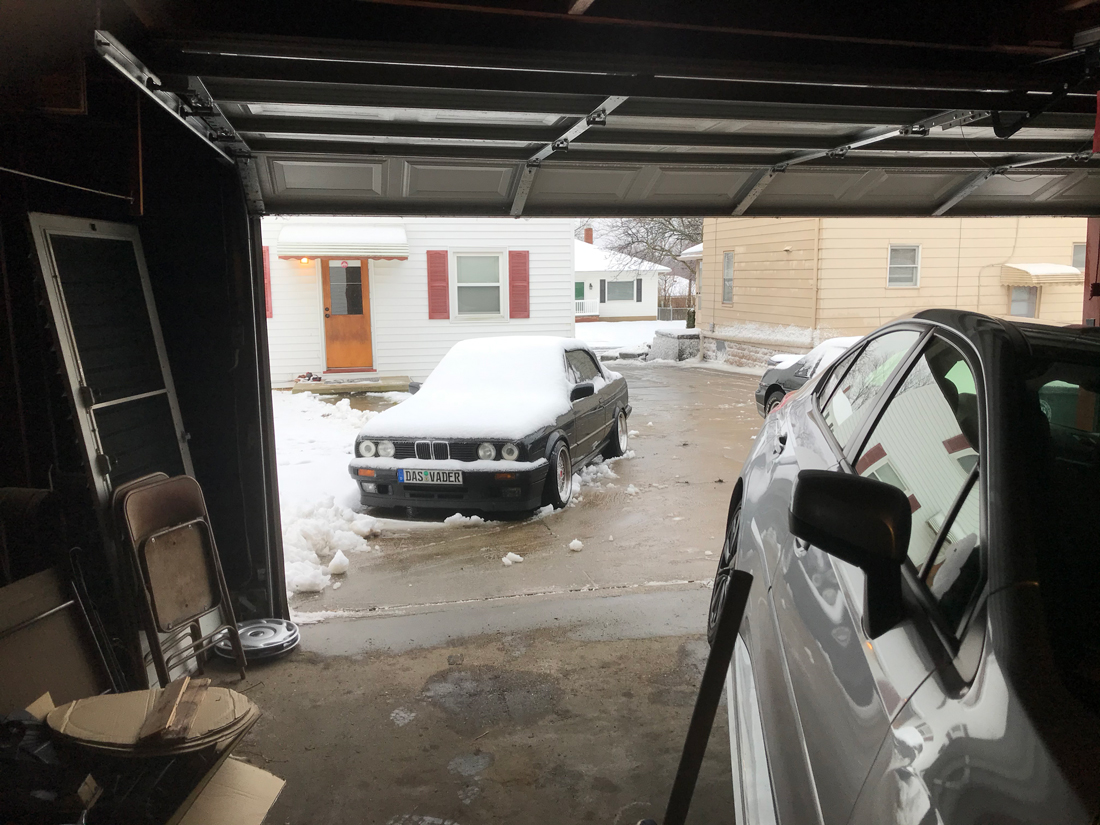
Partly the result of my physical size (I’m 6’3” and not a slight man) and partly thanks to a manufacturing defect, my Subaru was down for three days, not three hours. This meant I had to drive my E30 through slush, snow, mud, and water. I was already not happy that I had to ask my roommate to use his small hands to remove the factory shift plate. I was also miffed my pristine E30 would have to see it’s first-ever winter driving in its 32 years of life.
Naturally, driving my E30 meant it would need a good bath as soon as the temperature goes back above freezing in the next few days. Why is this important, you may ask? The answer is simple: rust. You see, it is not the water and salt that by themselves cause rust. It is water and salt sitting on metal in temperatures above freezing. The combination of water, salt, and temperature is what allows rust to form and what we certainly want to prevent. The only solution here is proactively cleaning. If you drive your car in the winter, it will get salty, grimy, and exposed to a lot more than a car in the summer. That’s ok. What isn’t ok is leaving it on the car. So, we’re going to talk about my detailing procedure that is winter-specific.
In the summer, regular washing and waxing with some occasional interior detailing is all it takes to keep my cars spotless. In the winter, however, they need a bit more attention to prevent all that nastiness from causing more issues than a dirty car.
First, wait for a day where you get higher temperatures than 40 degrees. Above 40, it is warm enough for that salt and water to start chemically altering the metal and degrading it. It is also warm enough to wash. If you have a pressure washer and foam cannon, you will have a much easier and more comfortable time with it. If you are like me and swear by the three-bucket method, you are going to have a bit more of a time. Mostly thanks to the temperature of the water on your hands in just above freezing weather.
For this, I like to use hot water from my kitchen sink in my wash bucket. I put in the soap, fill my bucket with hot water, and take it back outside so it can cool down a bit to a temperature that won’t burn my hands. This also gives me time to rinse the car down. The initial rinse is critical, especially in winter. Before you touch the car with a wash mitt or rag, get all the grime off the car so it doesn’t leave swirl marks.
Next, I fill two more buckets with regular cold water. One will be the rag rinse bucket, the other will be the wheel rag rinse bucket.
Then, I turn to the warm water and soap bucket. With my wash mitt, I cover the entire car in a nice, even, thorough layer of soap. Every time I go to re-soak my mitt in soapy water, I first rinse it off in the rinse bucket, further removing anything the mitt may have picked up to prevent swirl marks.
After the car has been completely covered in soap, I give it a rinse with the hose before the soap has a chance to dry at all on the car. I like to work in sections if I have time. This means I wash a section completely, rinsing my mitt in the clean water bucket before each re-soak, and then rinse the section so the soap doesn’t dry. In cold weather, however, you can just soap the whole car and then rinse when it is done, provided it isn’t particularly sunny.
With the car rinsed and clean, I then focus on the wheels. I use SONAX wheel cleaner on each wheel, where I let it sit for about thirty seconds, and then agitate the product with a soft bristle brush. After each wheel, I thoroughly rinse it. If it needs a second pass, I reapply SONAX and repeat the step.
Once the wheels are clean and shiny, I rinse the whole car again, making sure to spray inside the wheel wells, wheel barrels, and inside all the panel gaps.
This is a great time to wax your exterior, but only if you have a heated garage. If so, go ahead and move your car into your garage space and wax the paint. If you don’t have a heated space to use, it is not a good idea to wax unless the outdoor temperature is warm enough to allow the wax to apply properly. Too cold, and the wax won’t work!
After the wax, if you do that step, you are ready to move to the windows and interior. This is where I sometimes change up the order of operations. Since you have to open and close the doors a bunch, I like to leave the windows for last, but you don’t have to. If you want to, go ahead and wash the inside and outside of all the windows. This way, anything on your clothes or shoes won’t matter since you will be cleaning and vacuuming the interior next.
With the windows clean and all the doors butterflied, you can turn your attention to the interior. Unless you have some all-weather floor mats like WeatherTech mats, there will likely be tons of salt and dirt built up in the carpets and floor mats from all the nasty weather. For this step, I like to remove my seats. None of my cars have powered seats, so this is fairly simple for me. It may be more difficult if your seats are powered, since they are heavy, but you should still be able to take out your seats even if you are a novice DIY technician.
The next step after removing the seats is to remove anything from the car you don’t want to be sucked up by the vacuum. My rule is if I can pick it up by hand, I should.
After you have removed the seats and any big pieces of trash or stuff in your car, you can begin to work on the carpet. I use a carpet cleaning solution and a handheld medium-stiffness brush to lift all the dirt and grime from the carpet. Then I follow with my vacuum. I go section by section and repeat steps as necessary until the carpet looks clean and new. One thing I have not used but will be using soon on the Volvo is an extractor. I will likely rent one and use it on my vehicles as well based on some of the videos I have seen with what you can clean up thanks to an extractor’s help.
Finally, you can work on the seats. For cloth, treat them like carpet. For leather, I like to go through a host of leather care products and honestly I have no loyalty. Go with what you like or what is available and follow the instructions.
With that, you should have a very clean car that will resist corrosion and look good doing it. Just remember, during the cold months, wash often and wash correctly. You can find everything you need from SONAX or Chemical Guys here at ECS, too!


