Introduction:
Estimated Installation Time: 20 minutes
Parts Required: Blind Spot Mirrors
Note: This installation is done on an Audi B6 A4, although the procedures are shown here work on many VW and Audi models.
Several late model luxury makes are touting the advantages of their new blind spot vehicle detection technologies, some of which are offered as expensive options.
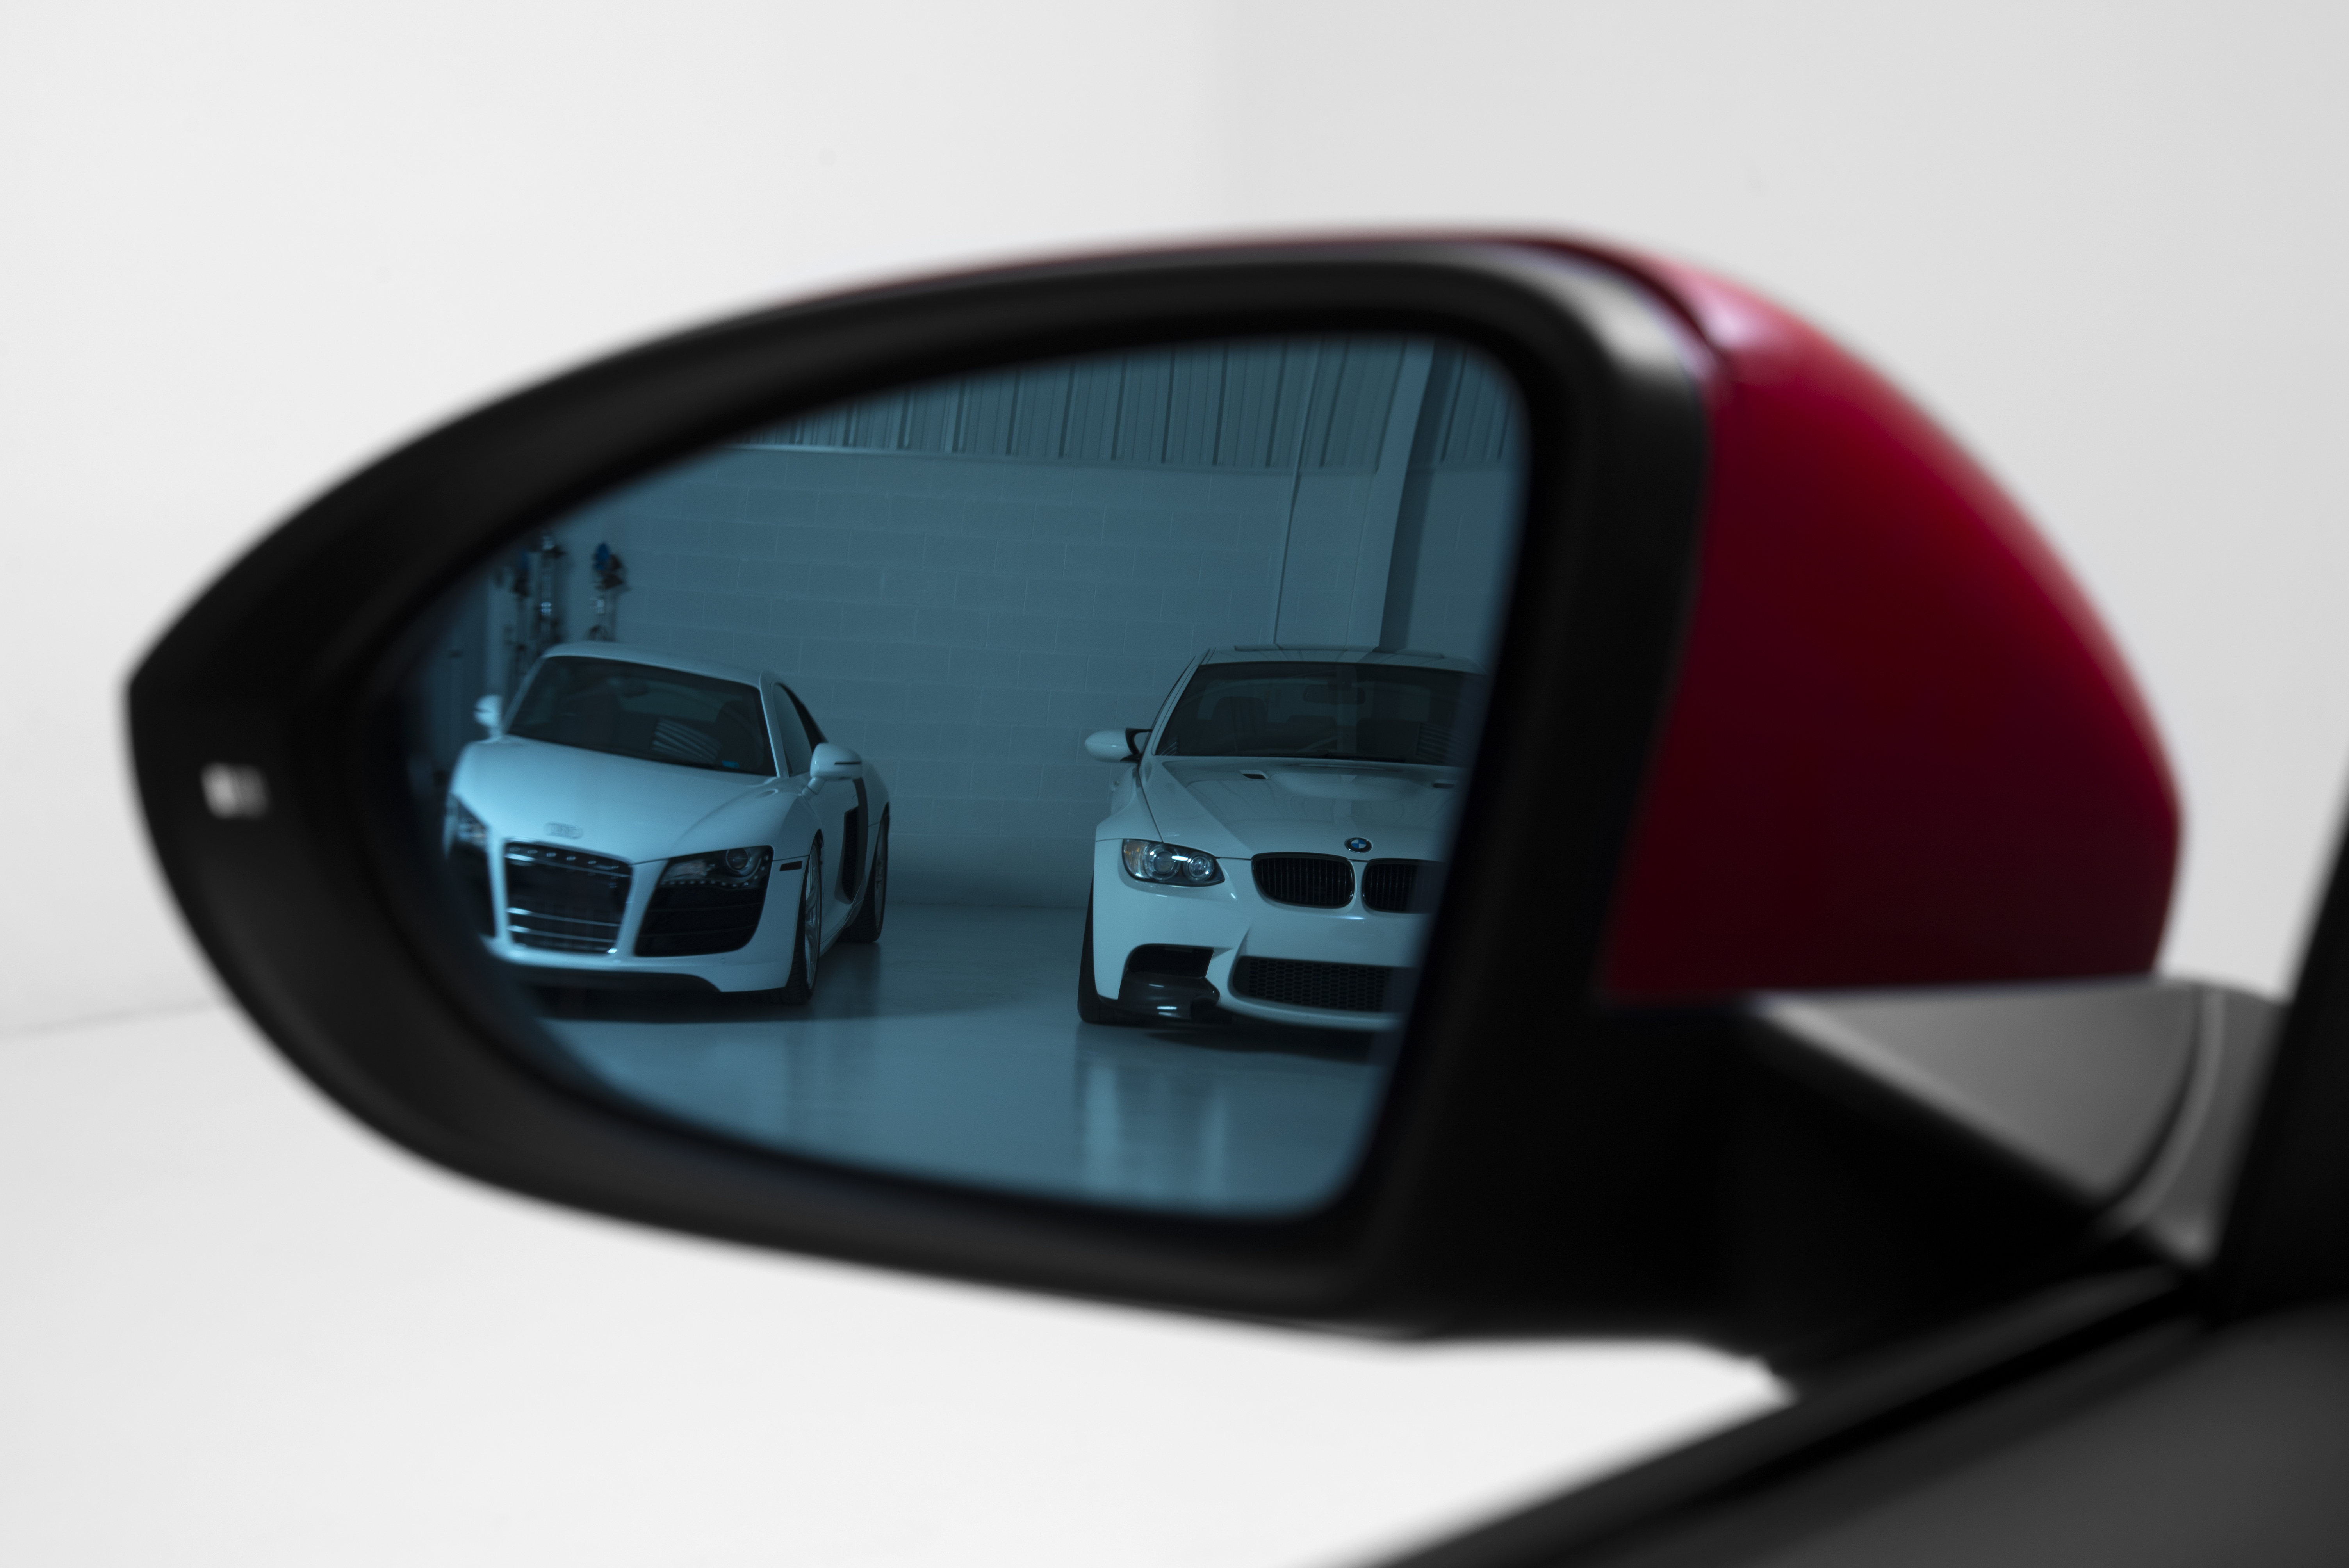
In this installation, we will demonstrate how to retrofit your Audi with a simple but effective blind spot detection method: blind spot mirrors.
These heated mirrors have a split glass. One side has the normal at glass found in common vehicle mirrors. The other side of the split mirror has a curved glass surface that
expands the viewing area behind you, showing vehicles or other objects not easily seen in a regular mirror.
This procedure is fast and simple. No special tools are required. No modifications to the vehicle or its wiring are needed.
The mirrors come two to a kit; one per side. We will demonstrate the procedure on the left outside mirror. Repeat the steps to install the right side mirror.
Installation:
Step 1:
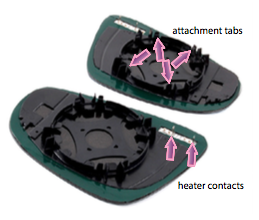
Let’s start with a look at the backside of the mirrors:
- A circular center area in the mirror backer is ringed with small raised fingers, each with a small locking tab that grips the electric motor adjusting head inside the mirror housing.
- There are two electrical contacts for the mirror heater wires.
Step 2:
From the front, we can see how the mirror glass is divided into two separate mirrors, split by a clearly visible line between the normal and blind spot glass areas (arrow).
The mirror faces come with a protective, clear plastic coating to protect them during shipping and installation. We suggest you leave it in place until the mirrors are installed.

Step 3:
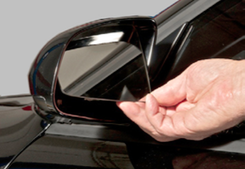
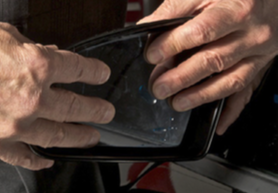
To remove the old mirrors, start by pressing the top of the mirror inward as far as it will go.
This pushes the bottom of the mirror outward, creating a gap between the bottom of the mirror glass and the lower edge of the mirror housing.

Step 4:
Place your fingers in the gap at the base of the mirror and pull toward you until the tabs pop free and the mirror glass comes loose.
Step 5:
With the bottom of the glass unsnapped, tilt the top of the mirror up and out to free it completely.
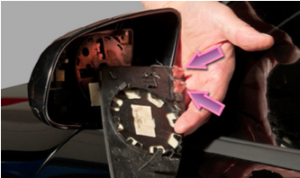
Careful: The electrical wires are still connected. Pull the mirror glass out only far enough to remove the two wire attachments at the rear of the glass.

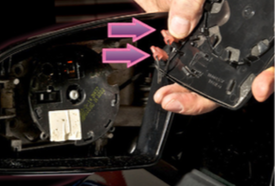
Step 6:
Tip the mirror glass forward and unplug the two push connectors from the mirror heater terminals (arrows).
Step 7:
Push the wire connectors onto the heater terminals of the new blind spot mirror. Plug either wire on either terminal; the connections are not polarity sensitive.
Step 8:
Install the new mirror.
Align the plastic tab (highlighted in blue) with the notch inside the housing (arrow) as you insert the new mirror glass into the mirror housing.

Step 9:
With the glass centered in the housing, press inward on the glass surface until the lock tabs engage the adjustment head and lock the mirror glass securely in place.
Step 10:
Adjust the mirror.
Then remove the protective film.
Repeat these steps to install the right side mirror.