Installation:
Step 1:
Open the driver’s side door and remove the cover to the fuse box.

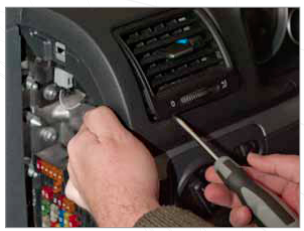
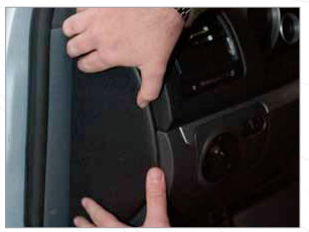
Step 2:
Use your fingers to push out the lower left corner of the vent and insert a screwdriver to pop out from the bottom up.
Step 3:
Thread gauge connection cable through the vent opening and out the fuse box.

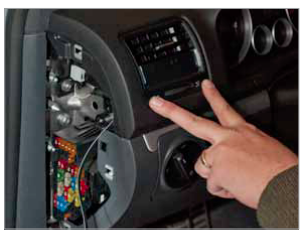
Step 4:
Pull the entire cable through the fuse box and snap the new vent into place starting at the top.
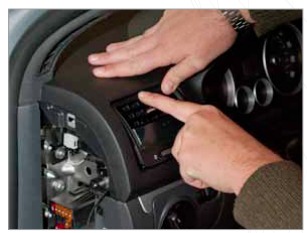
Step 5:
Push on the bottom corners of the vent to firmly secure into place.
Step 6:
Connect the cable to the control unit.

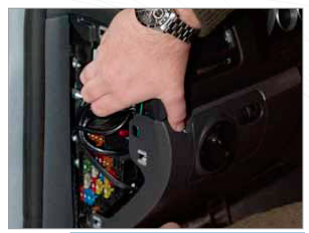
Step 7:
Tuck the control unit and the remaining cable into the fuse box. Make sure the cable that will be plugged in into the diagnostic port is tucked into the crease at the bottom of the fuse box.
Step 8:
Snap the fuse box cover back on. Don’t forget to remove the protective plastic sheet from the glass face of the gauge.
Step 9:
Plug the connector firmly into your cars diagnostic port. Tuck any visible cord into the creases.

Installation complete!
Interested in purchasing?
P3 Gauges