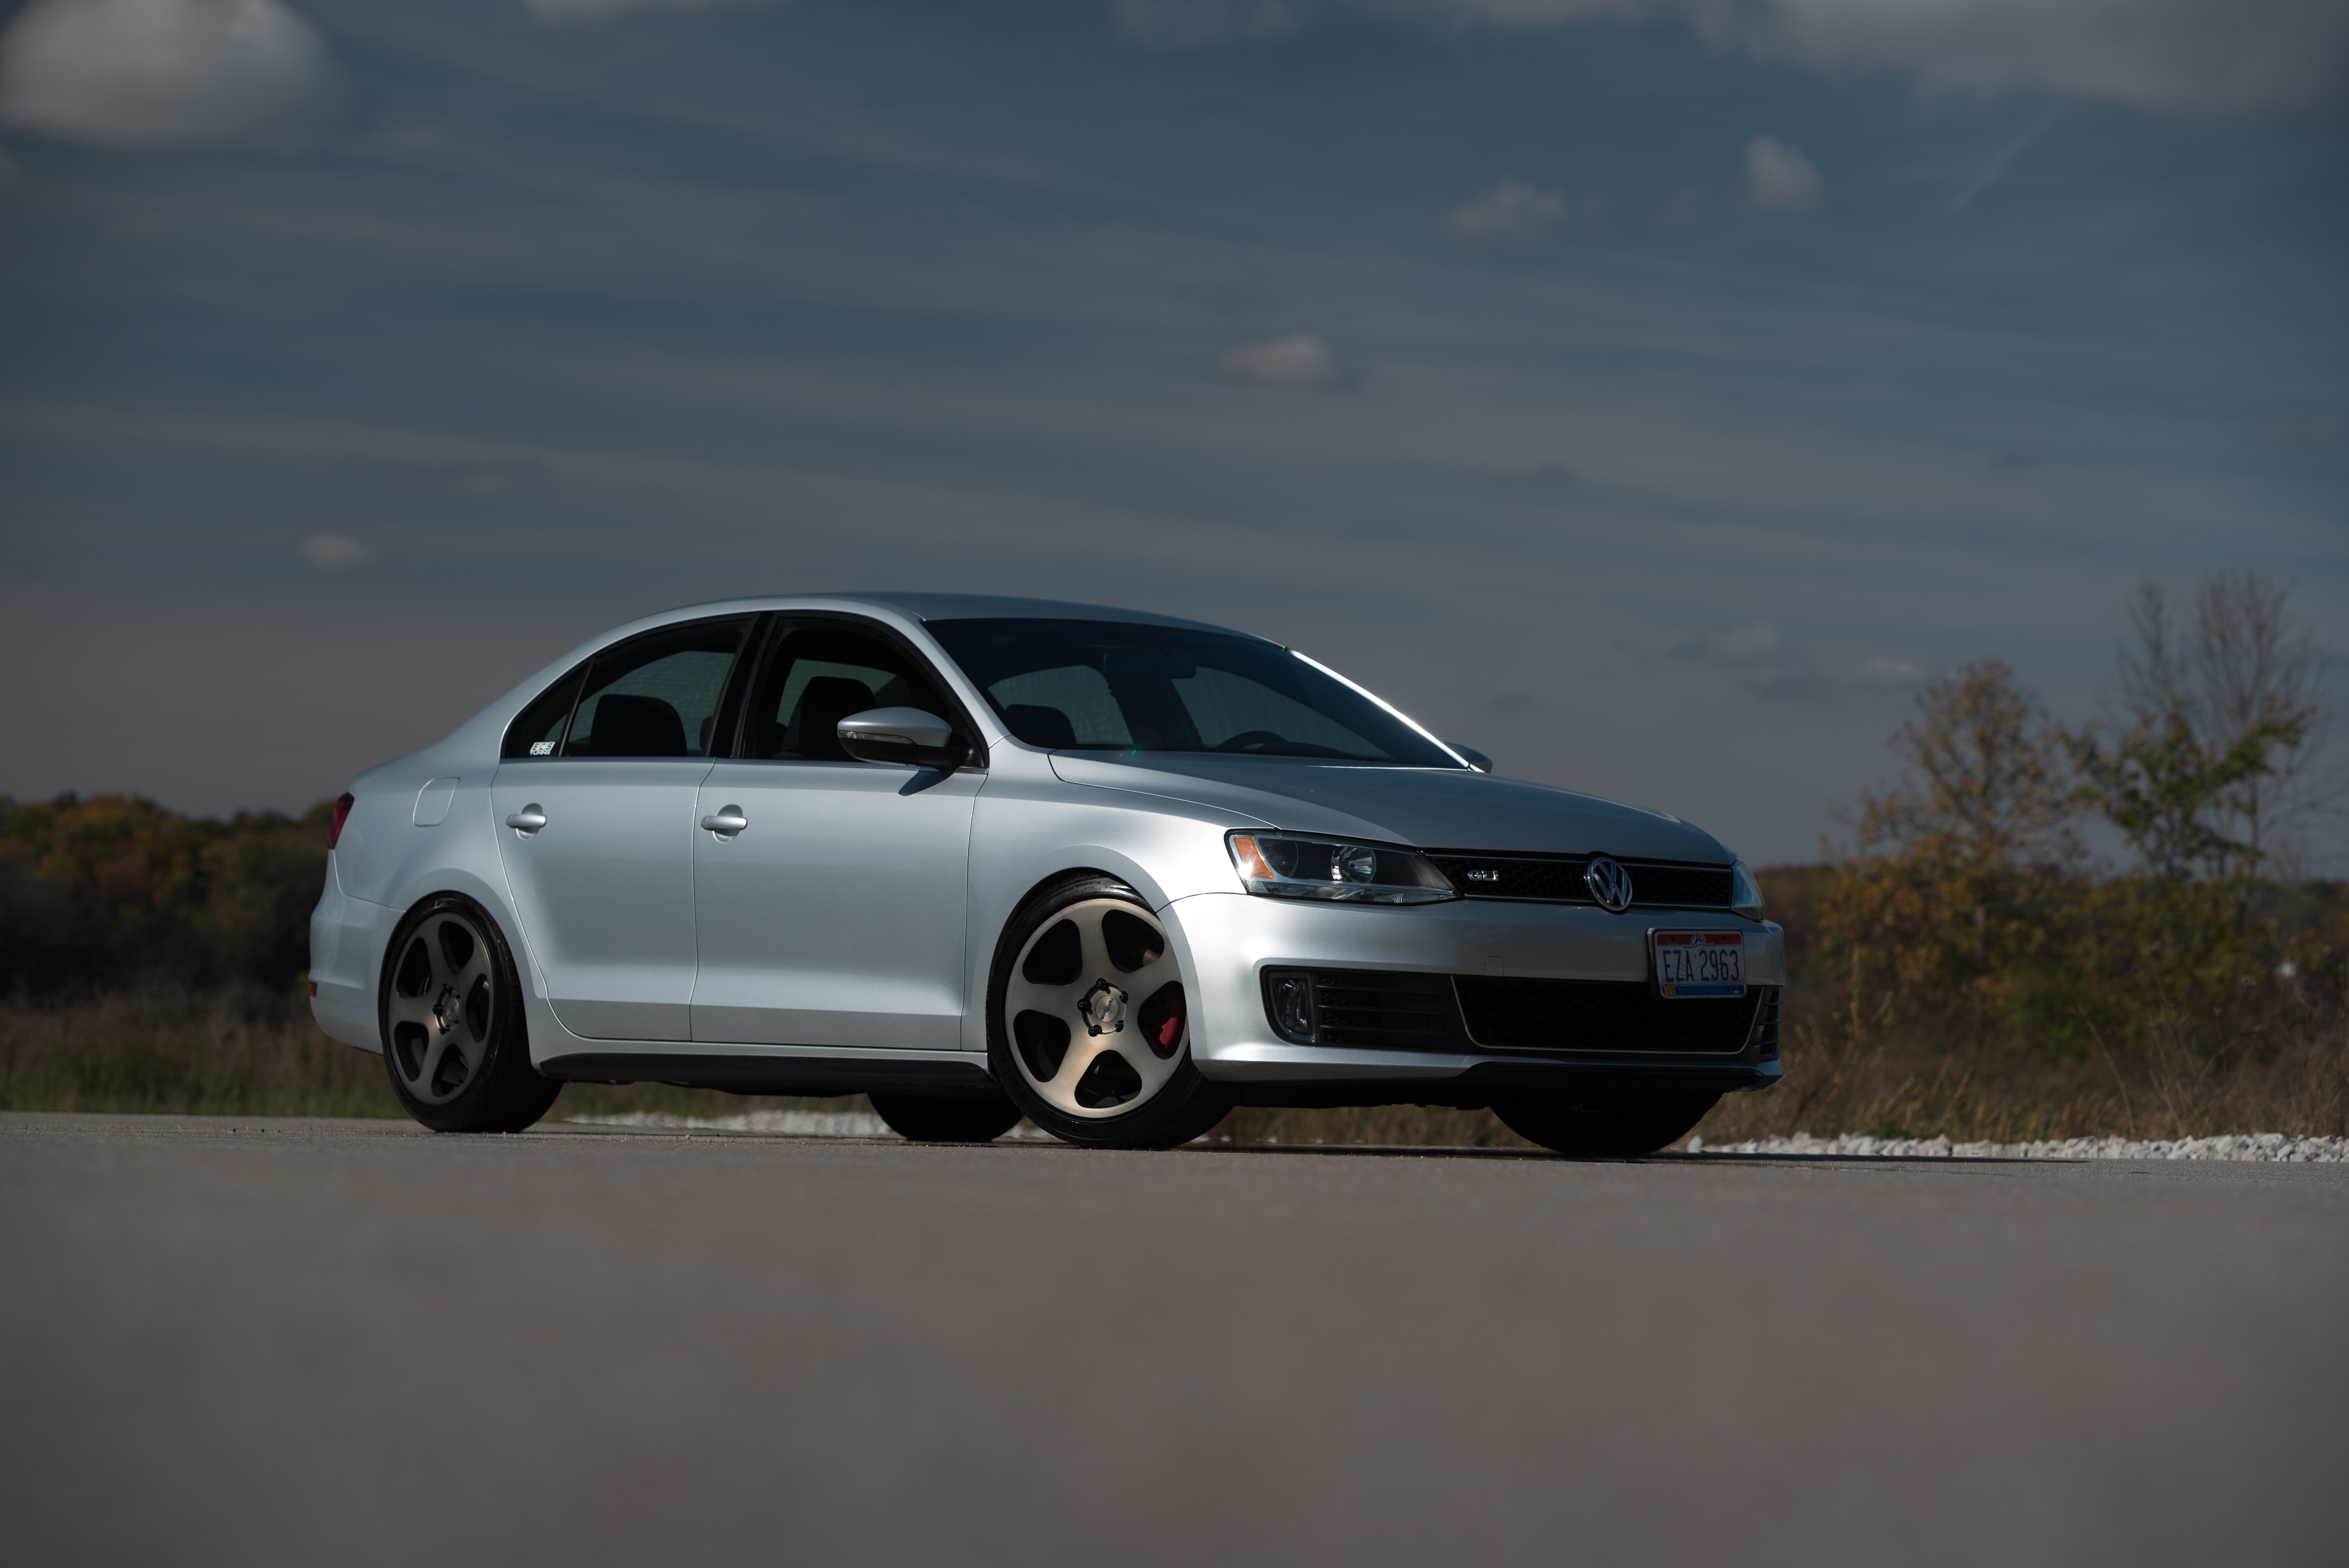
Today we are going to do something a little different; we would like to focus on a specific coilover system one of our employees decided to use in his MK6 Jetta GLI. We installed the KONI Adjustable Coilovers on his MK6 Jetta GLI for a better look and more capable suspension performance. The installation itself is not too difficult, but having a friend around and some good old fashioned instructions definitely makes a difference. I will help talk you through the process and get your Jetta riding more stably and looking aggressive. Of course don’t forget to read all the way through to see those before and after shots of the car!
Our Jetta was already equipped with H&R Sport Springs on otherwise factory suspension, which dropped the car slightly. The biggest complaint on the old setup was the amount of body roll and the overall sloppiness experienced in hard driving. Not to say that setup is sub-par, but for a more planted and comfortable feel, the KONI 1150 coilovers are an excellent choice. Overall the suspension firmed up without sacrificing comfort, decreased the body roll, and made the car feel more stable through the corners. After a week of daily driving, the owner has expressed several times that the Jetta should have received these KONI coilovers from factory. Now let’s get you on your way to the same kind of driving enjoyment!
Let’s dive right in.
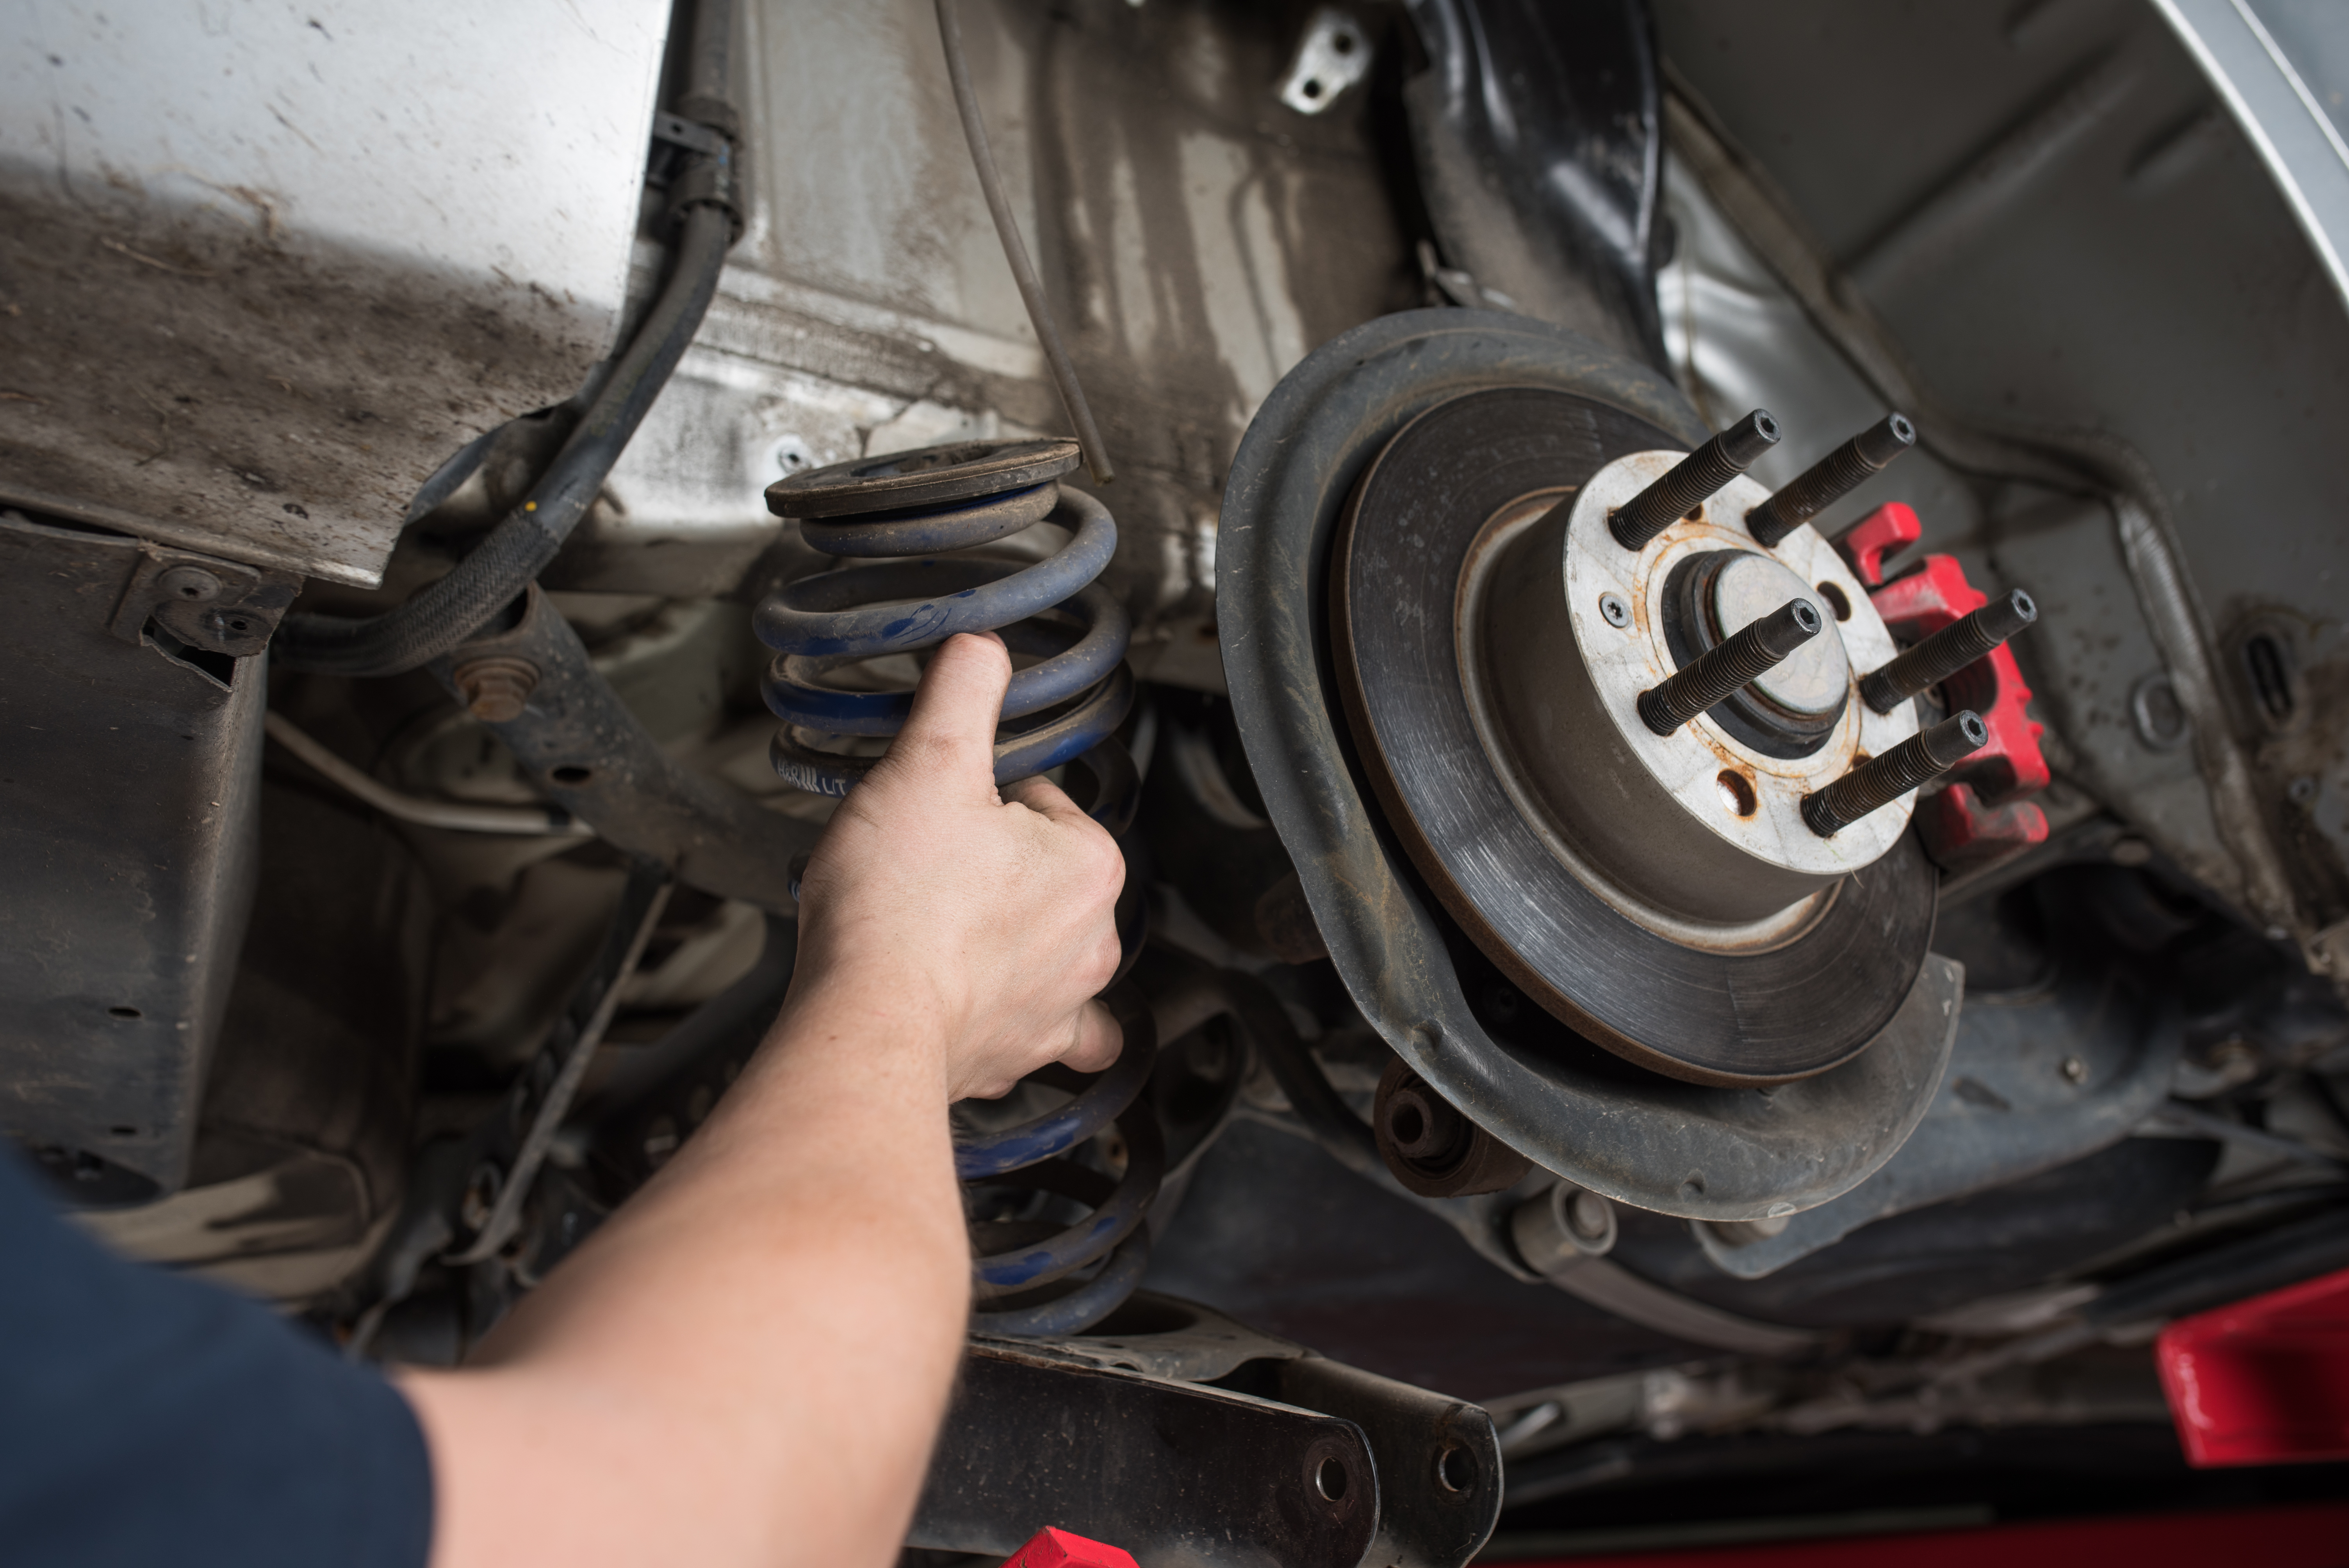
To get an idea of the ride height change we want, we need to take an initial measurement if dropping from stock ride height in order to have an idea of where our finished ride height will be. Our car was already equipped with H&R Sport Lowering Springs, so the ride height is already lower than factory. Remember when you adjust for your ride height that the coils will settle a little. We use an estimate of about half an inch, so keep that in mind for your final height.
Front Suspension
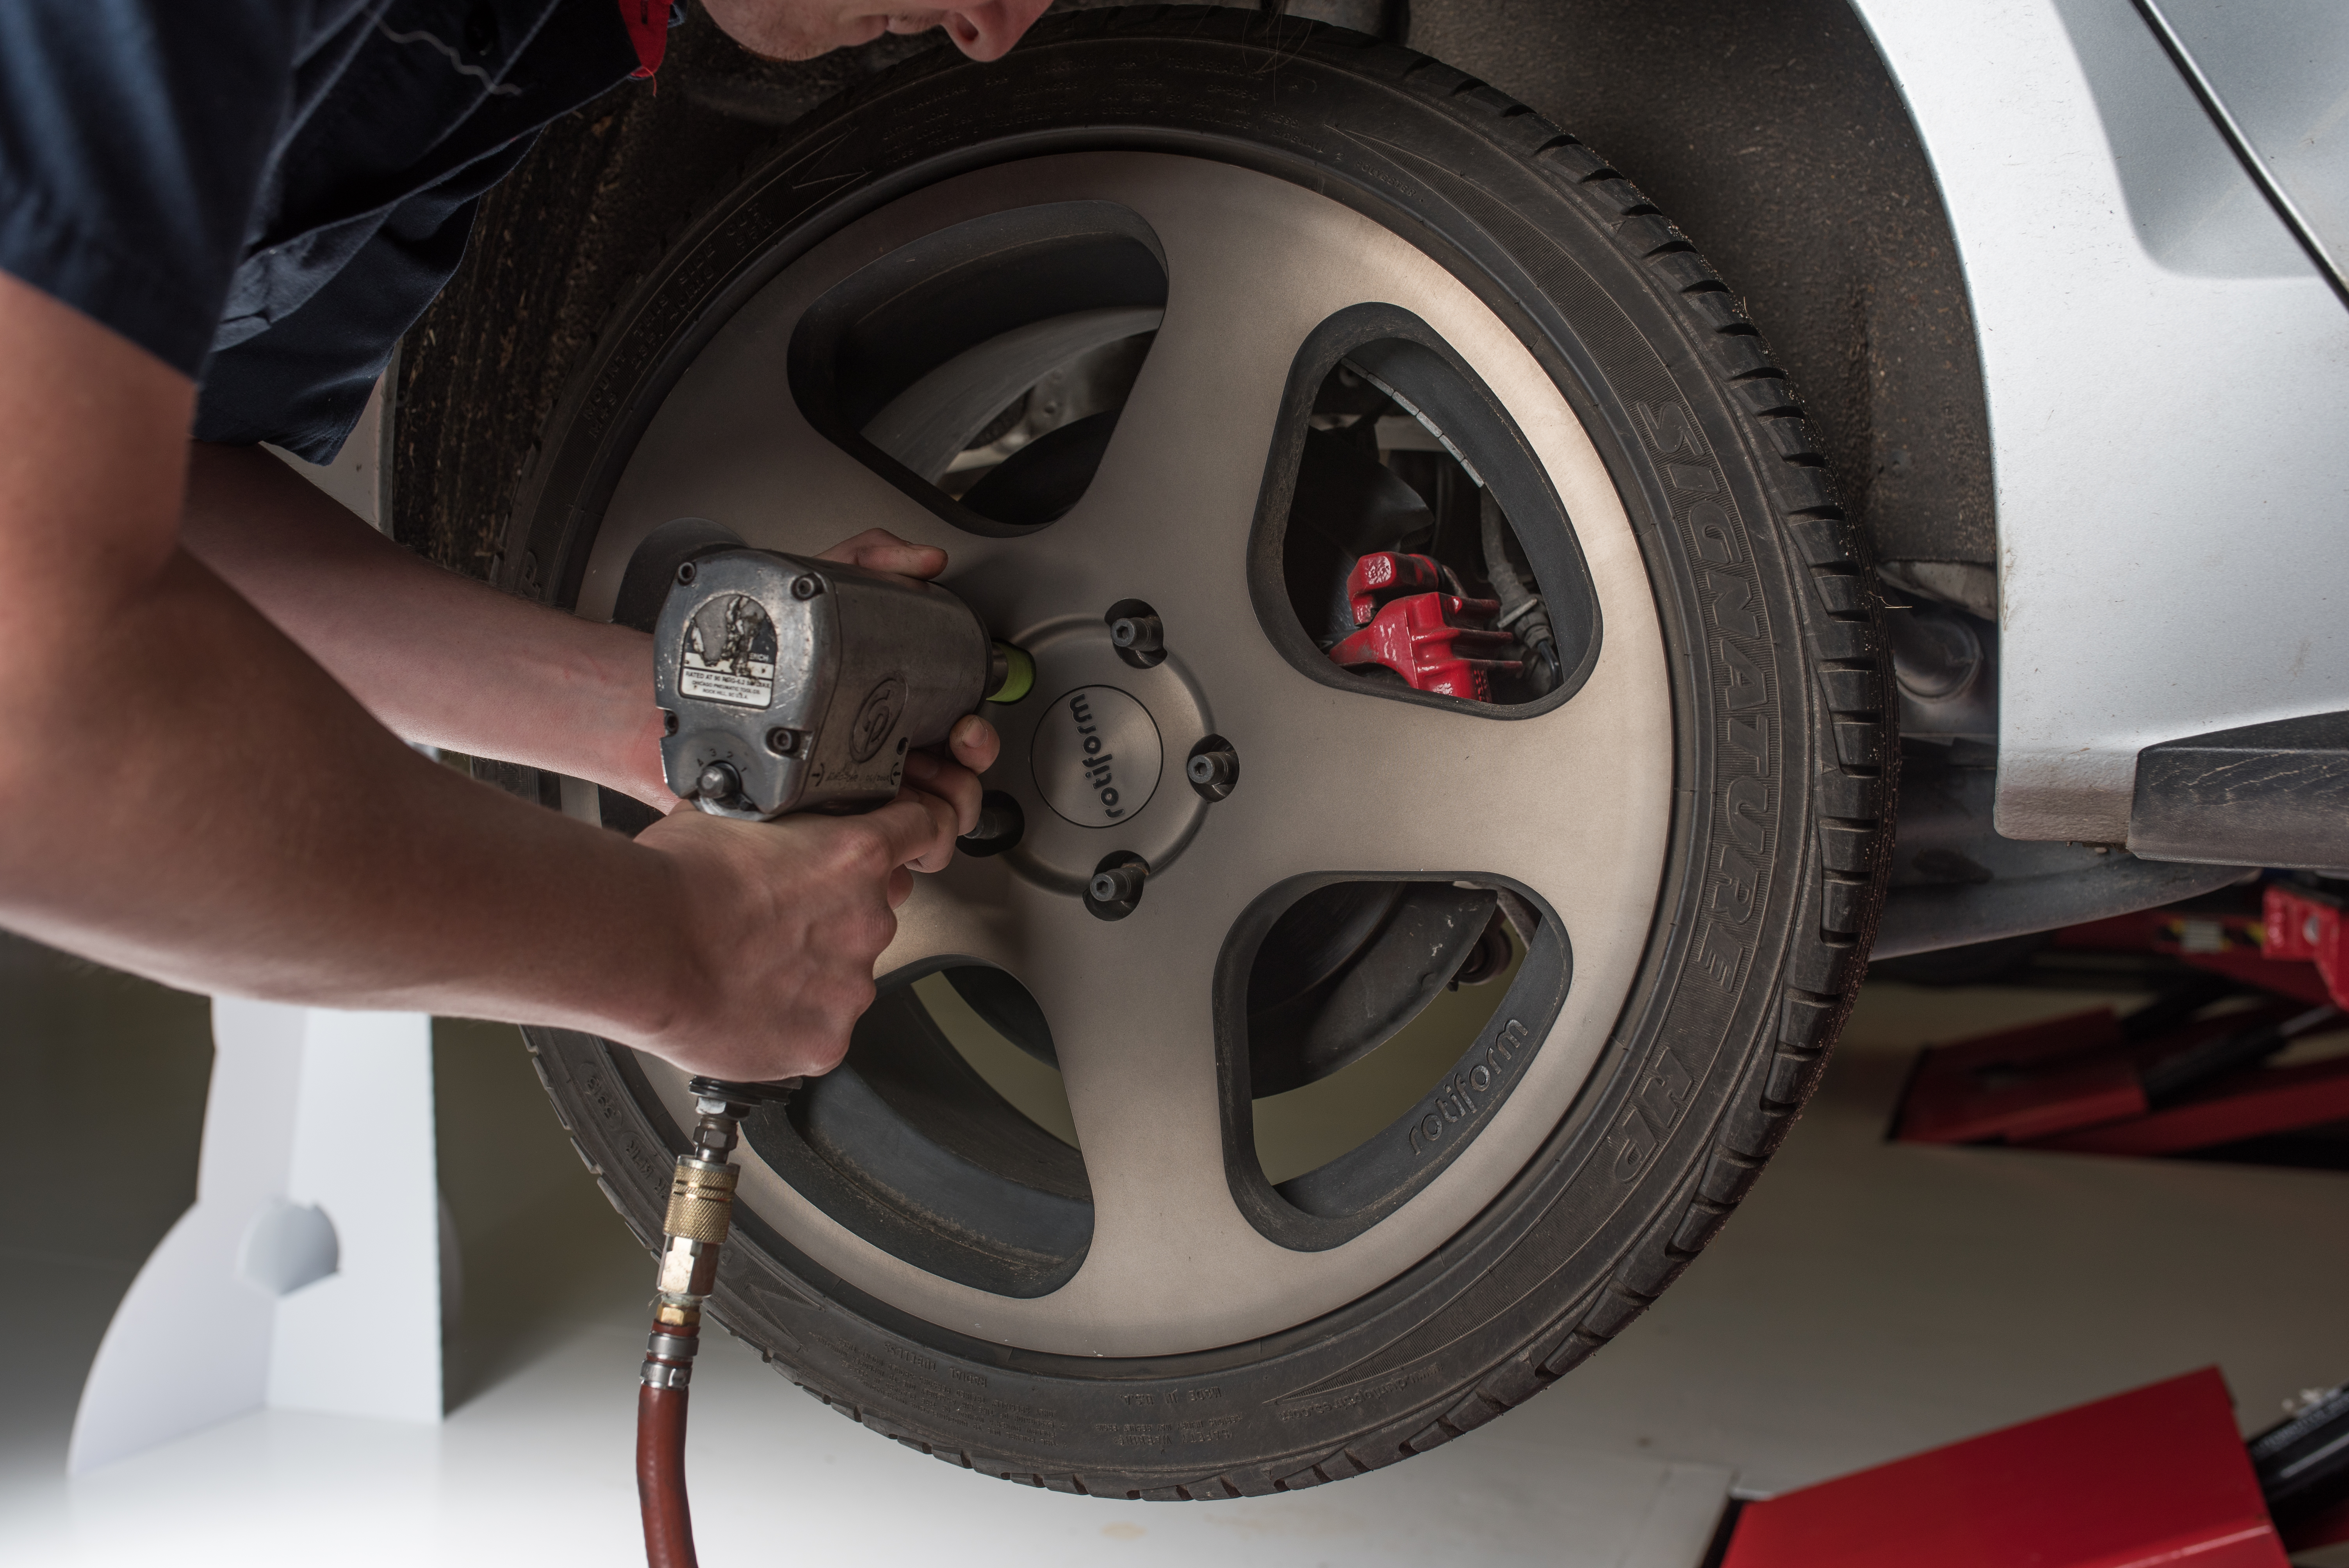
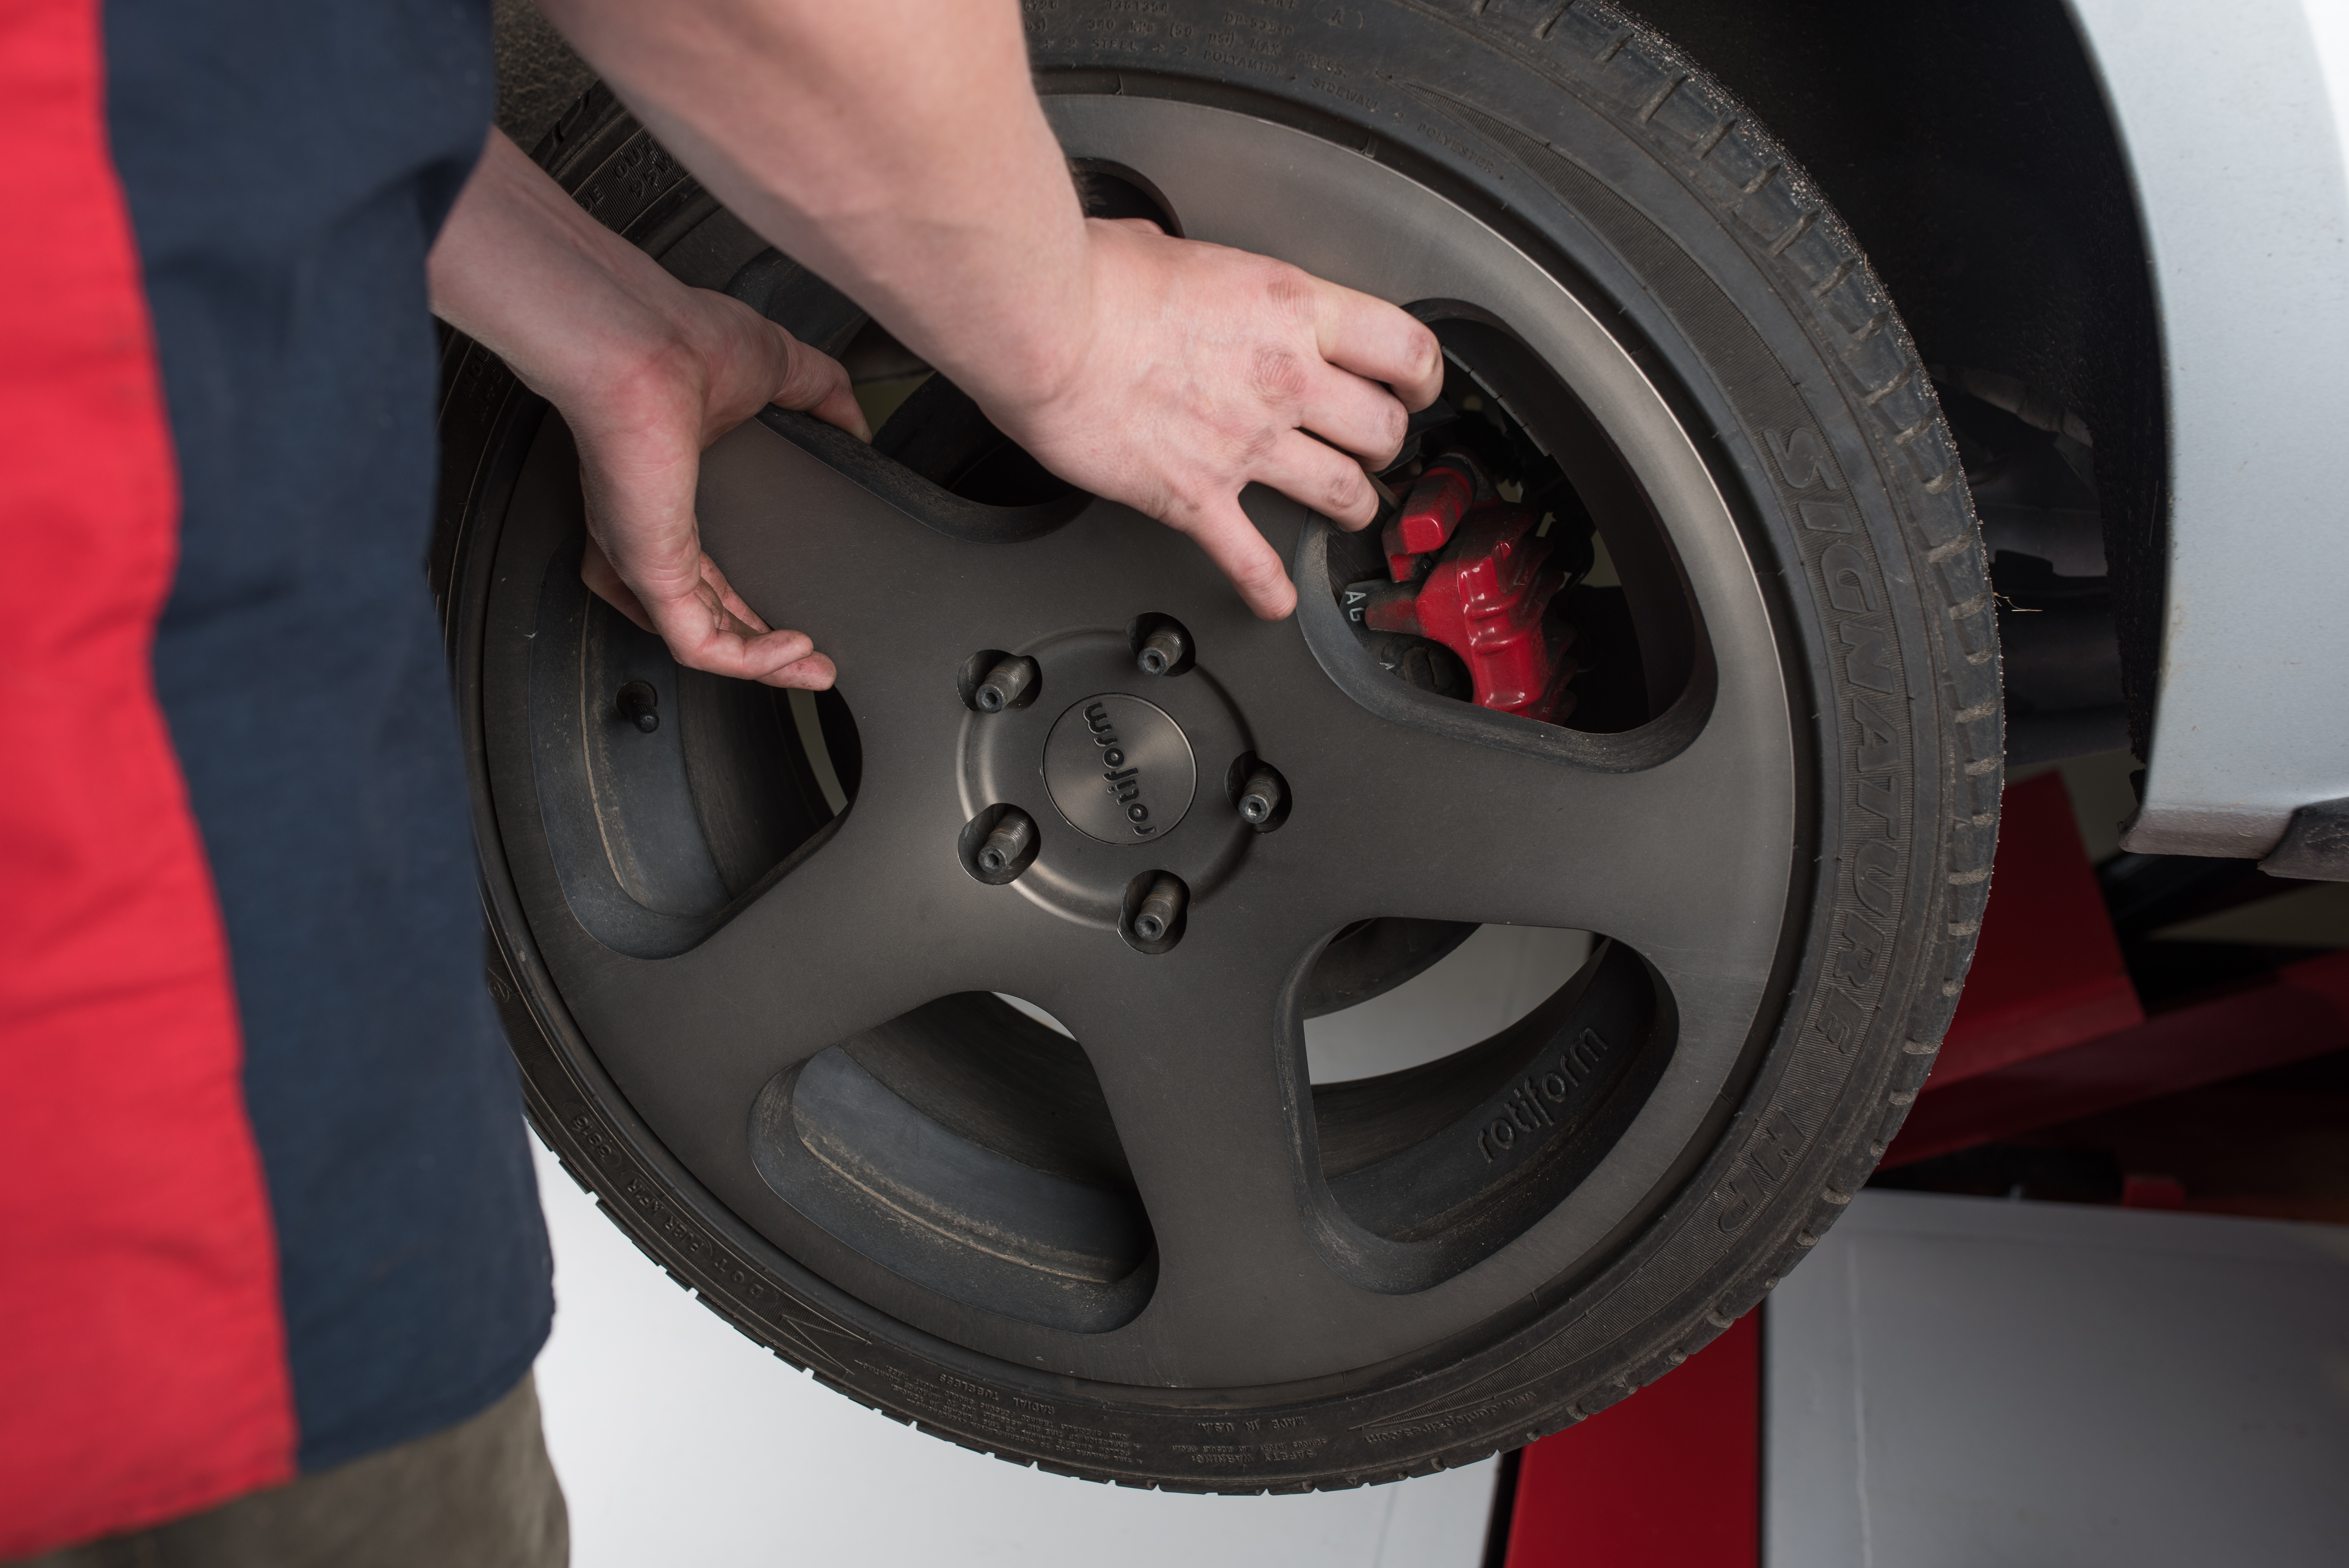
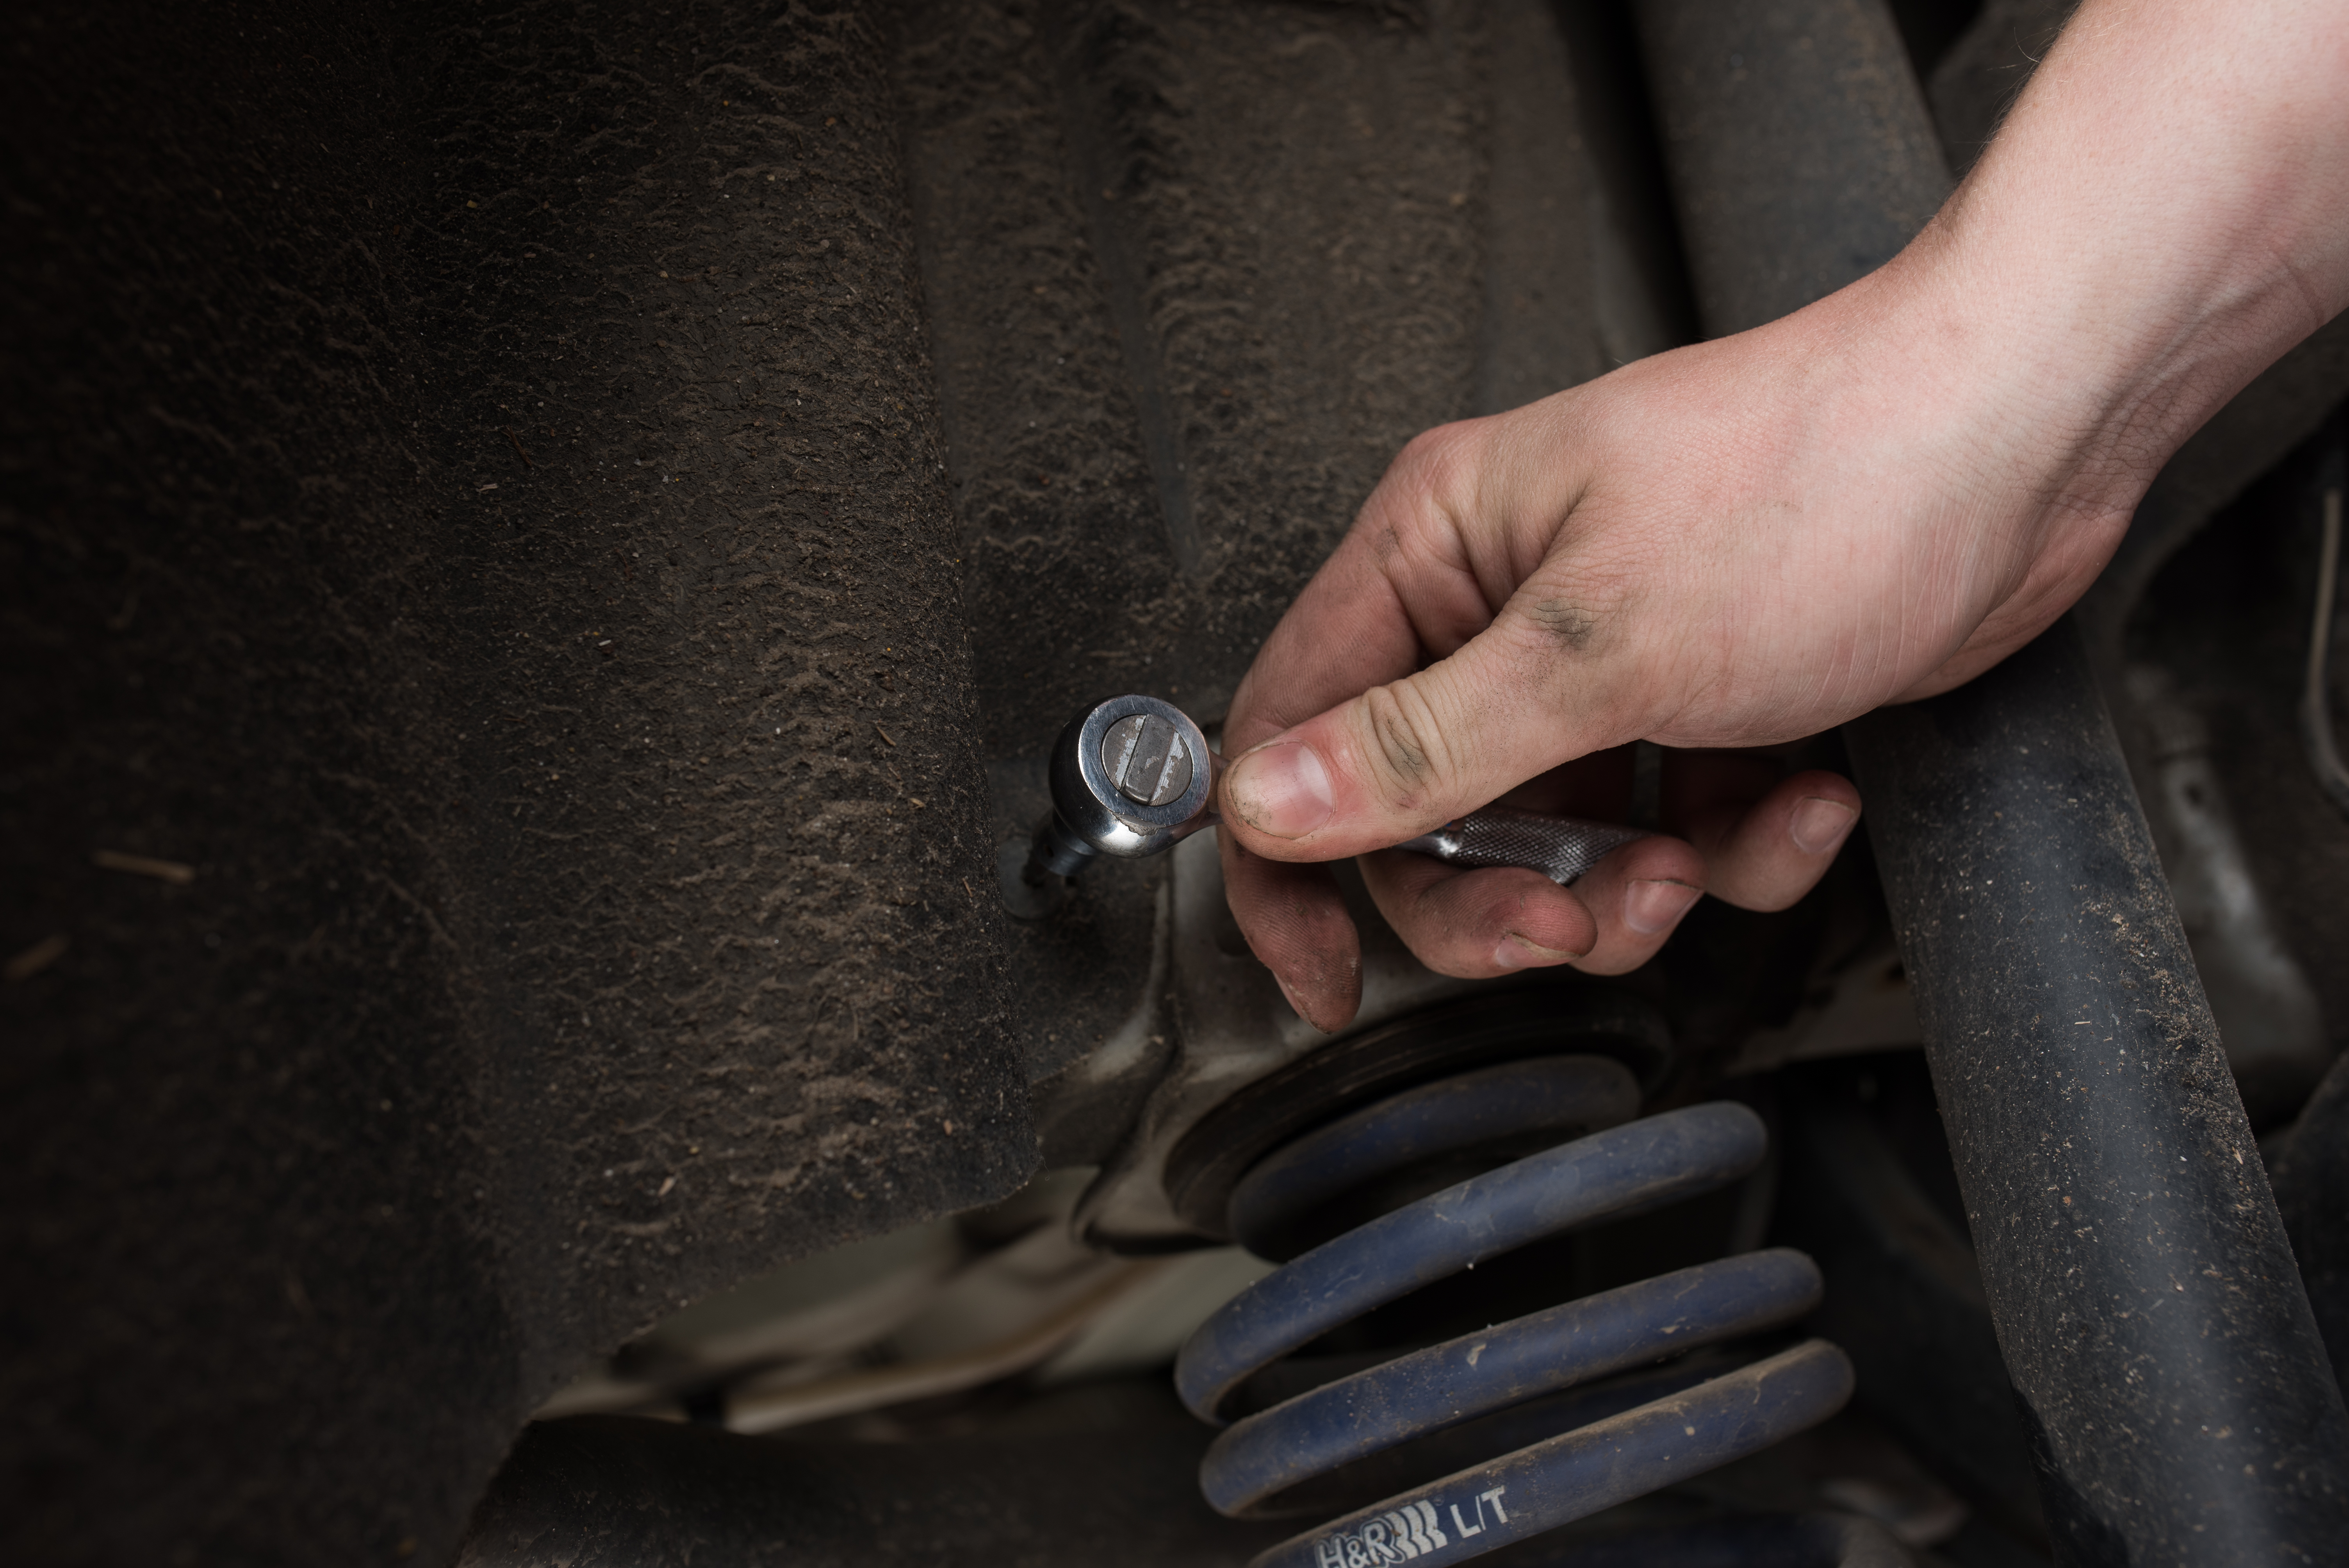
First, if you are not using air tools like we did, you will want to break your axle bolts loose. With your wheels still on the ground, remove the center caps on the front wheels and with your 24mm socket and an impact (or an extremely sturdy breaker bar) and remove the main axle bolts. Some models may have a 17mm. Our MK6 Jetta GLI is the 24mm 12 point non ribbed bolt.

Next, if you do not have an impact, break your wheel lugs loose. This Jetta has a stud conversion, but a wheel hanger helps if you have the factory lug setup. With a 17mm, remove all wheel lugs (or nuts.)
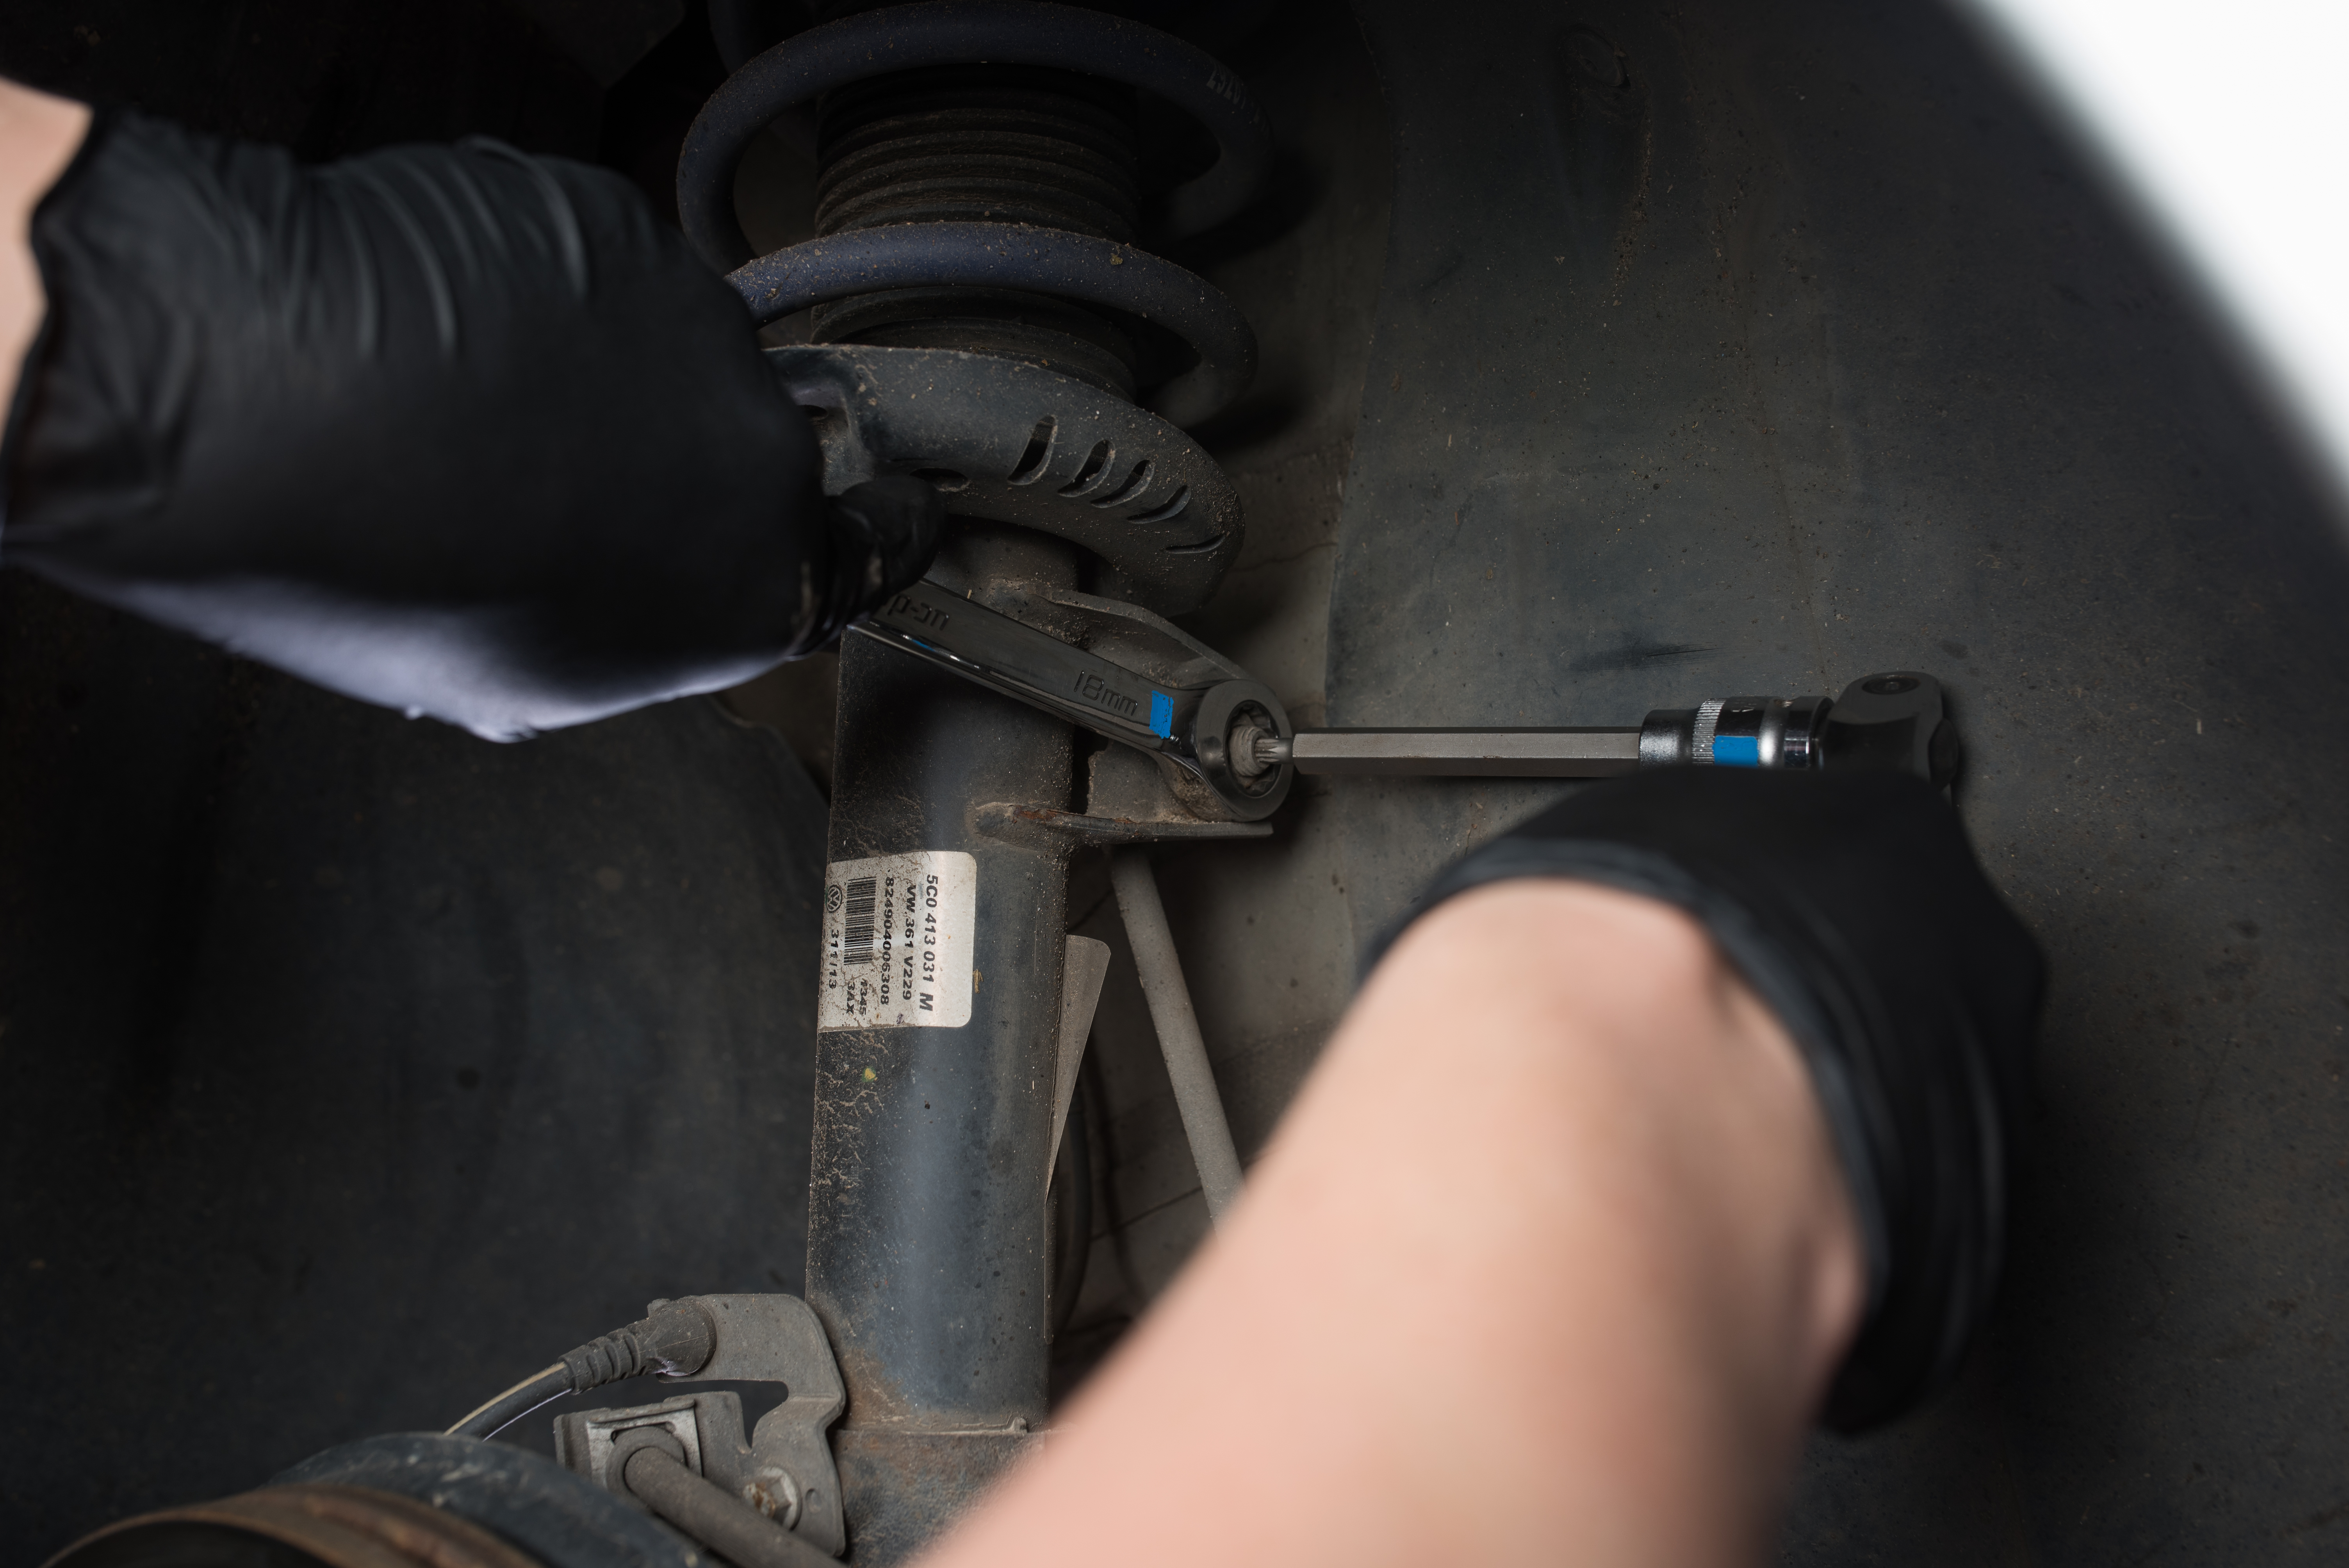
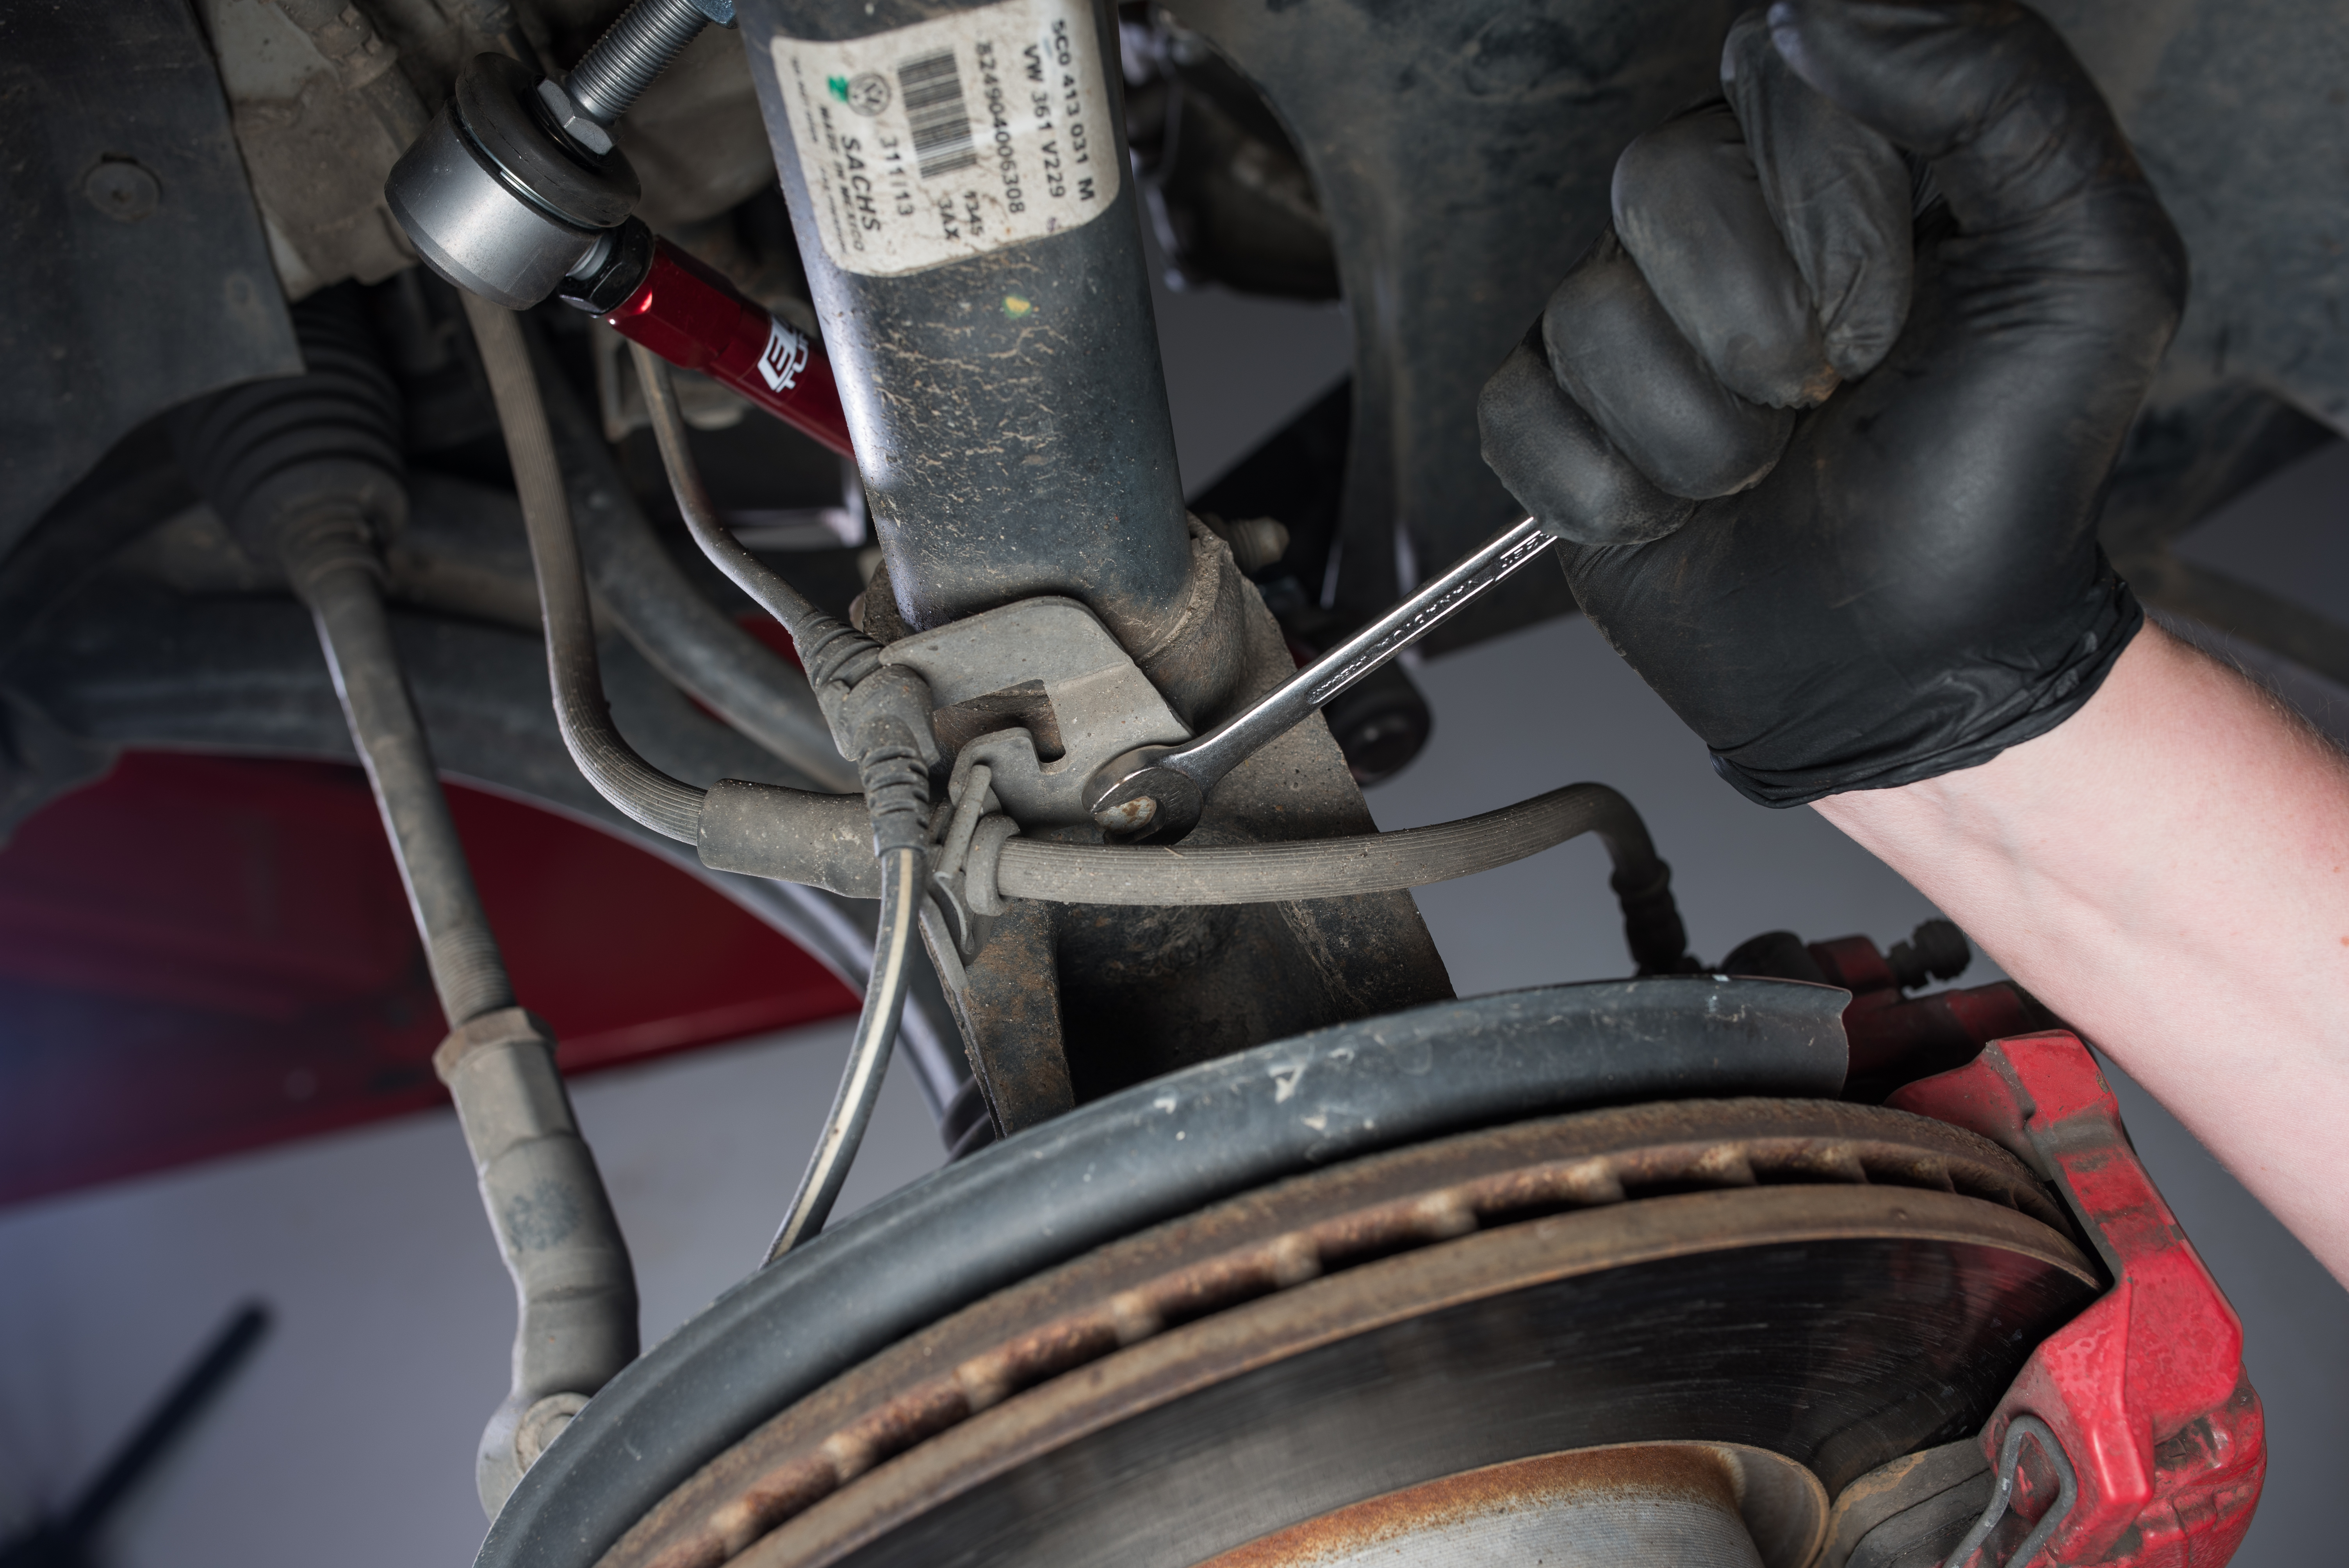
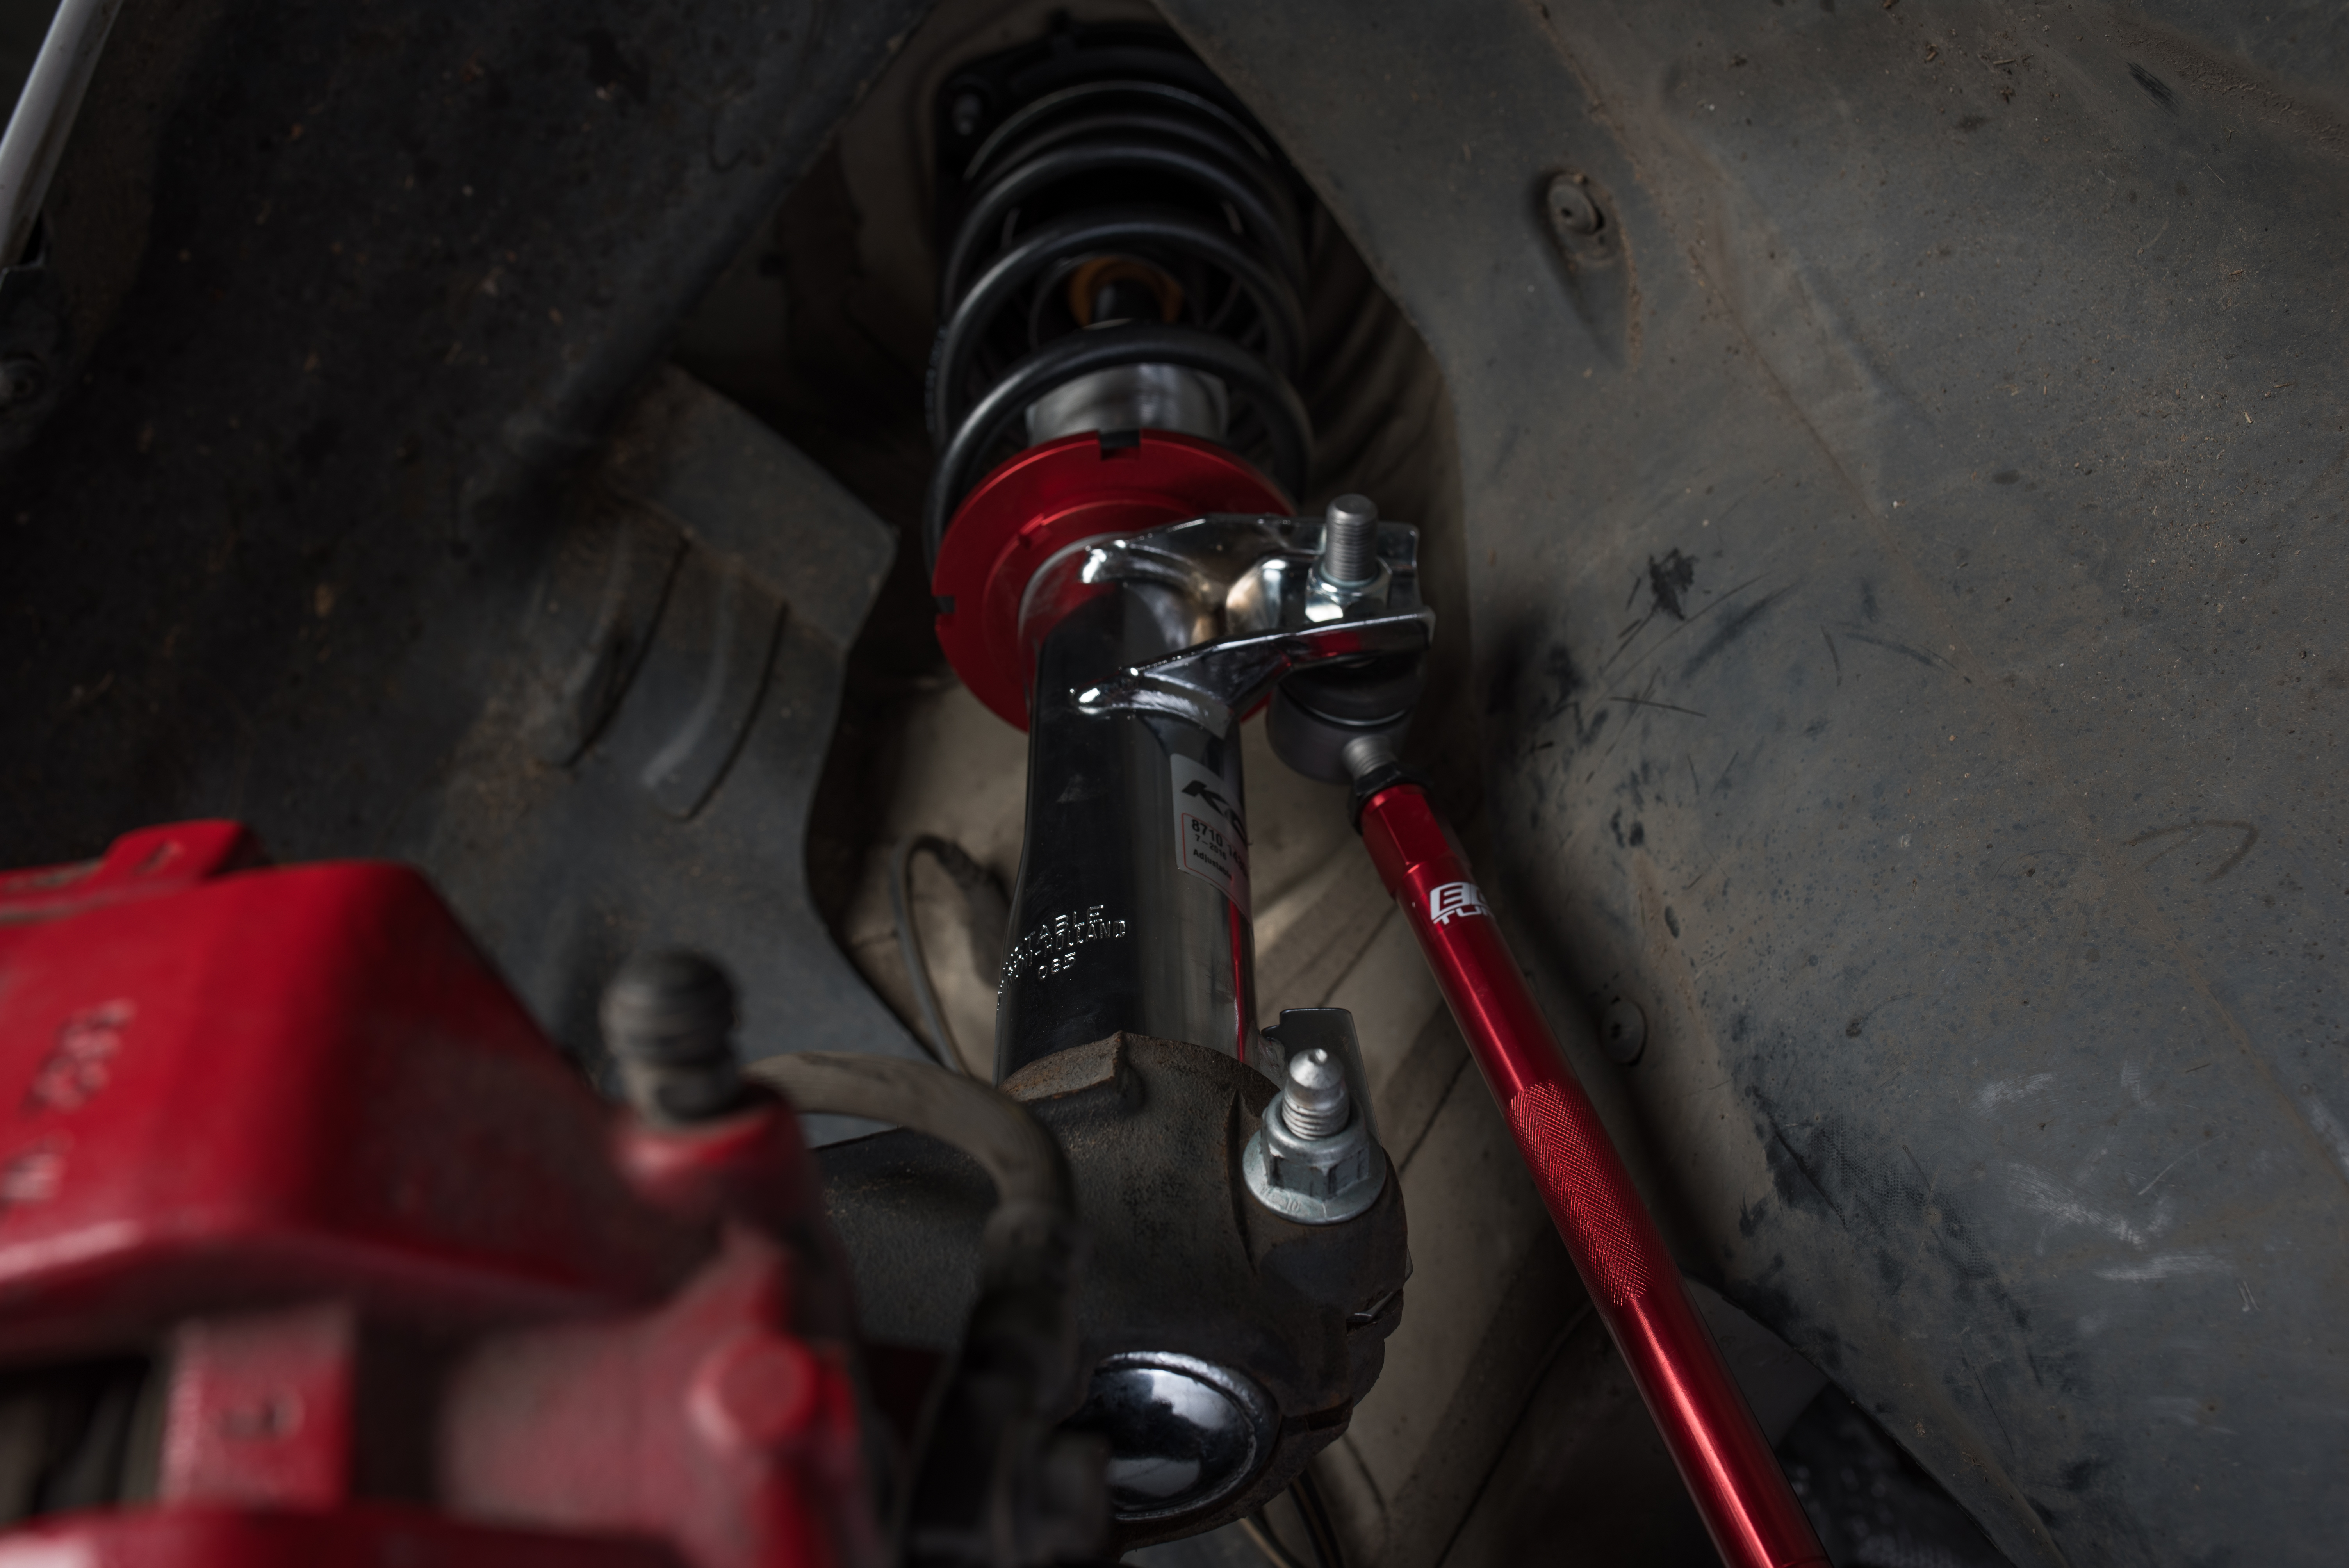
We are going to now take the Front Sway Bar End Links off the strut assembly. Insert an 18mm wrench and an M6 Triple Square to prevent the link from spinning.
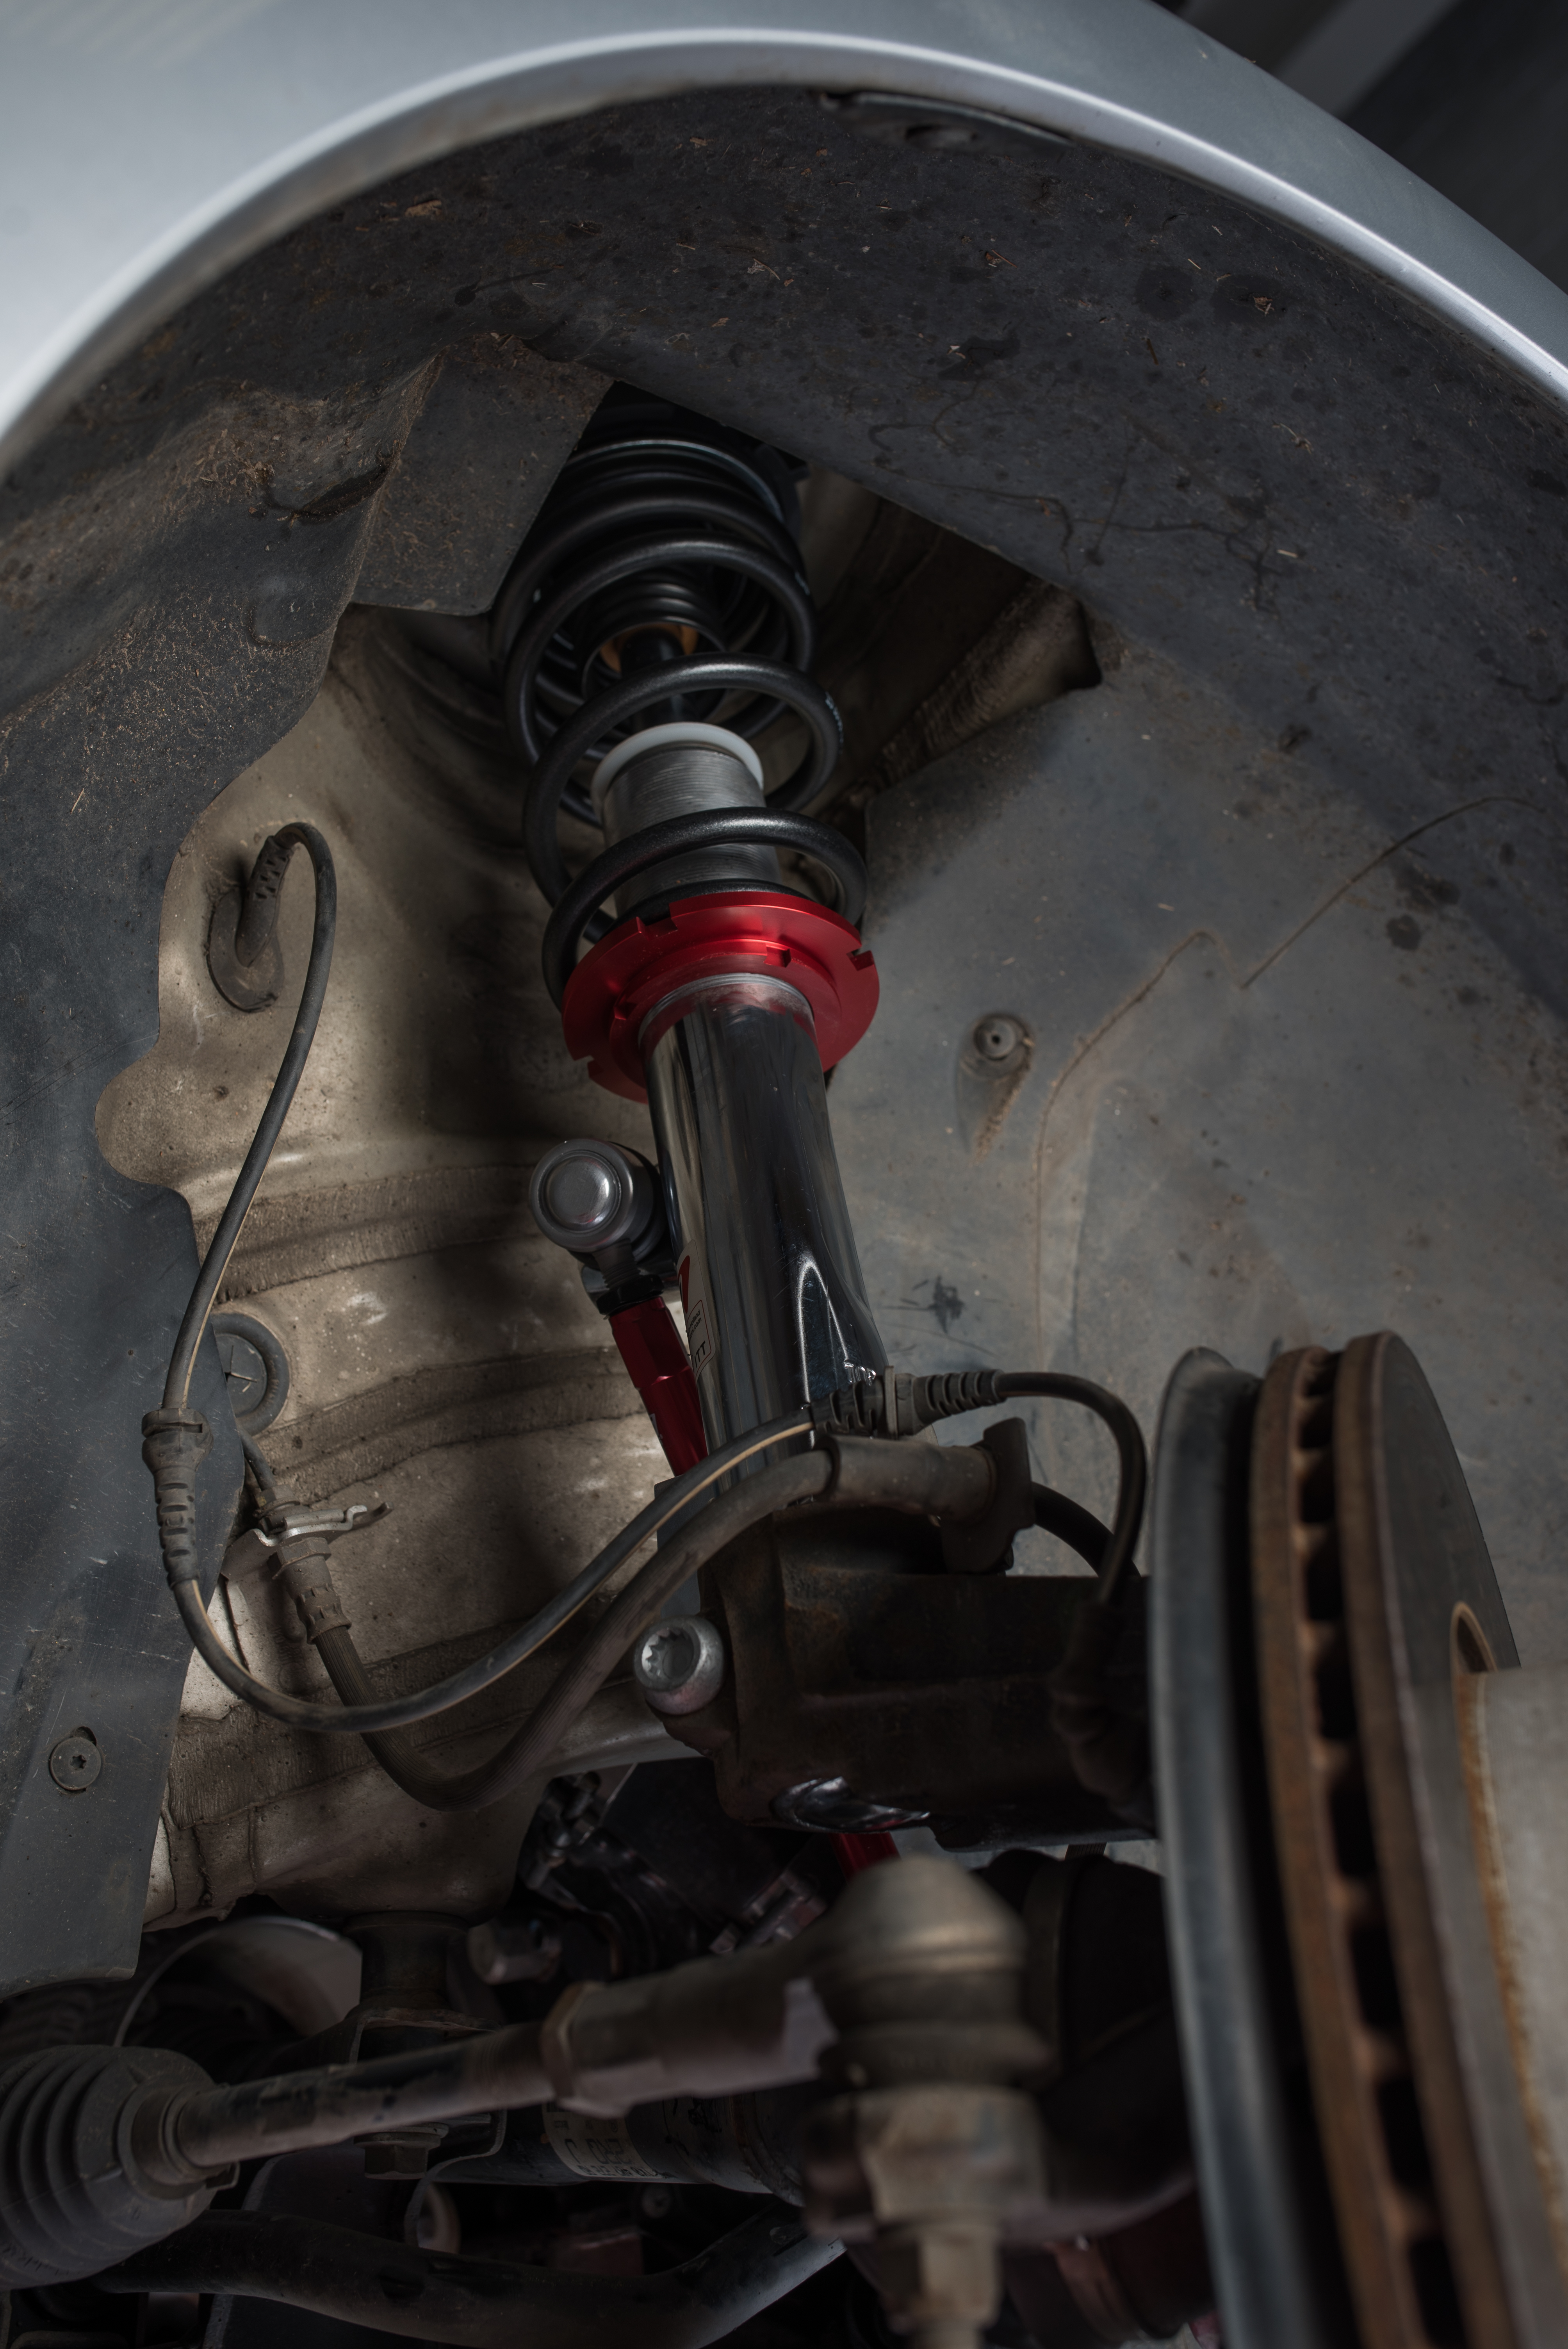
Take your 10mm and remove the bolt fastening the ABS Sensor Wire and Brake Hose bracket to the strut. Be careful not to damage the wear sensor or lines during this process, and then move it out of the way once the bolt is removed. To keep track of your bolts, we suggest threading them into the new KONI front struts so it will be there when you install the bracket later.
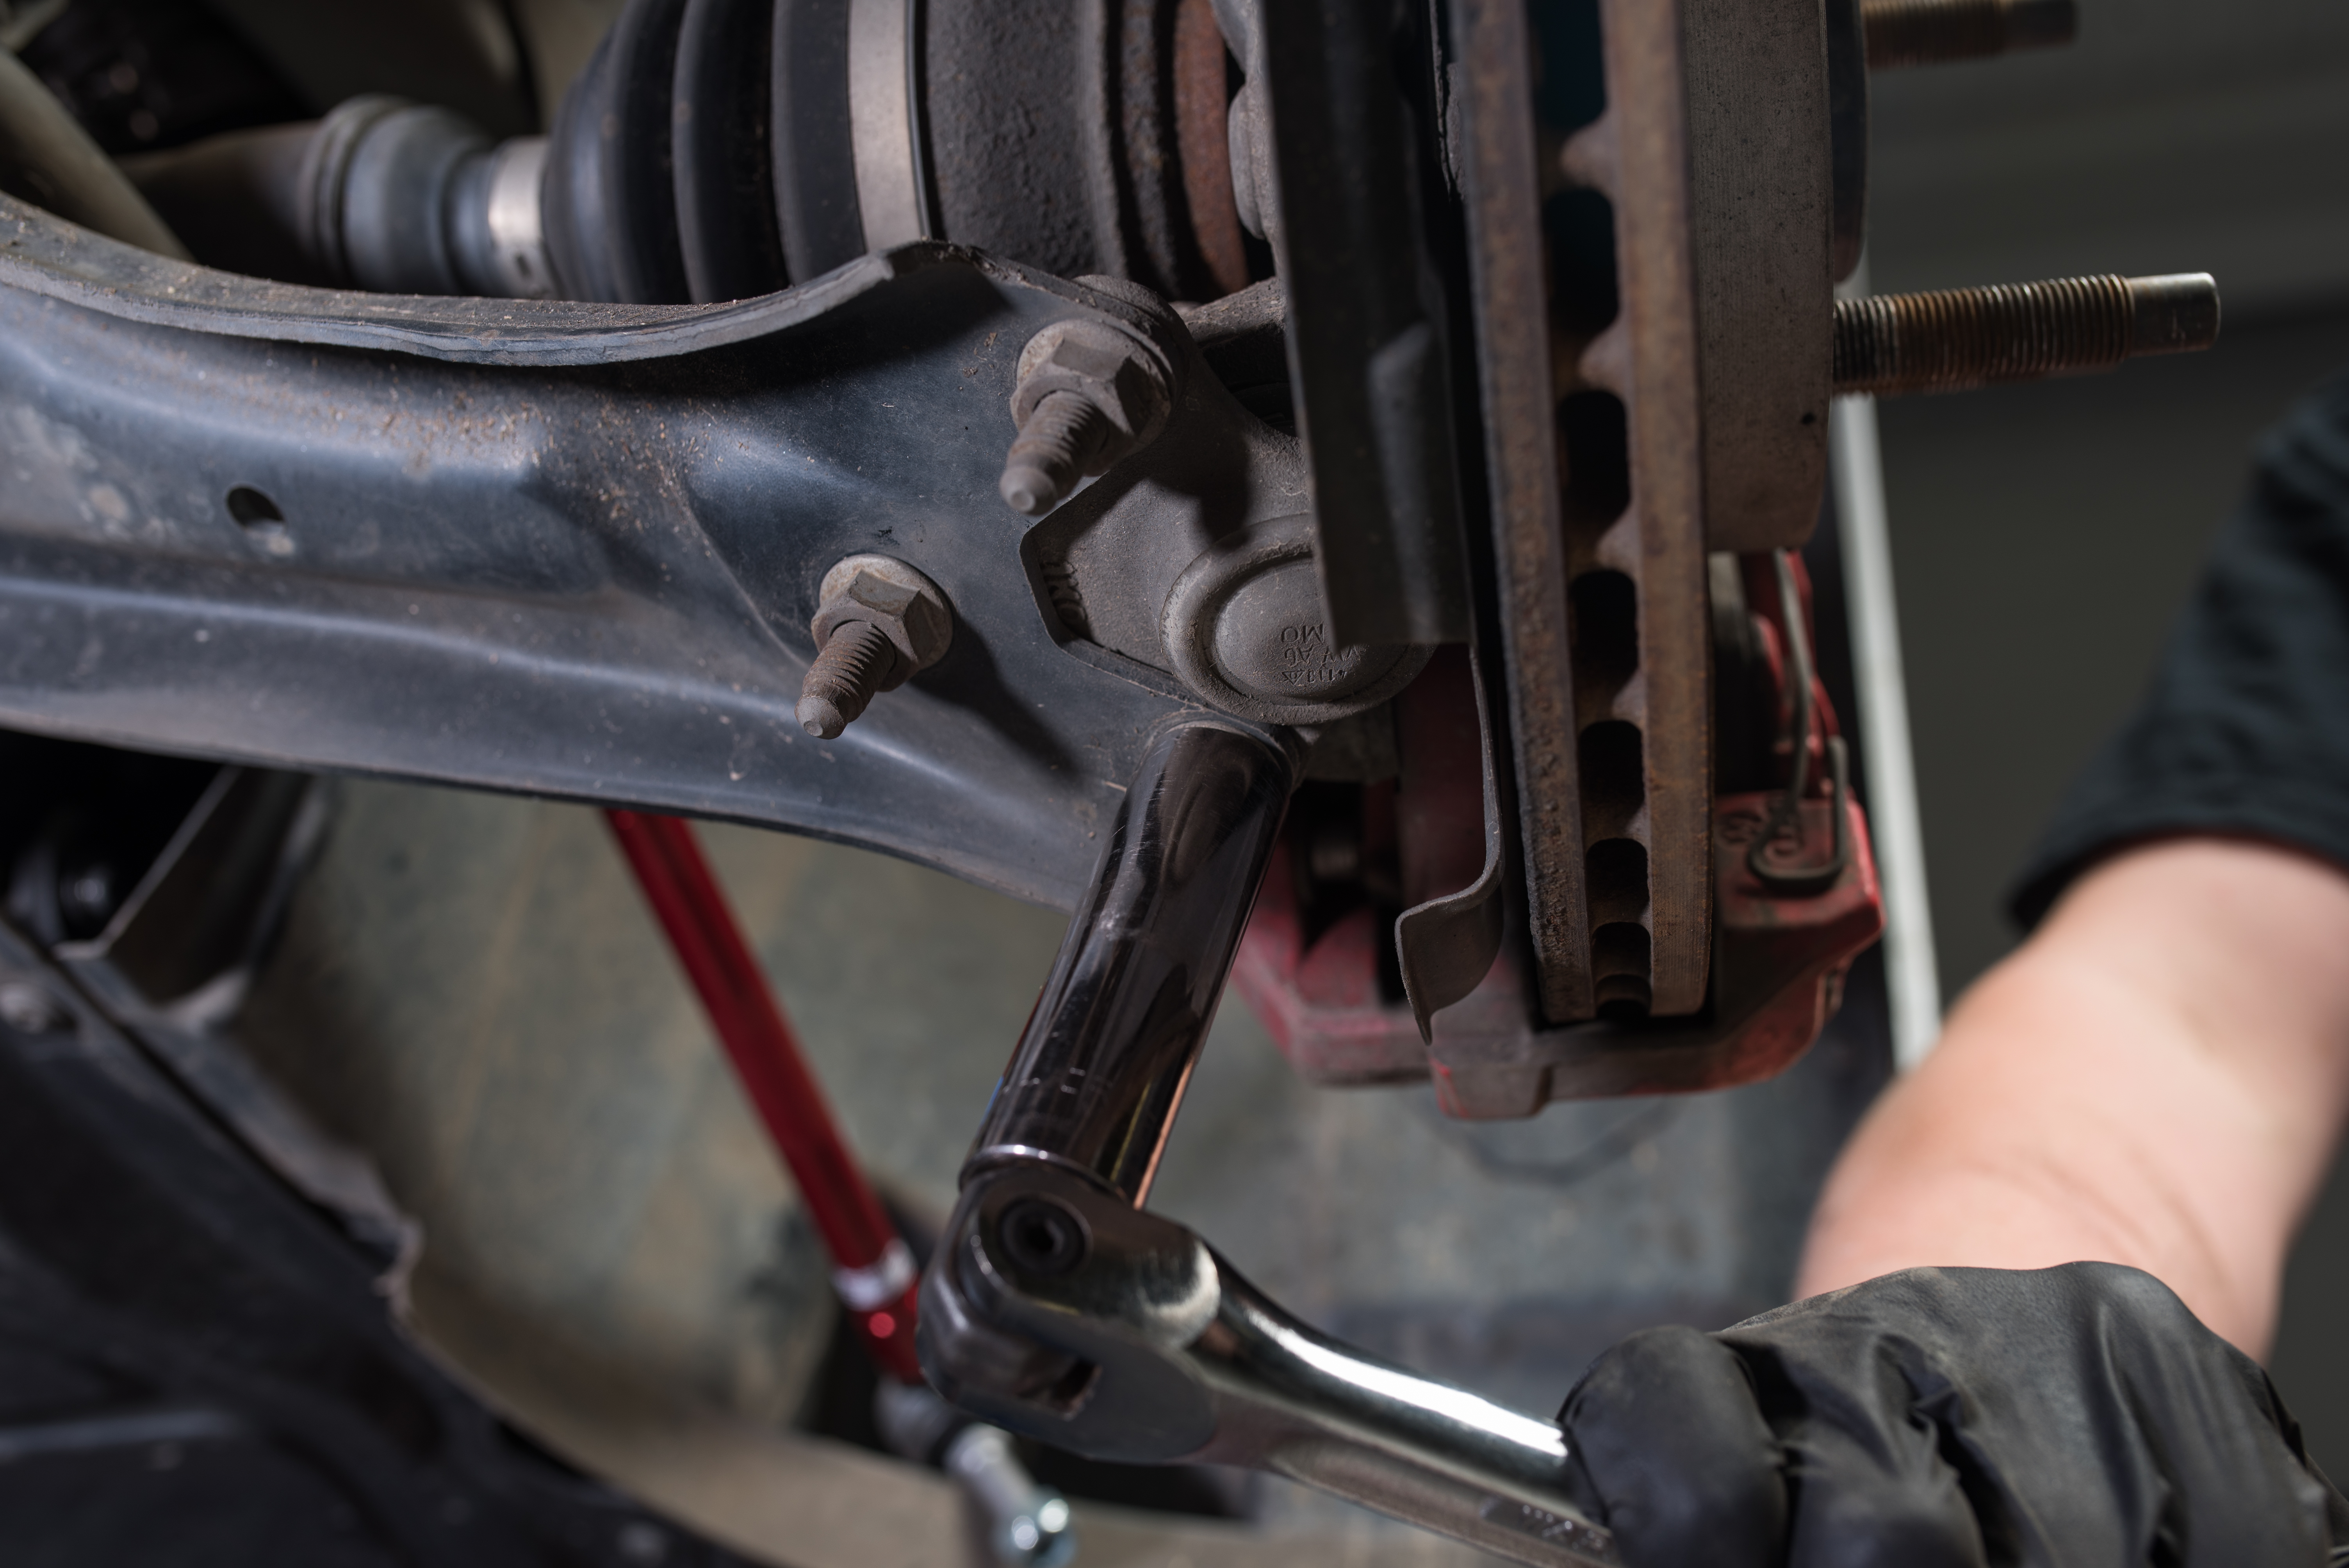
Move under the knuckle and remove the three 16mm nuts securing the ball joint. Ours came off easily, but these can be extremely rusted and corroded, so go ahead and give it a good spray with your trusty penetrating oil. The ball joint is going to be pretty well stuck to your lower control arm, so take a pry bar and wedge it in to separate the two. For the next part, the easiest thing to do will be to grab your floor jack and use it to hold up the suspension, so go ahead and snag that now.
If you have headlight leveling sensors, don’t forget to remove the 10mm nut securing the bracket to the lower control arm.
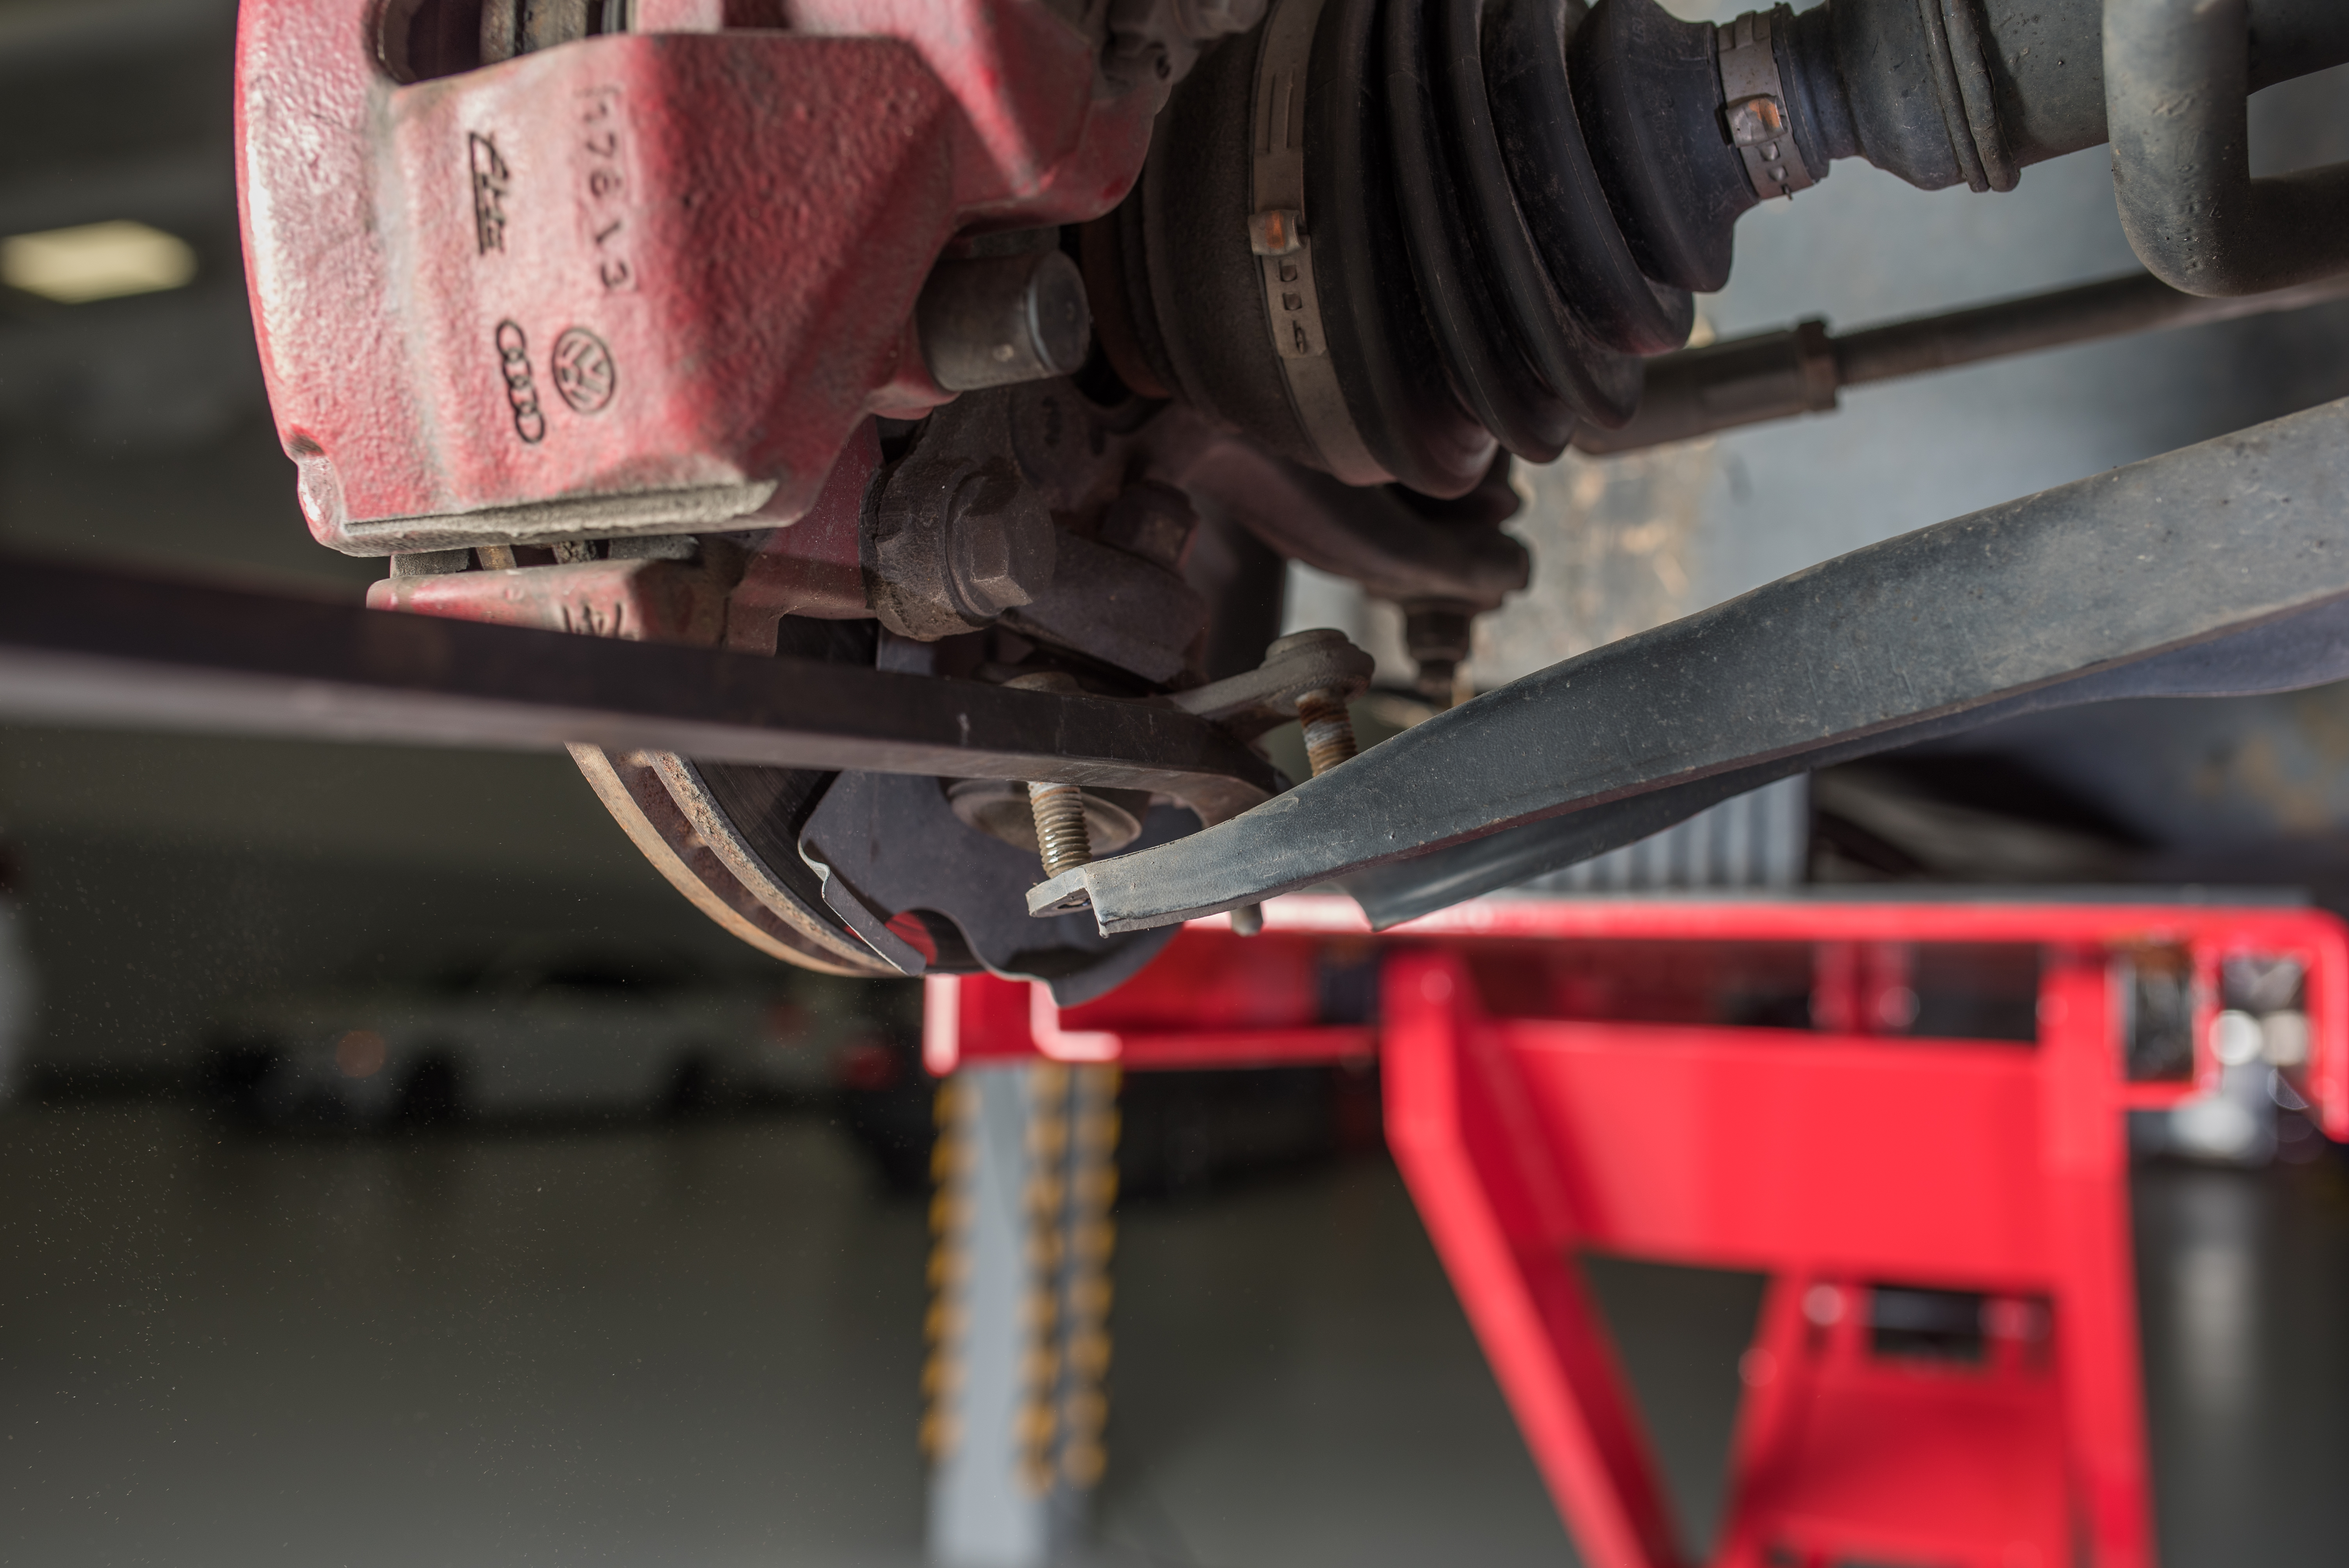
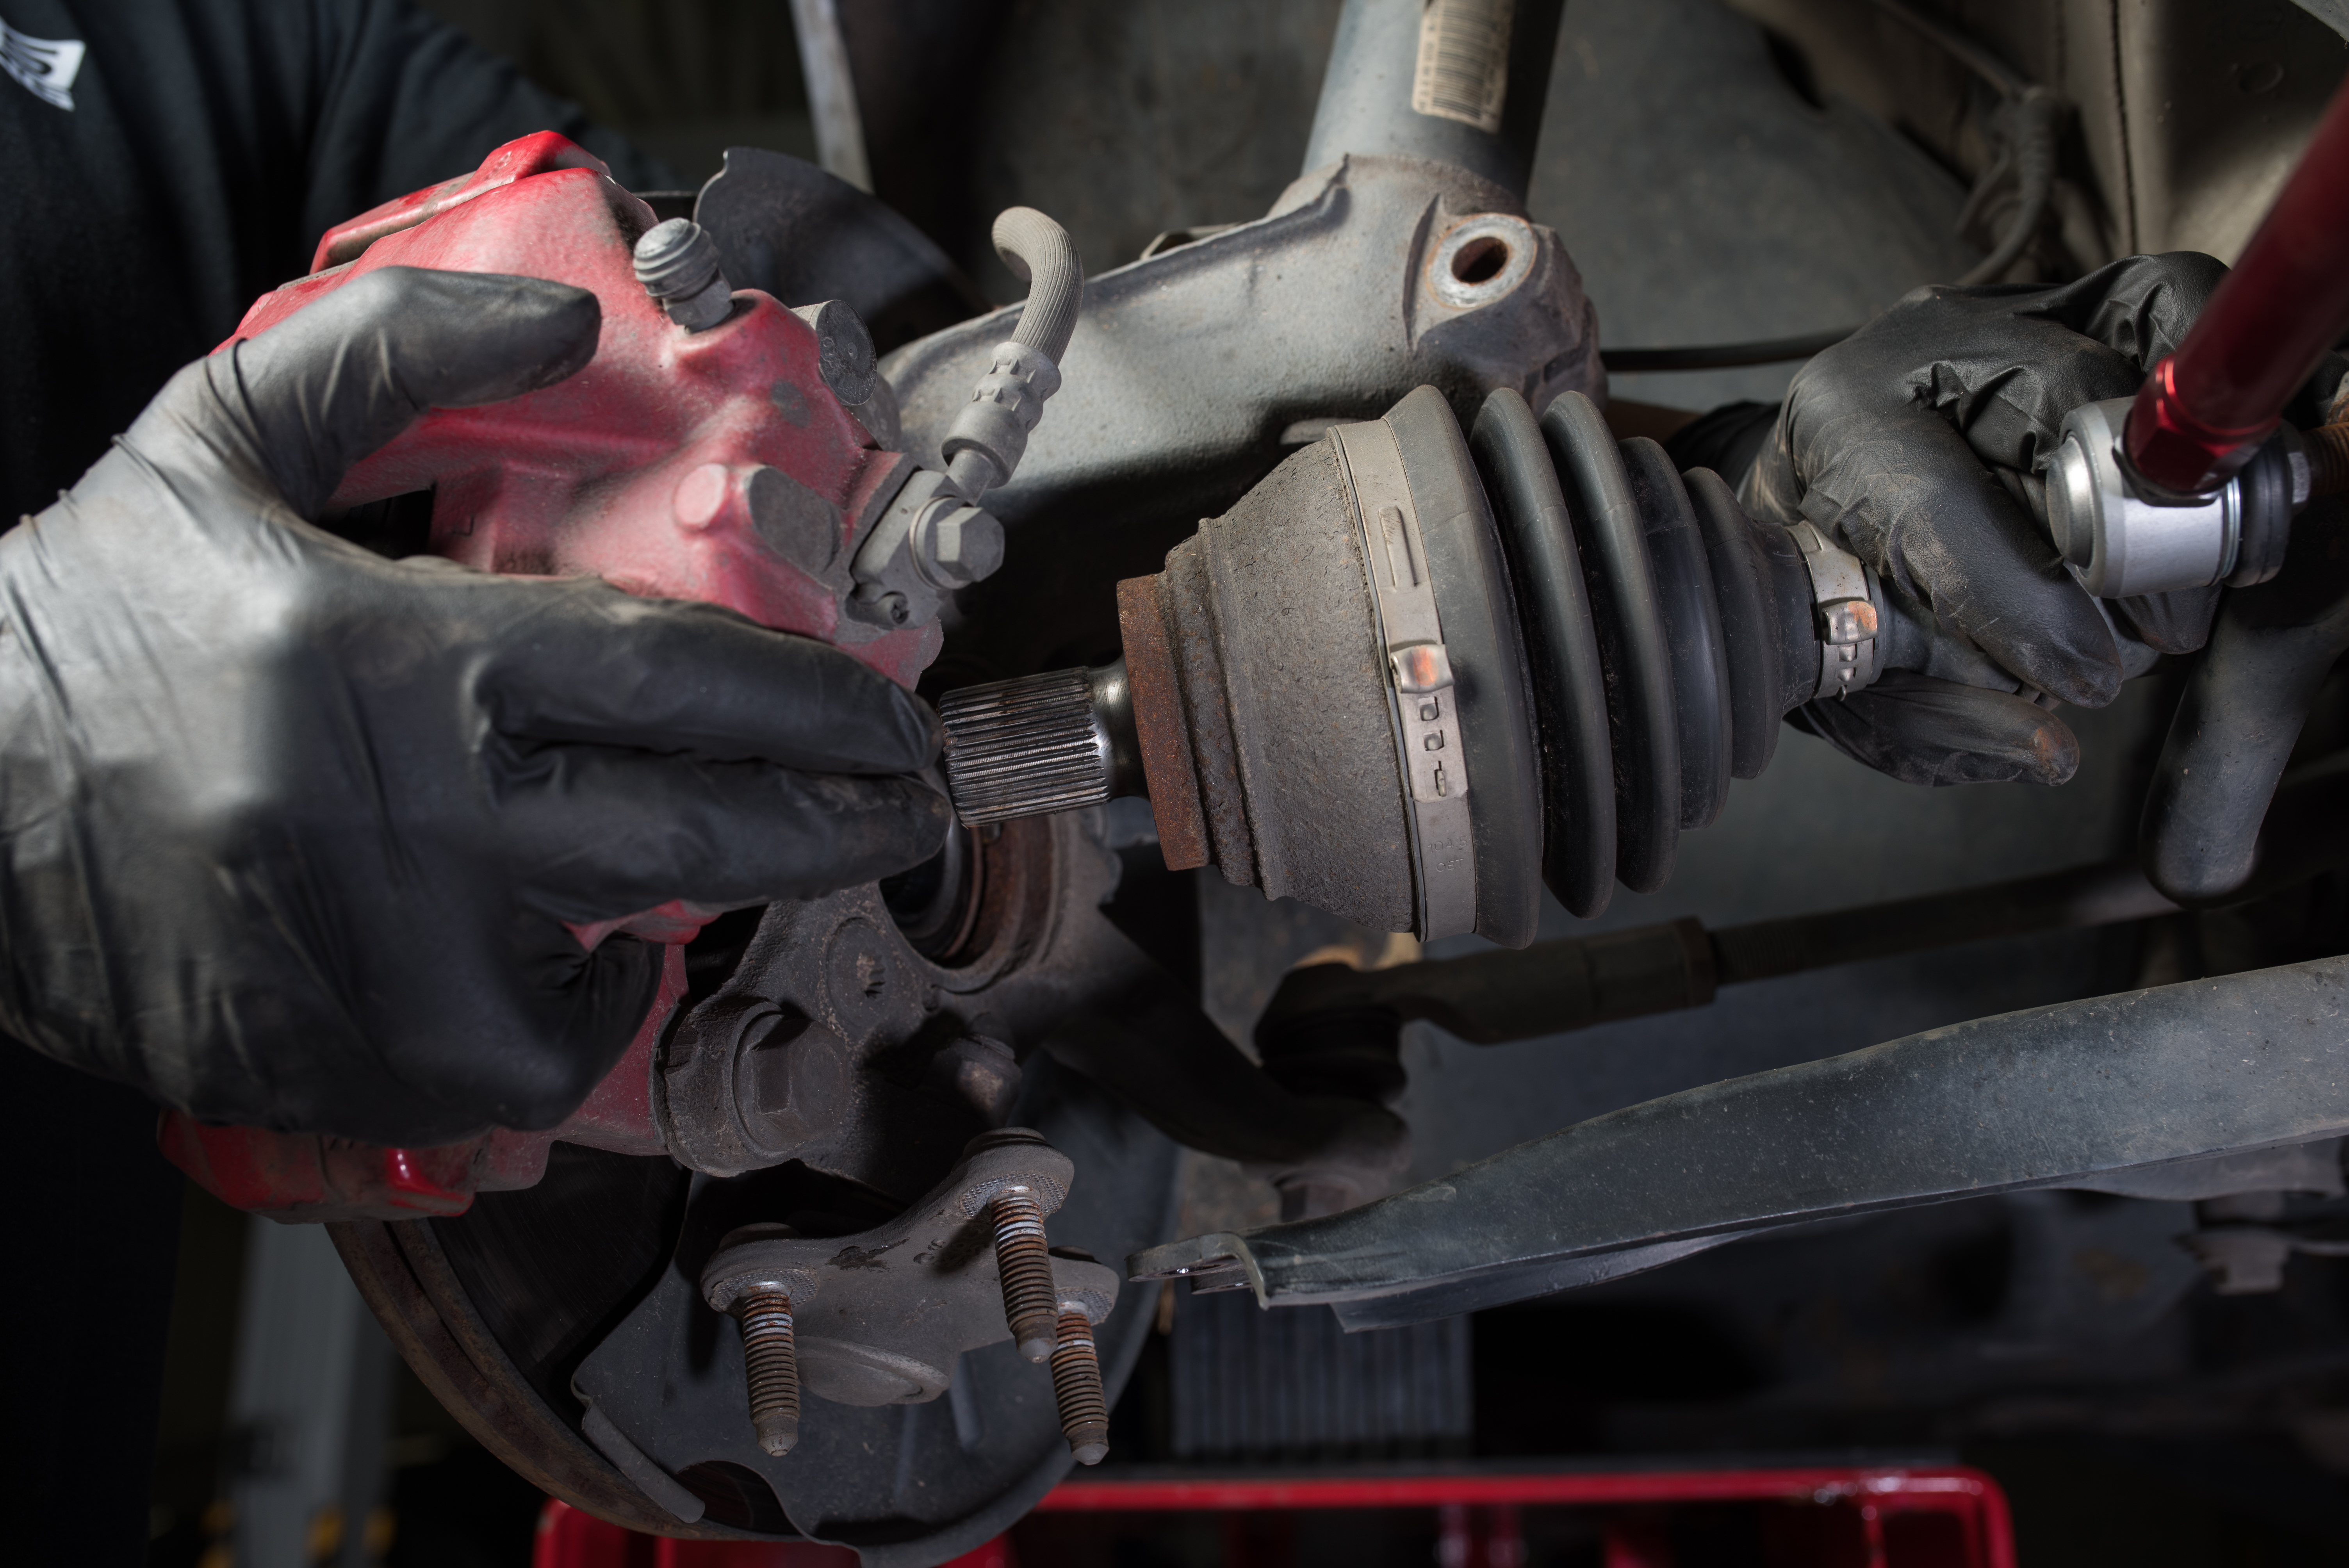
Next, with the lower control arm still disconnected, pull the CV joint out of the receiver in the wheel bearing housing by pulling the housing assembly outward. We found giving a few light taps to the 24mm bolt helps get the process started and makes removal much easier. Don’t forget to leave those original bolts in place to prevent any grime from getting inside the CV shaft. We will not be reusing those bolts later, but this is a good idea to keep them in place so the threads of the new bolts stay clean for re-installation.

You will want to tie the CV shaft up out of the way for later with mechanics wire (or zip ties) and reconnect the lower control arm to the ball joint by hand threading the 10mm nuts back in place. No need to tighten these down at this time, just keep everything secure and easy to work with.
CAREFULLY support the front suspension underneath the control arm with a floor jack you grabbed a few minutes ago.
Remove the pinch bolts on the wheel bearing housing with your 18mm wrench and a Triple Square socket. On ours, it was an M14. Yours may be different depending on the model. Make sure you have a new set of pinch bolts and nuts, as these are torque to yield. Chances are, you will need to knock these bolts out with a hammer if they have not been removed for some time, if at all. Fortunately, ours came out by hand which made it easy enough. Just keep that trusty penetrating oil around and don’t be afraid to get in there with that mallet or hammer.
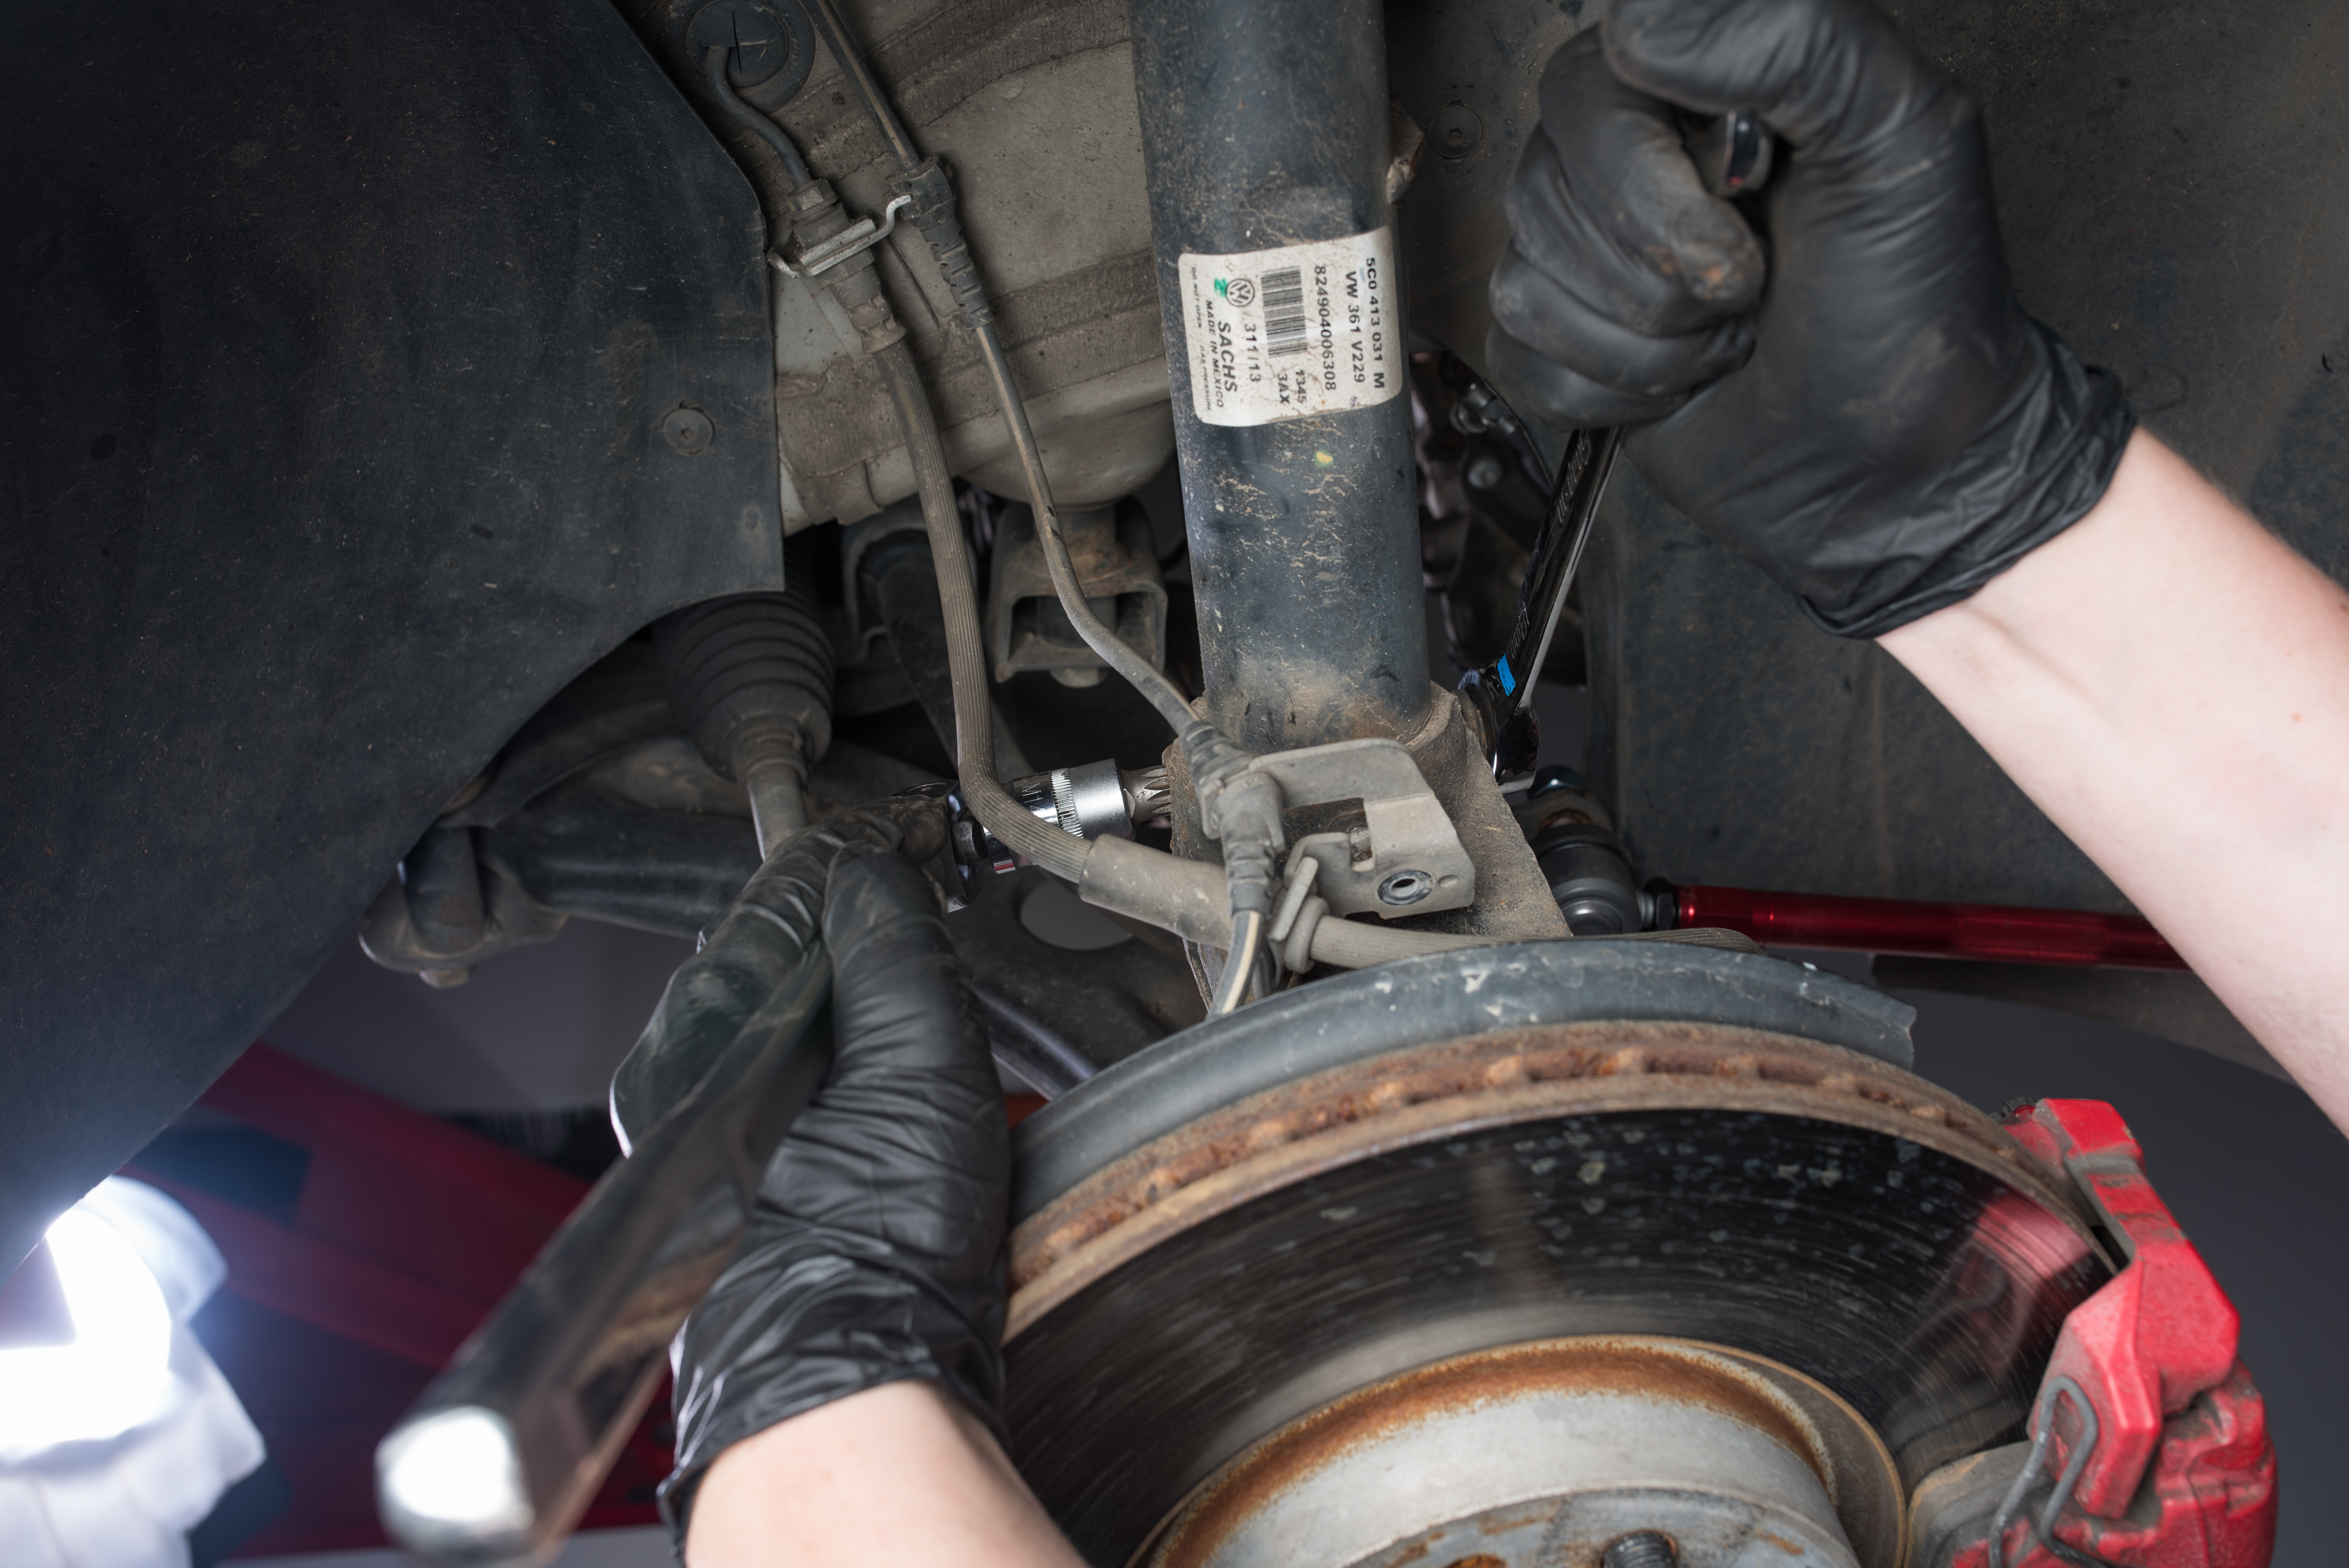
For this next part, if you are like me and new to working with VW’s, pay close attention. You will need a housing spreader tool on a 1/2” ratchet. Take the spreader tool with its bit facing vertically and insert it as close to the bottom of the slot on the back of the wheel bearing housing as possible. This will prevent it from needing to be removed in order to uninstall the existing front strut.
With the 1/2” ratchet, turn the spreader tool until it is horizontal rather than vertical to get the most space possible for the strut to be removed. It should stay in place by friction, but be careful as you remove the front strut for the spreader tool to not pop out of place and fall.
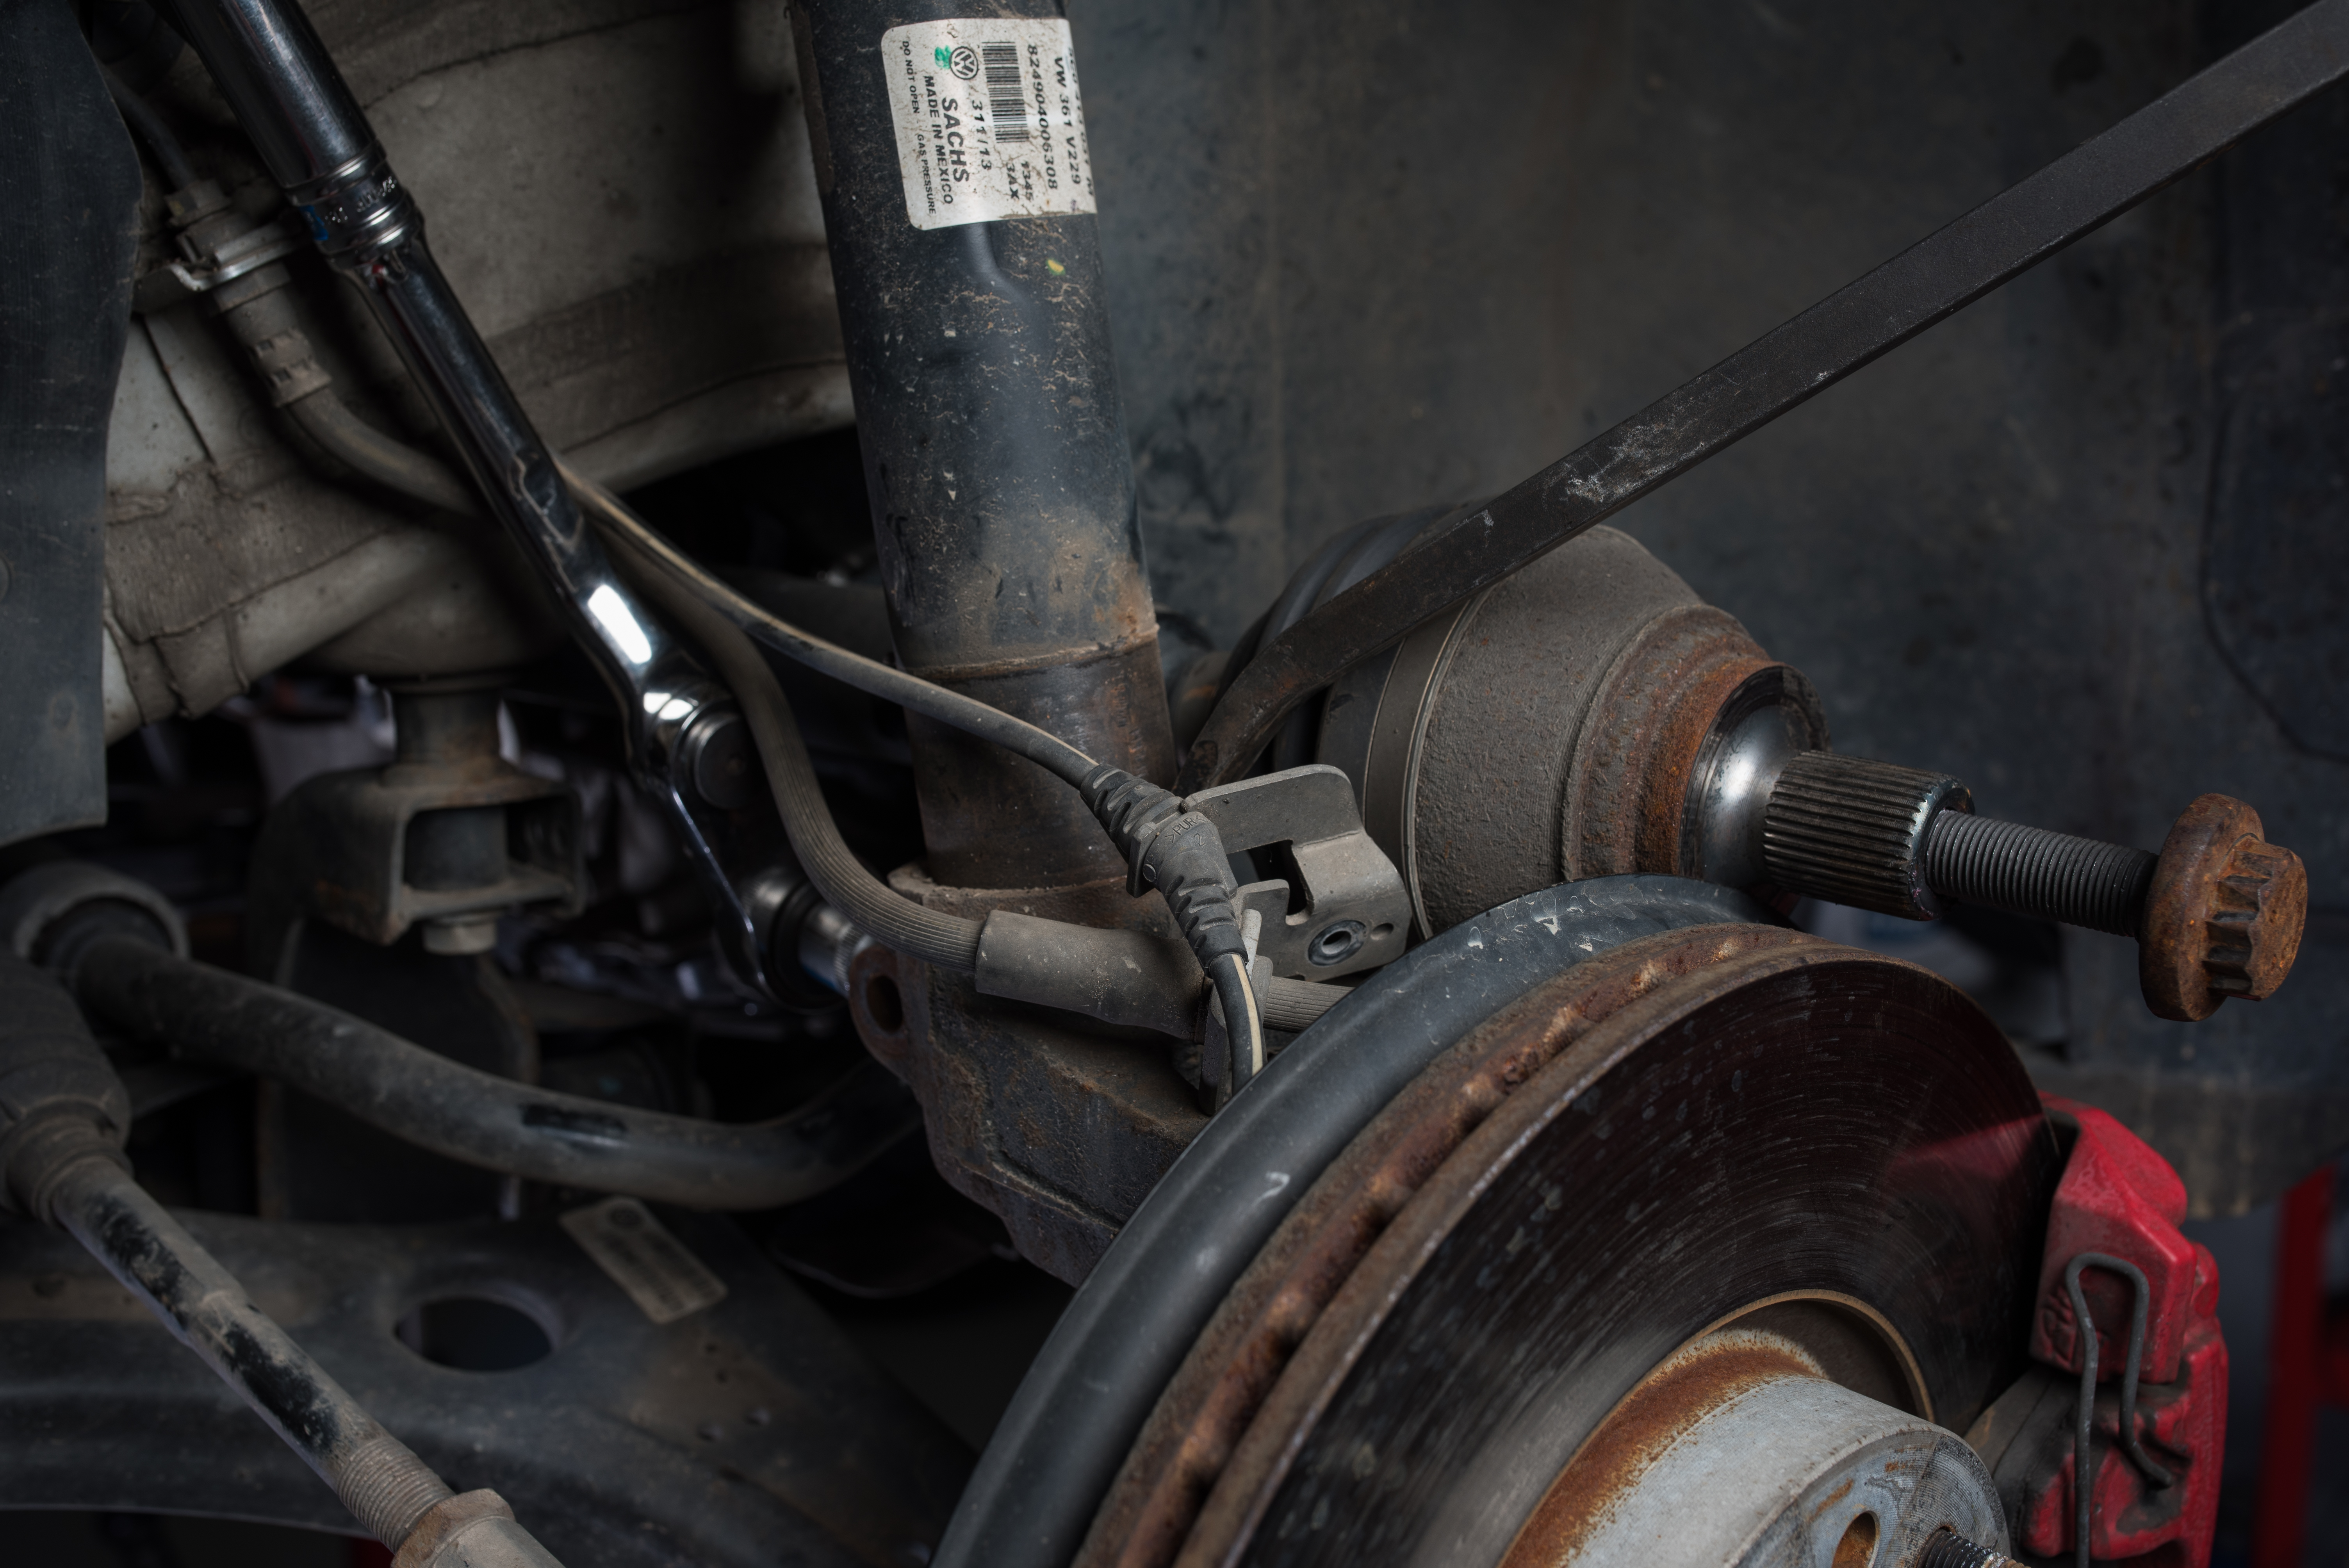
CAUTION: You may need to unbolt the lower control arm from the ball joint now in order to gain enough movement to effectively remove the strut from the housing. If the strut feels stuck, check your spreader first to ensure it is not catching the alignment tab on the back of the strut. Next, make sure the strut is not binding in the housing. If it is being ornery, have a friend lower the jack slightly and articulate the housing itself while you knock the housing lightly with a hammer. This should free any seized strut.

You may have to move the spreader tool a few times depending on the alignment tab, but the strut should come right out.
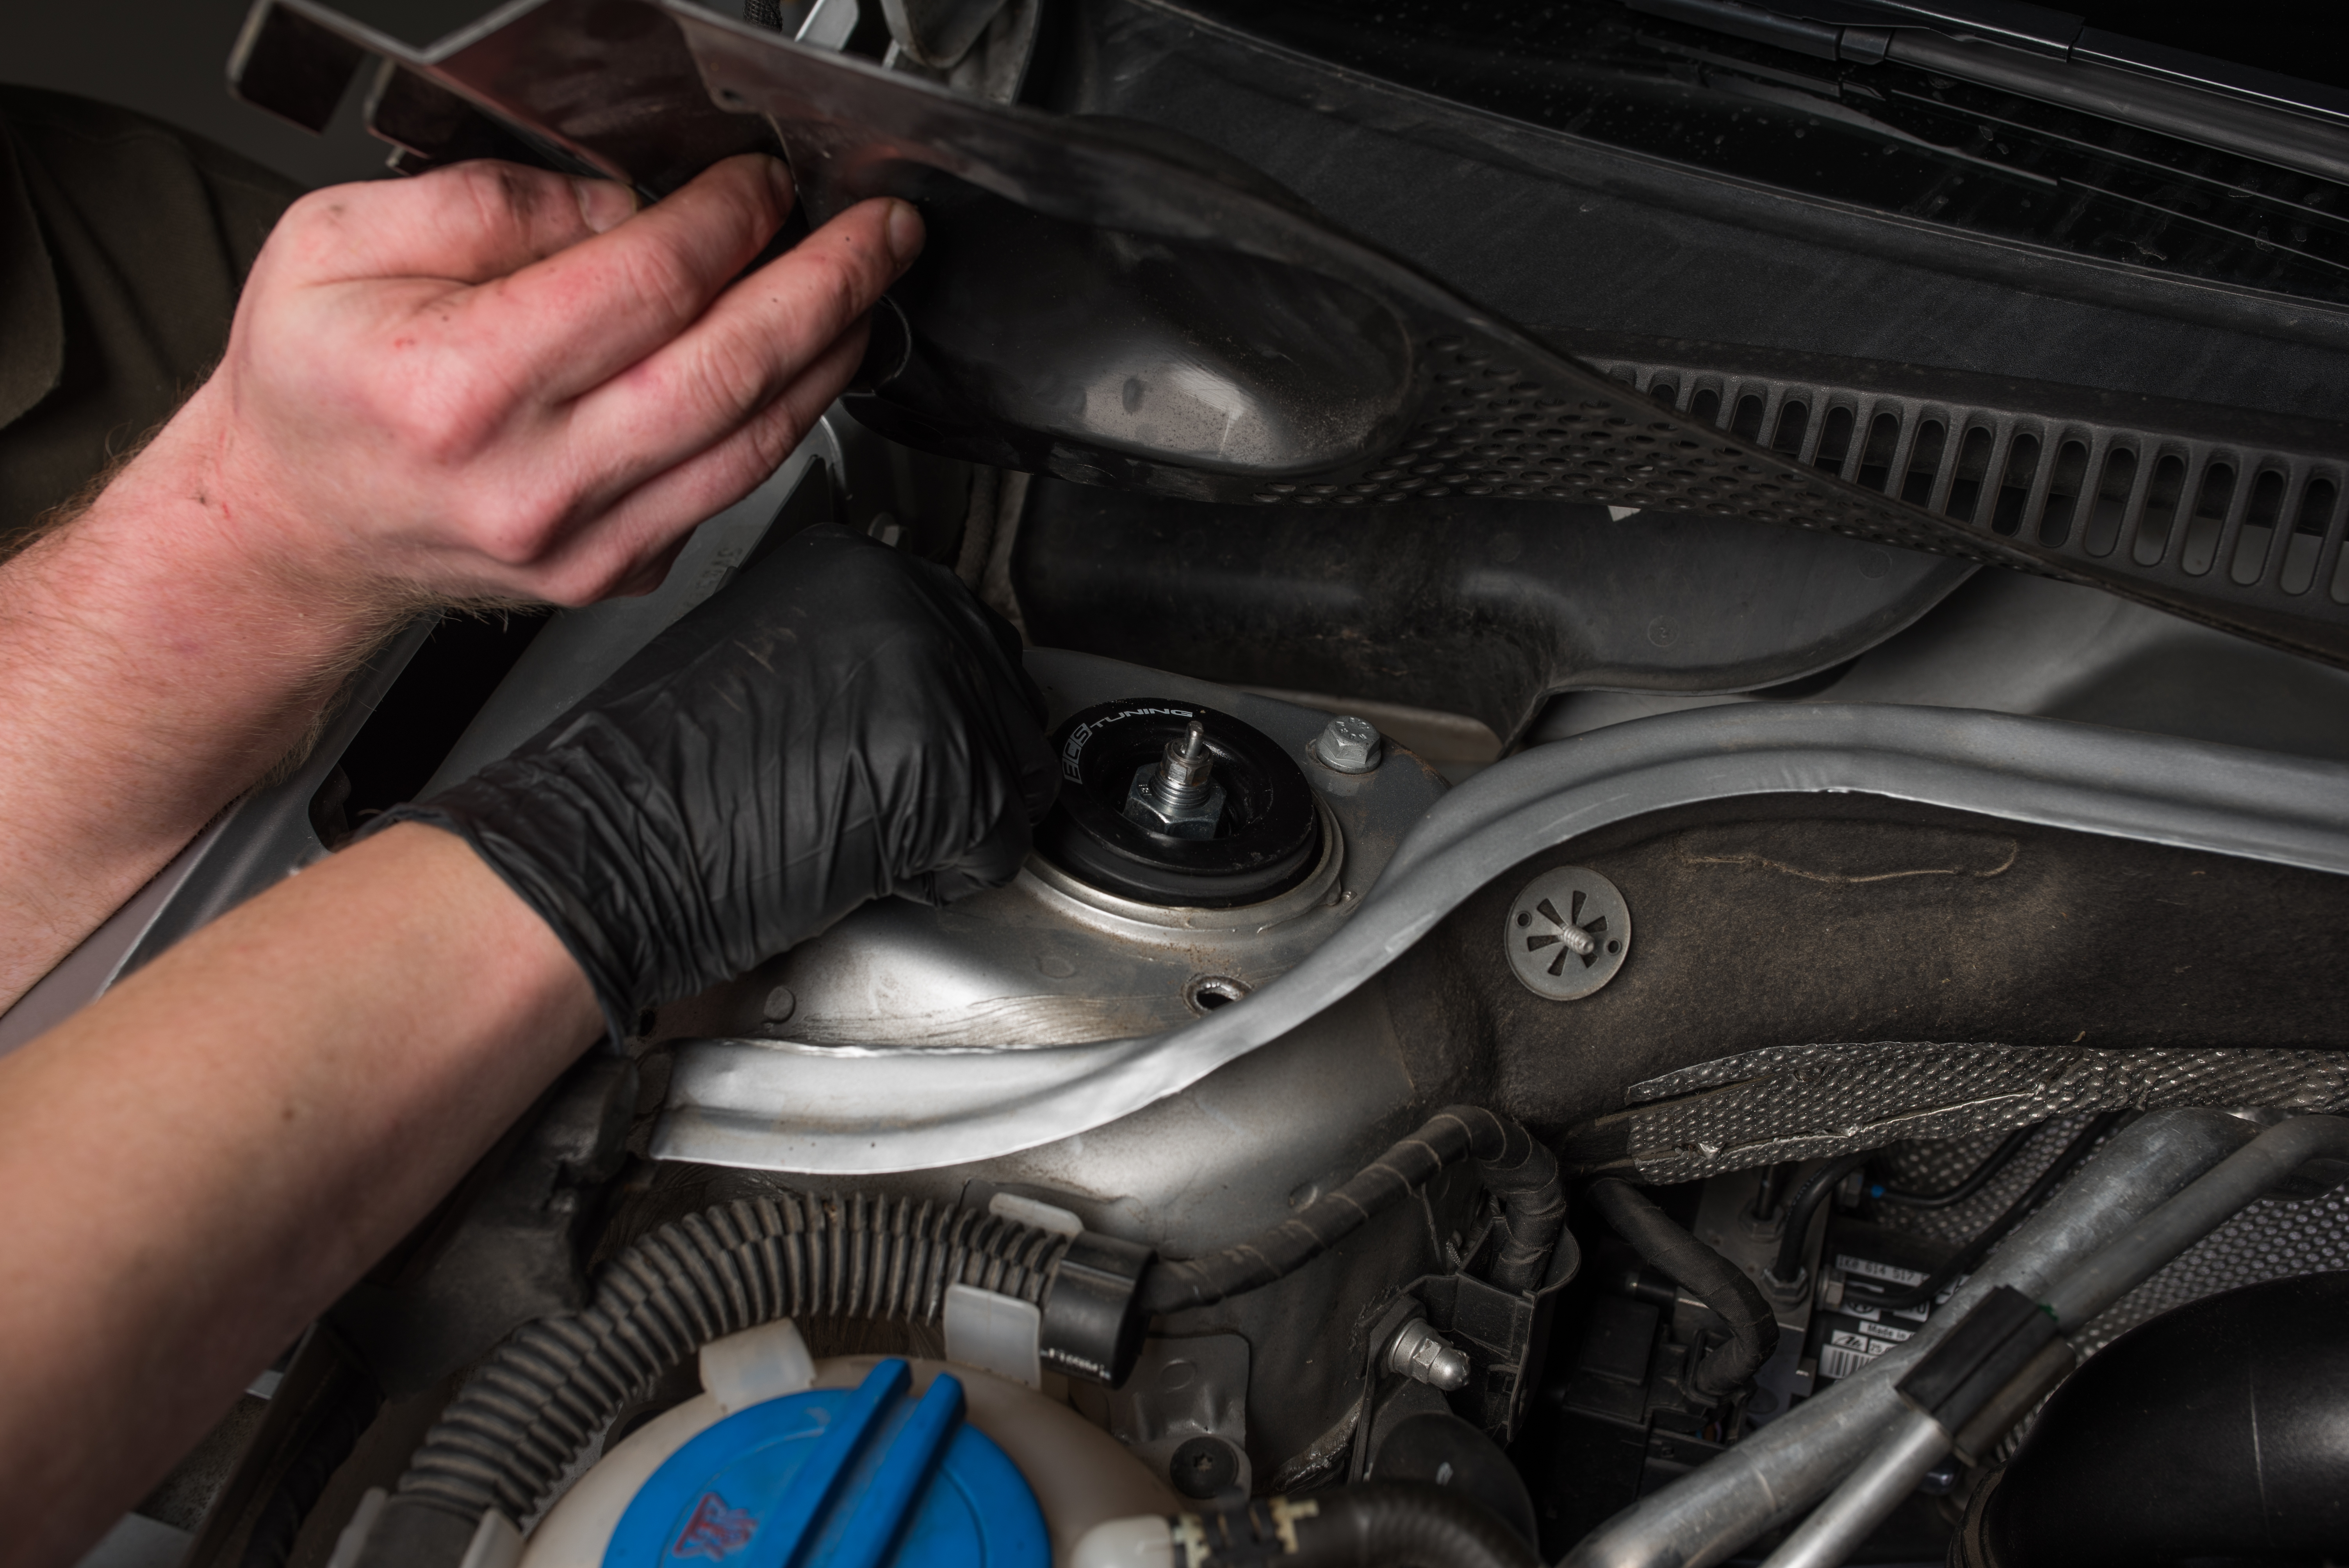
Next, moving to the engine bay, remove the three upper strut mount bolts with a 13mm socket and wrench. Be careful pulling back the dust covers along the corner panels to access the bolts and strut tower mounts. These covers are prone to cracking, especially in cold weather. Remove the first two 13mm bolts after you have access under the cowling.
With a hand on the strut holding it firmly and securely, remove the final bolt and let the strut drop down into your hand.
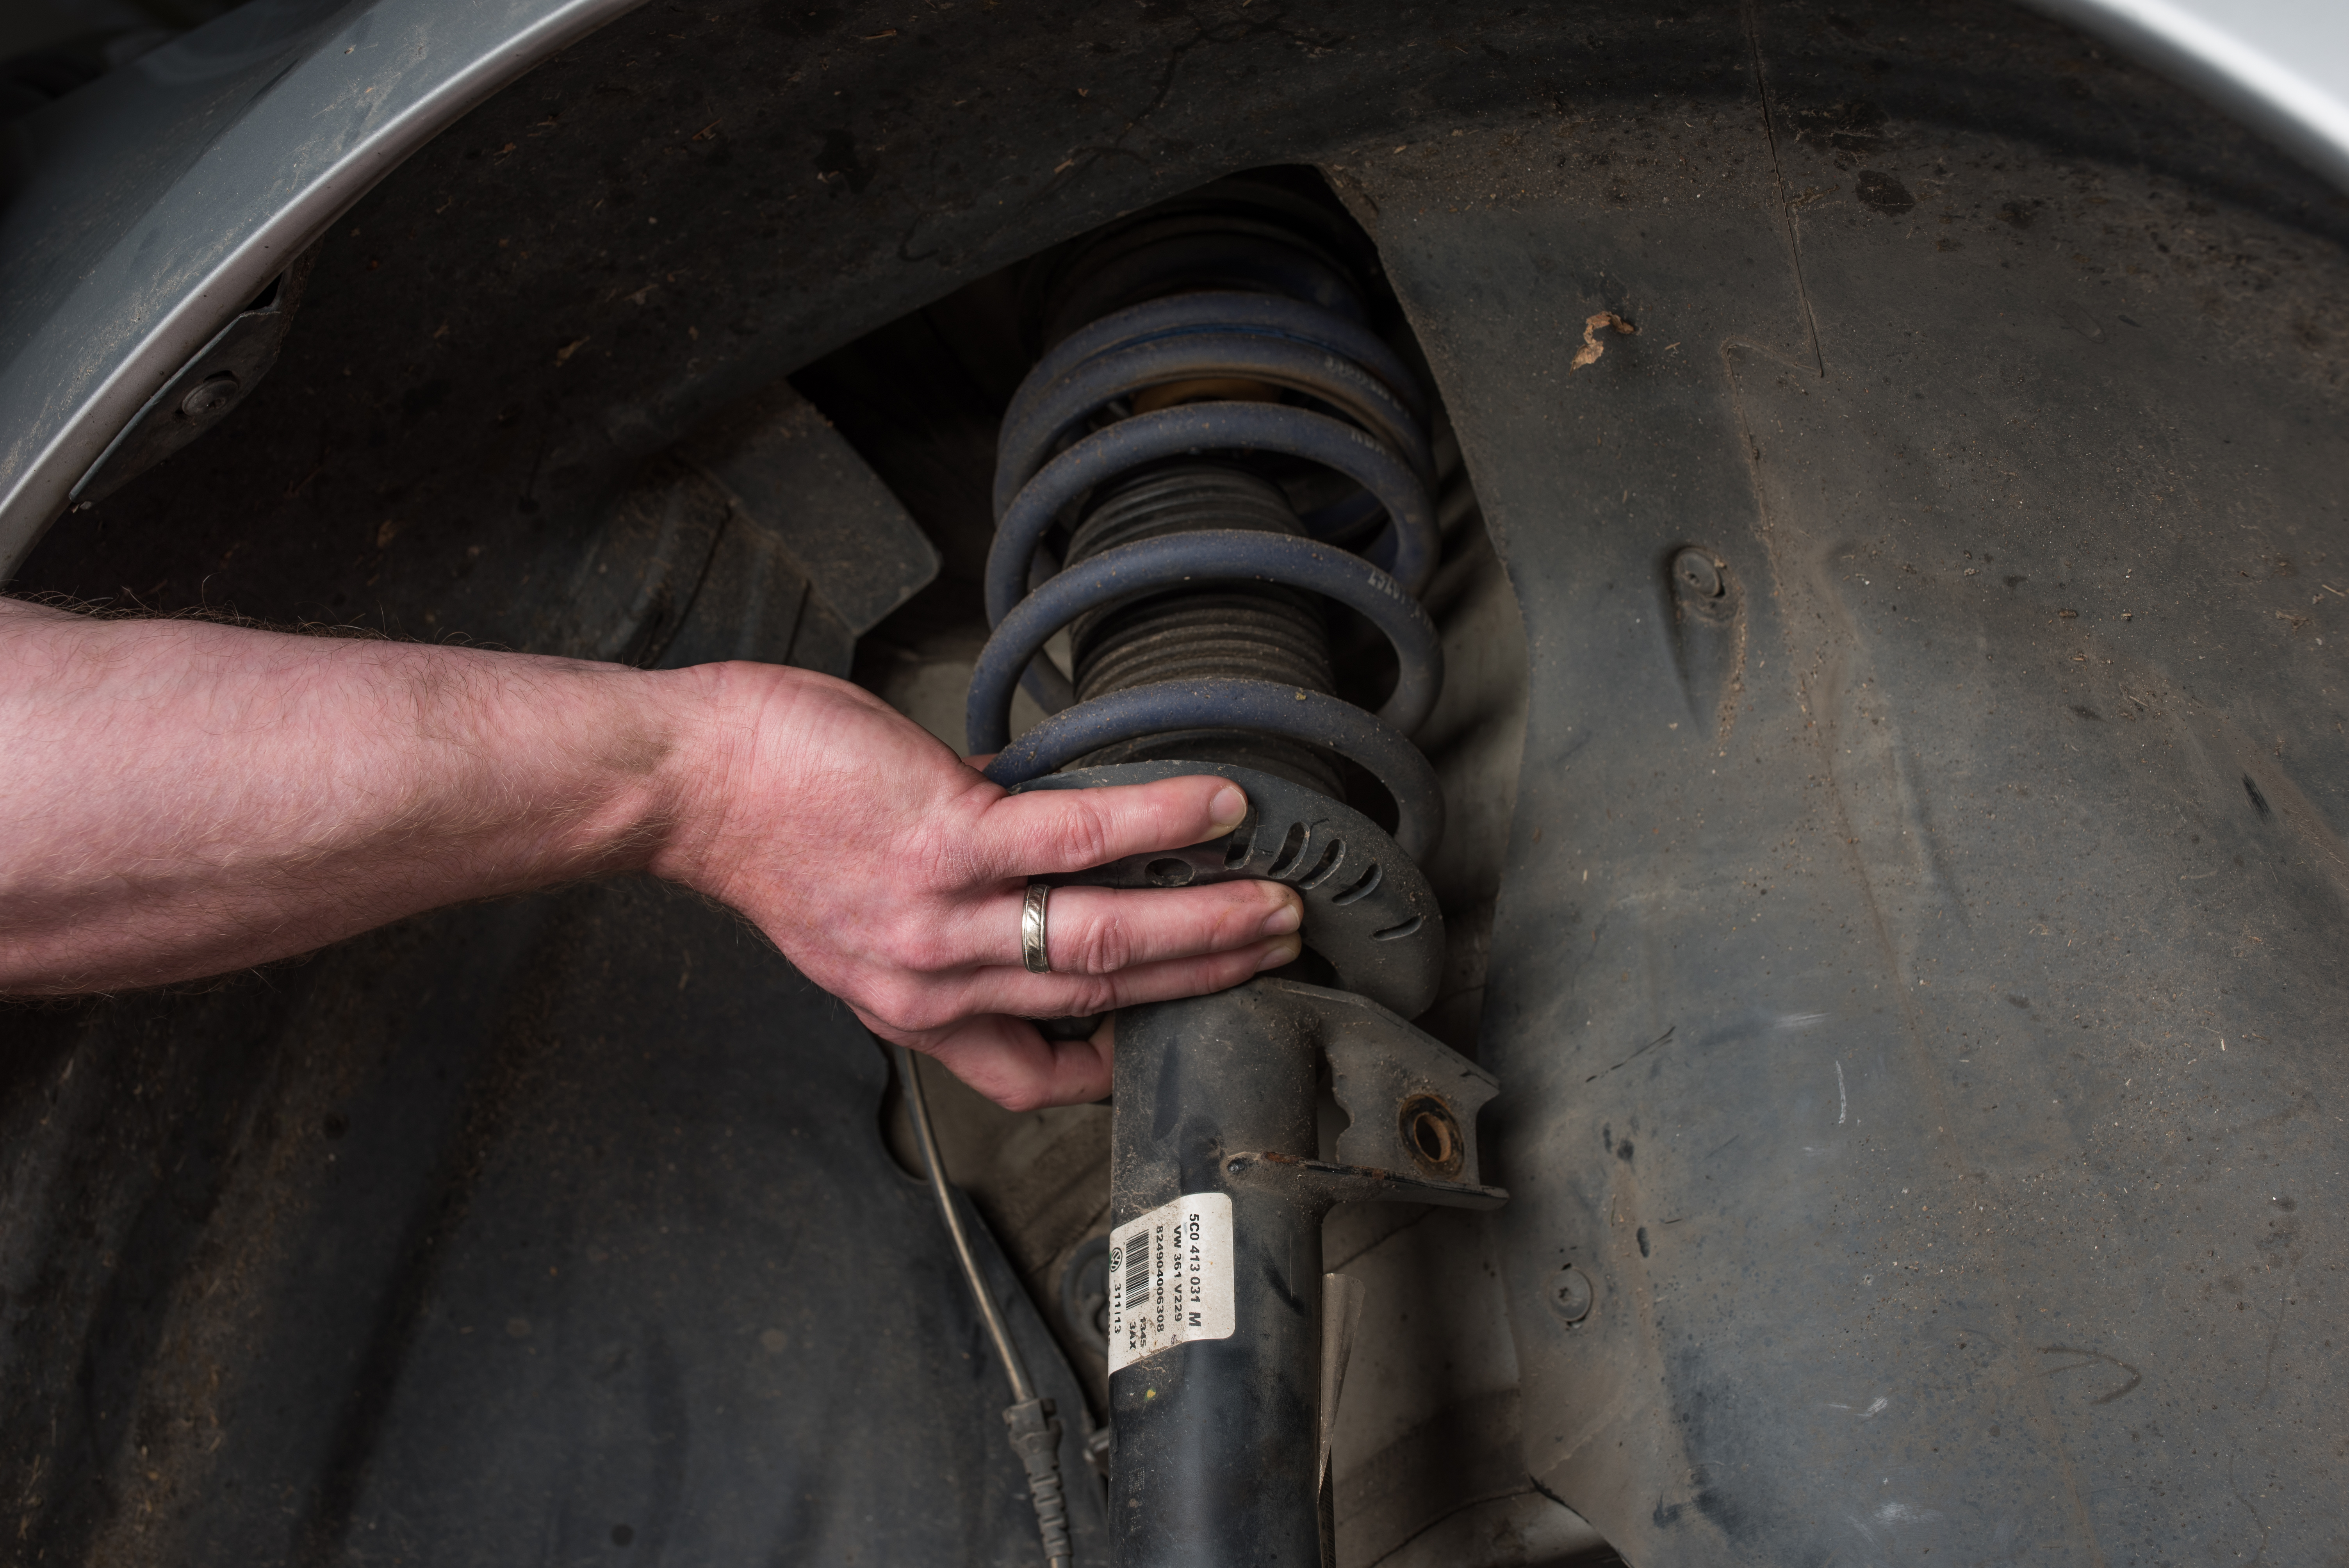
Carefully remove the strut from the wheel well.
With your old suspension out of the way we can move on to working with your brand new KONI coilovers!
Just to recap what we have done, we replaced the coilovers, the end links, and the strut tower mounts up front with this job. While not required, we strongly recommend using adjustable end links with any coilovers, as suspension geometry will change unless you compensate for the difference in height and articulation. And of course finish your coilover installation with an alignment to prevent any premature tire wear.
Before installing anything, thoroughly grease the threads on your coilovers. This will make adjustment now, and in the future, a breeze. Keep these threads greased over the life of the coilover to prevent seizing. Thread each adjustment ring to their lowest settings after having greased the threads to get the rings just as greasy and smooth.
Assemble the coilovers by placing the spring over the strut and indexing it with the lower spring perch. The spring will only install one way with the strut tower mount, but will install both ways on the lower spring perch, so double check that you have the spring oriented properly before installing the strut mount and new lock washer and nut. DO NOT reuse old hardware from the original struts.
If you did not receive the strut bearing and strut mount pre-assembled, put those together now. Keep your eye on the arrows printed on one side of the rotary-shaped mount. These arrows should be on the outside in relation to the car. I.E. they will face in line with the vehicle’s direction of travel and will be closest to the outside, away from the engine bay.

It is a good idea to take this opportunity to replace your upper strut mounts and bearings. We used the ECS Tuning kit, which includes the mounts and bushings and provides a stiffer feel. When you install coilovers, these are definitely an important replacement as they are constructed of 75a durometer that is more substantial than the factory rubber. This is especially helpful because they were designed to be used with coilovers or lowering springs and to withstand the added stress caused by lowering your vehicle. The factory rubber ones tend to wear out more quickly when you fit them with lowered suspension.
Install the strut mount over the shock rod, line up the arrows, and hand-thread the new shock nut on with its lock washer.
With a 7mm Allen key, and a 22mm strut nut socket or offset wrench, tighten the shock nut to 44 ft-lbs with the arrows’ directions in mind to remain facing with the direction of the car on the farthest side of the strut mount from the engine.
Index the spring with its perches so that it is sitting securely in its housing before moving forward. This is also a good time to reinspect your coilovers to check for any irregularities and to check your assembly work.
Lift the strut up to the strut tower mount, keeping the arrows properly aligned, and hand thread one of the bolts in place to hold the strut up. You can now easily orient the strut to match the remaining holes and tighten the three 13mm bolts to 11 ft-lbs +90 degrees.
Use the jack we placed under the control arm earlier to raise the suspension to be guided into the coilover. Make sure the coilover is completely seated in the housing before installing your new pinch bolts. We used the spreader again to ease the installation, being mindful of the larger alignment tab on the KONI coils versus the factory strut.
Reassembly
Now that the coilovers are both installed in their housings and the strut mounts, you can begin the reassembly of the rest of your front suspension and CV axles. In order, you will want to:
Unbolt the lower ball joint
Install the CV joint back into the wheel bearing
Install the lower ball joint and torque the nuts down to proper spec
Install sway bar end link and torque to 48 ft-lbs
Install the axle bolt and torque to spec depending on the type of bolt you have
Install the brake hose and ABS wiring bracket
Install the headlight level sensor if you have one
Install the front wheels and torque to 89 ft-lbs
Rear
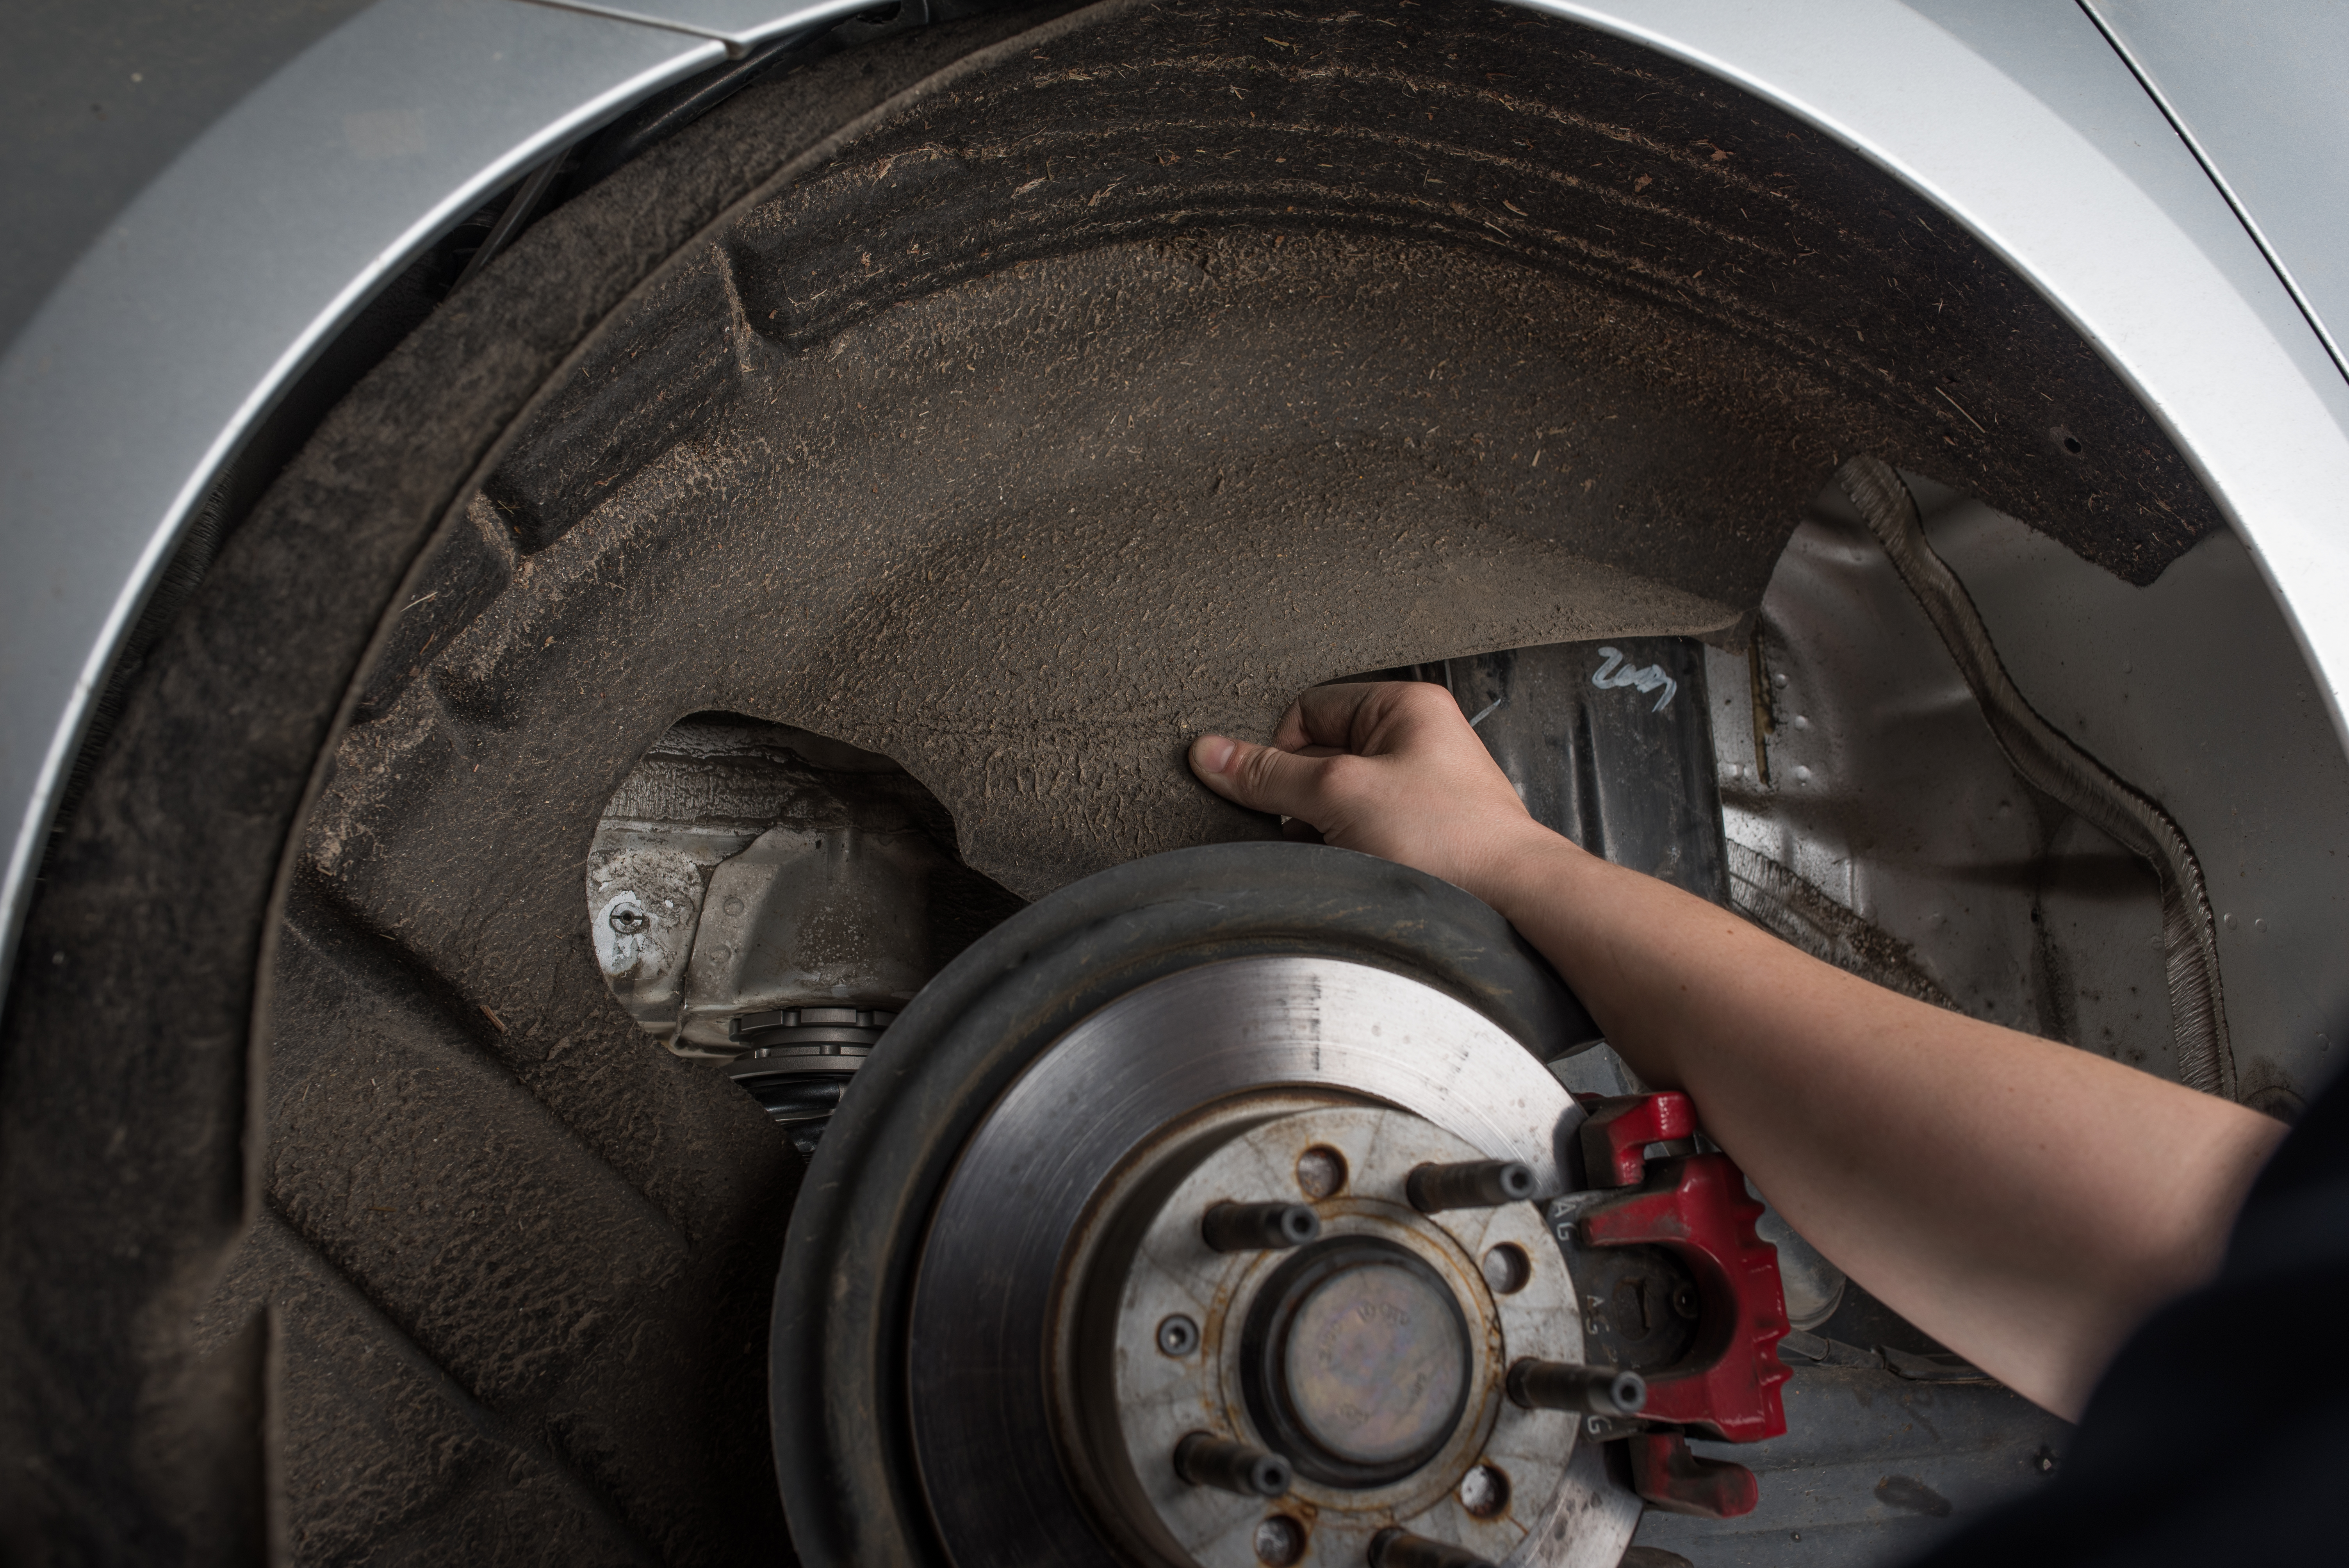
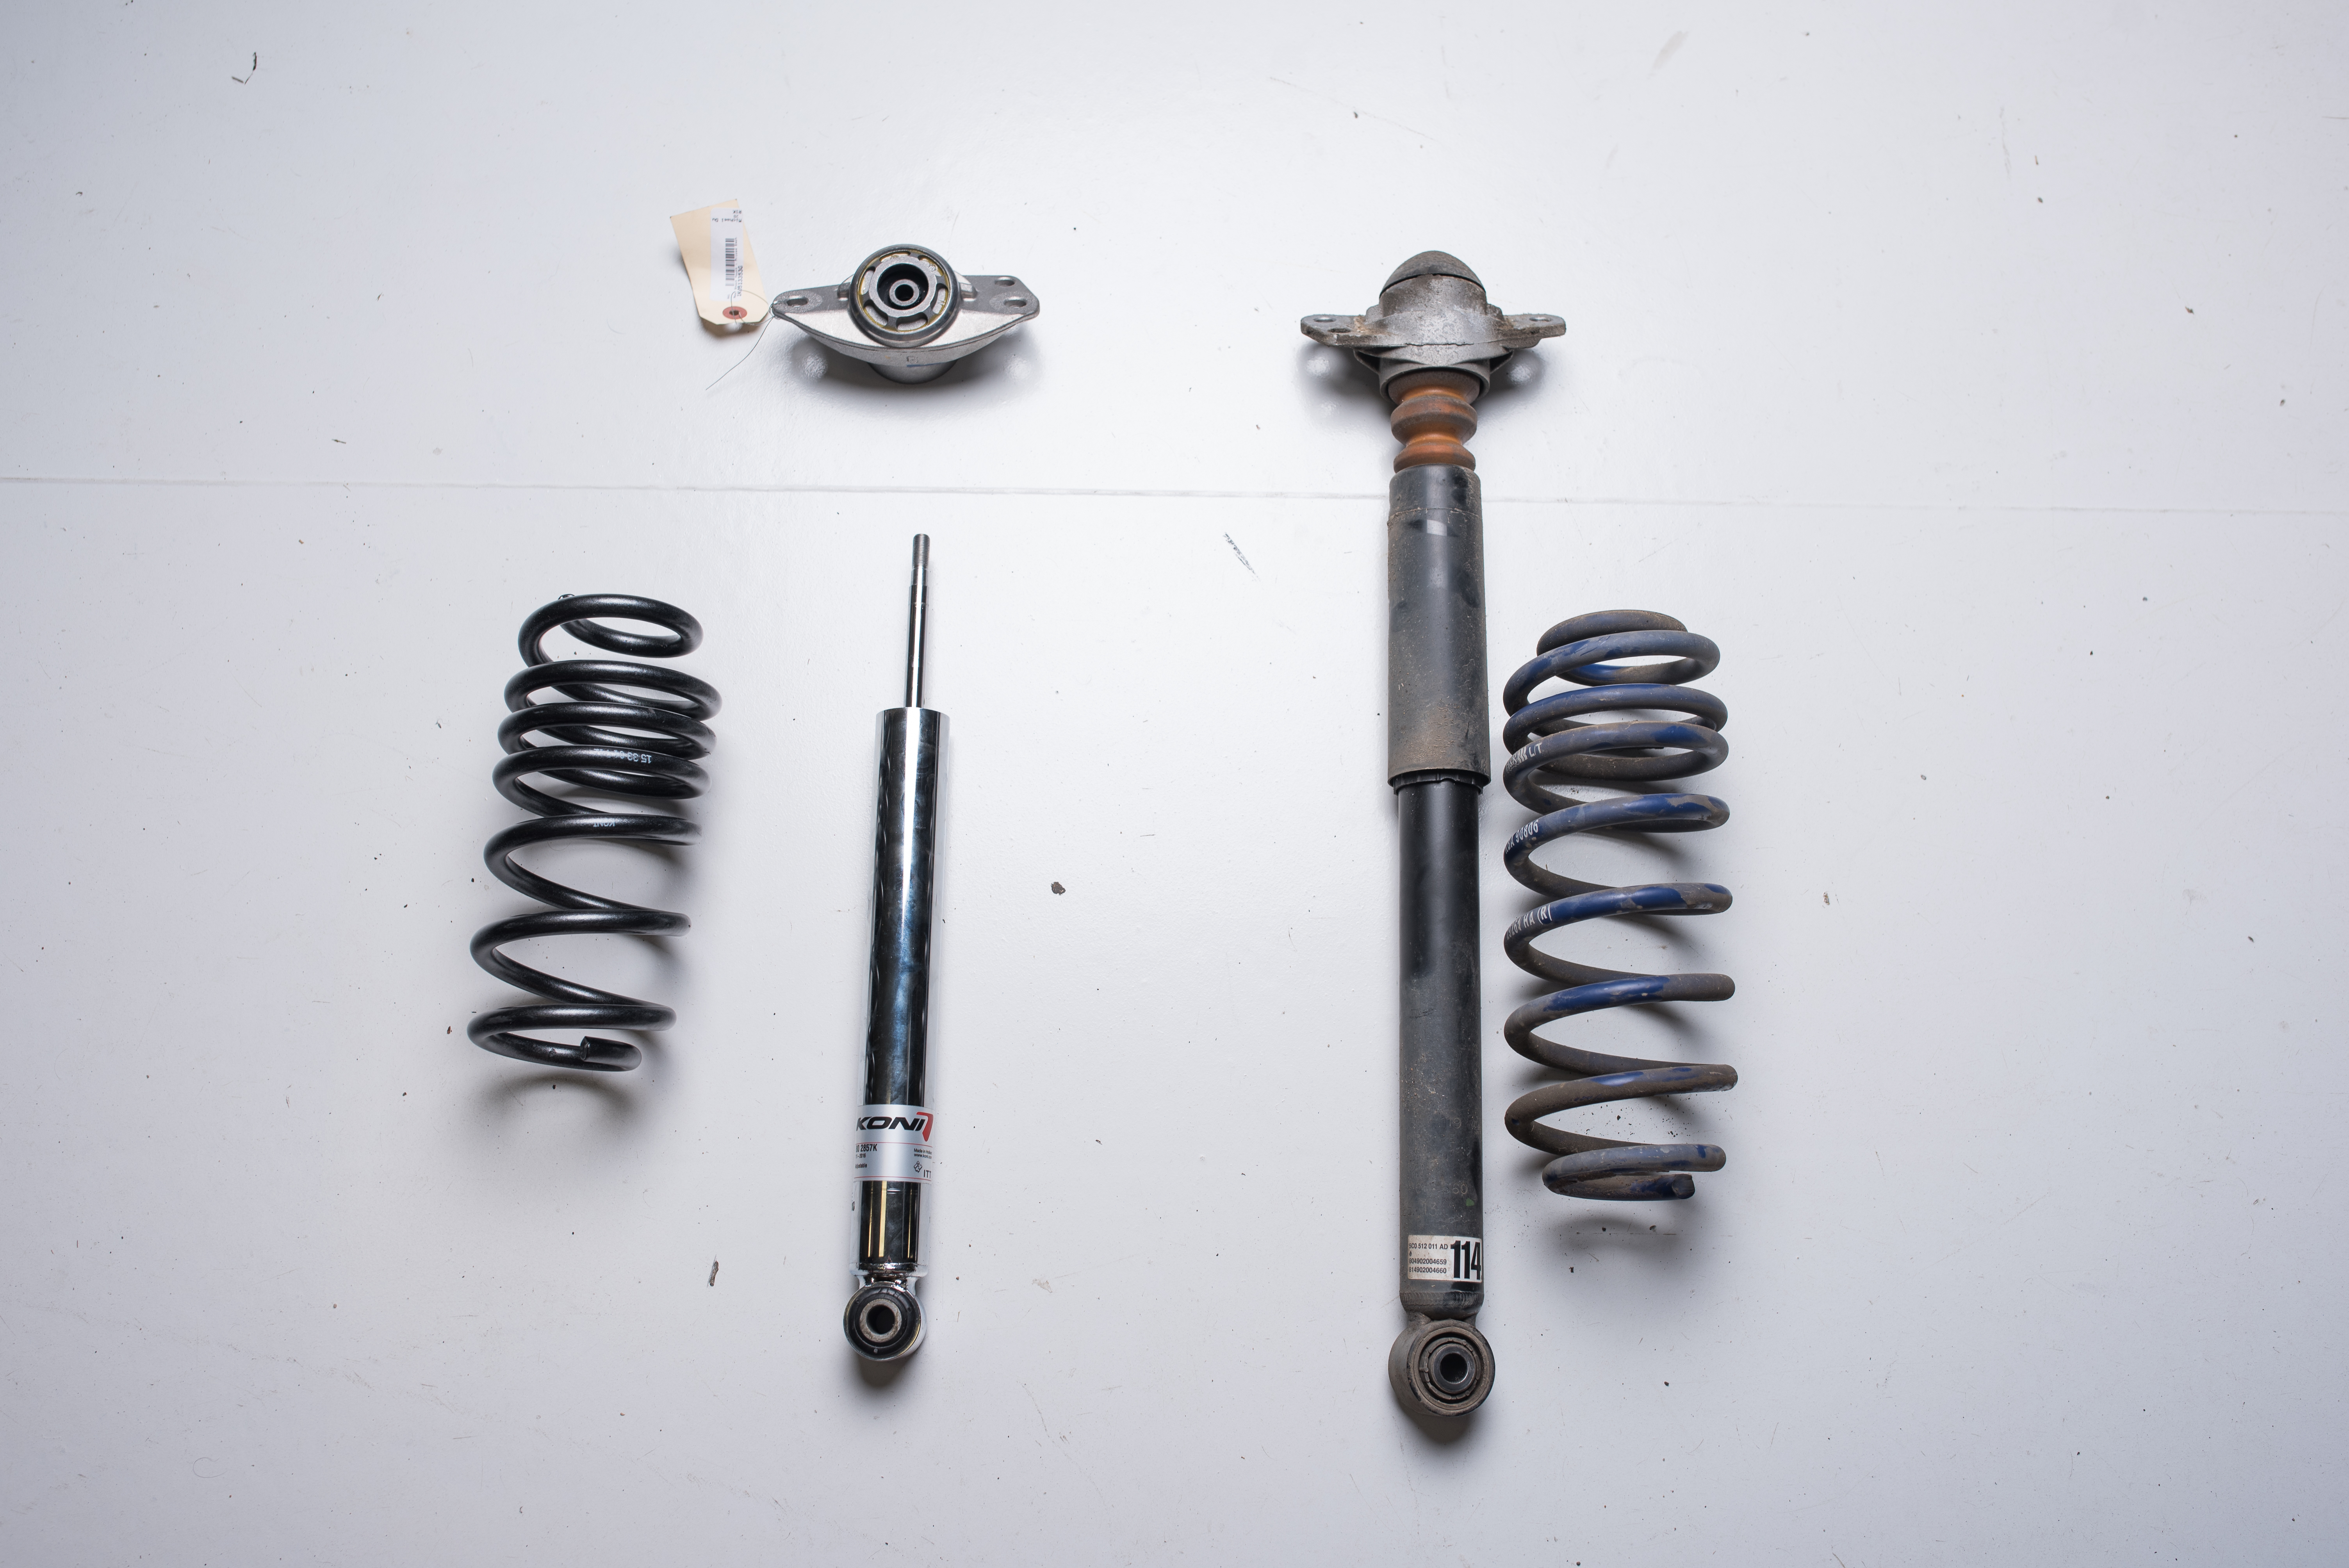
Moving to the back half of the car, we are going to uninstall the rear shocks and springs.
If your car is equipped with a headlight level sensor, be sure to remove the 10mm nut on the lefthand side of the car just forward of the lower control arm.
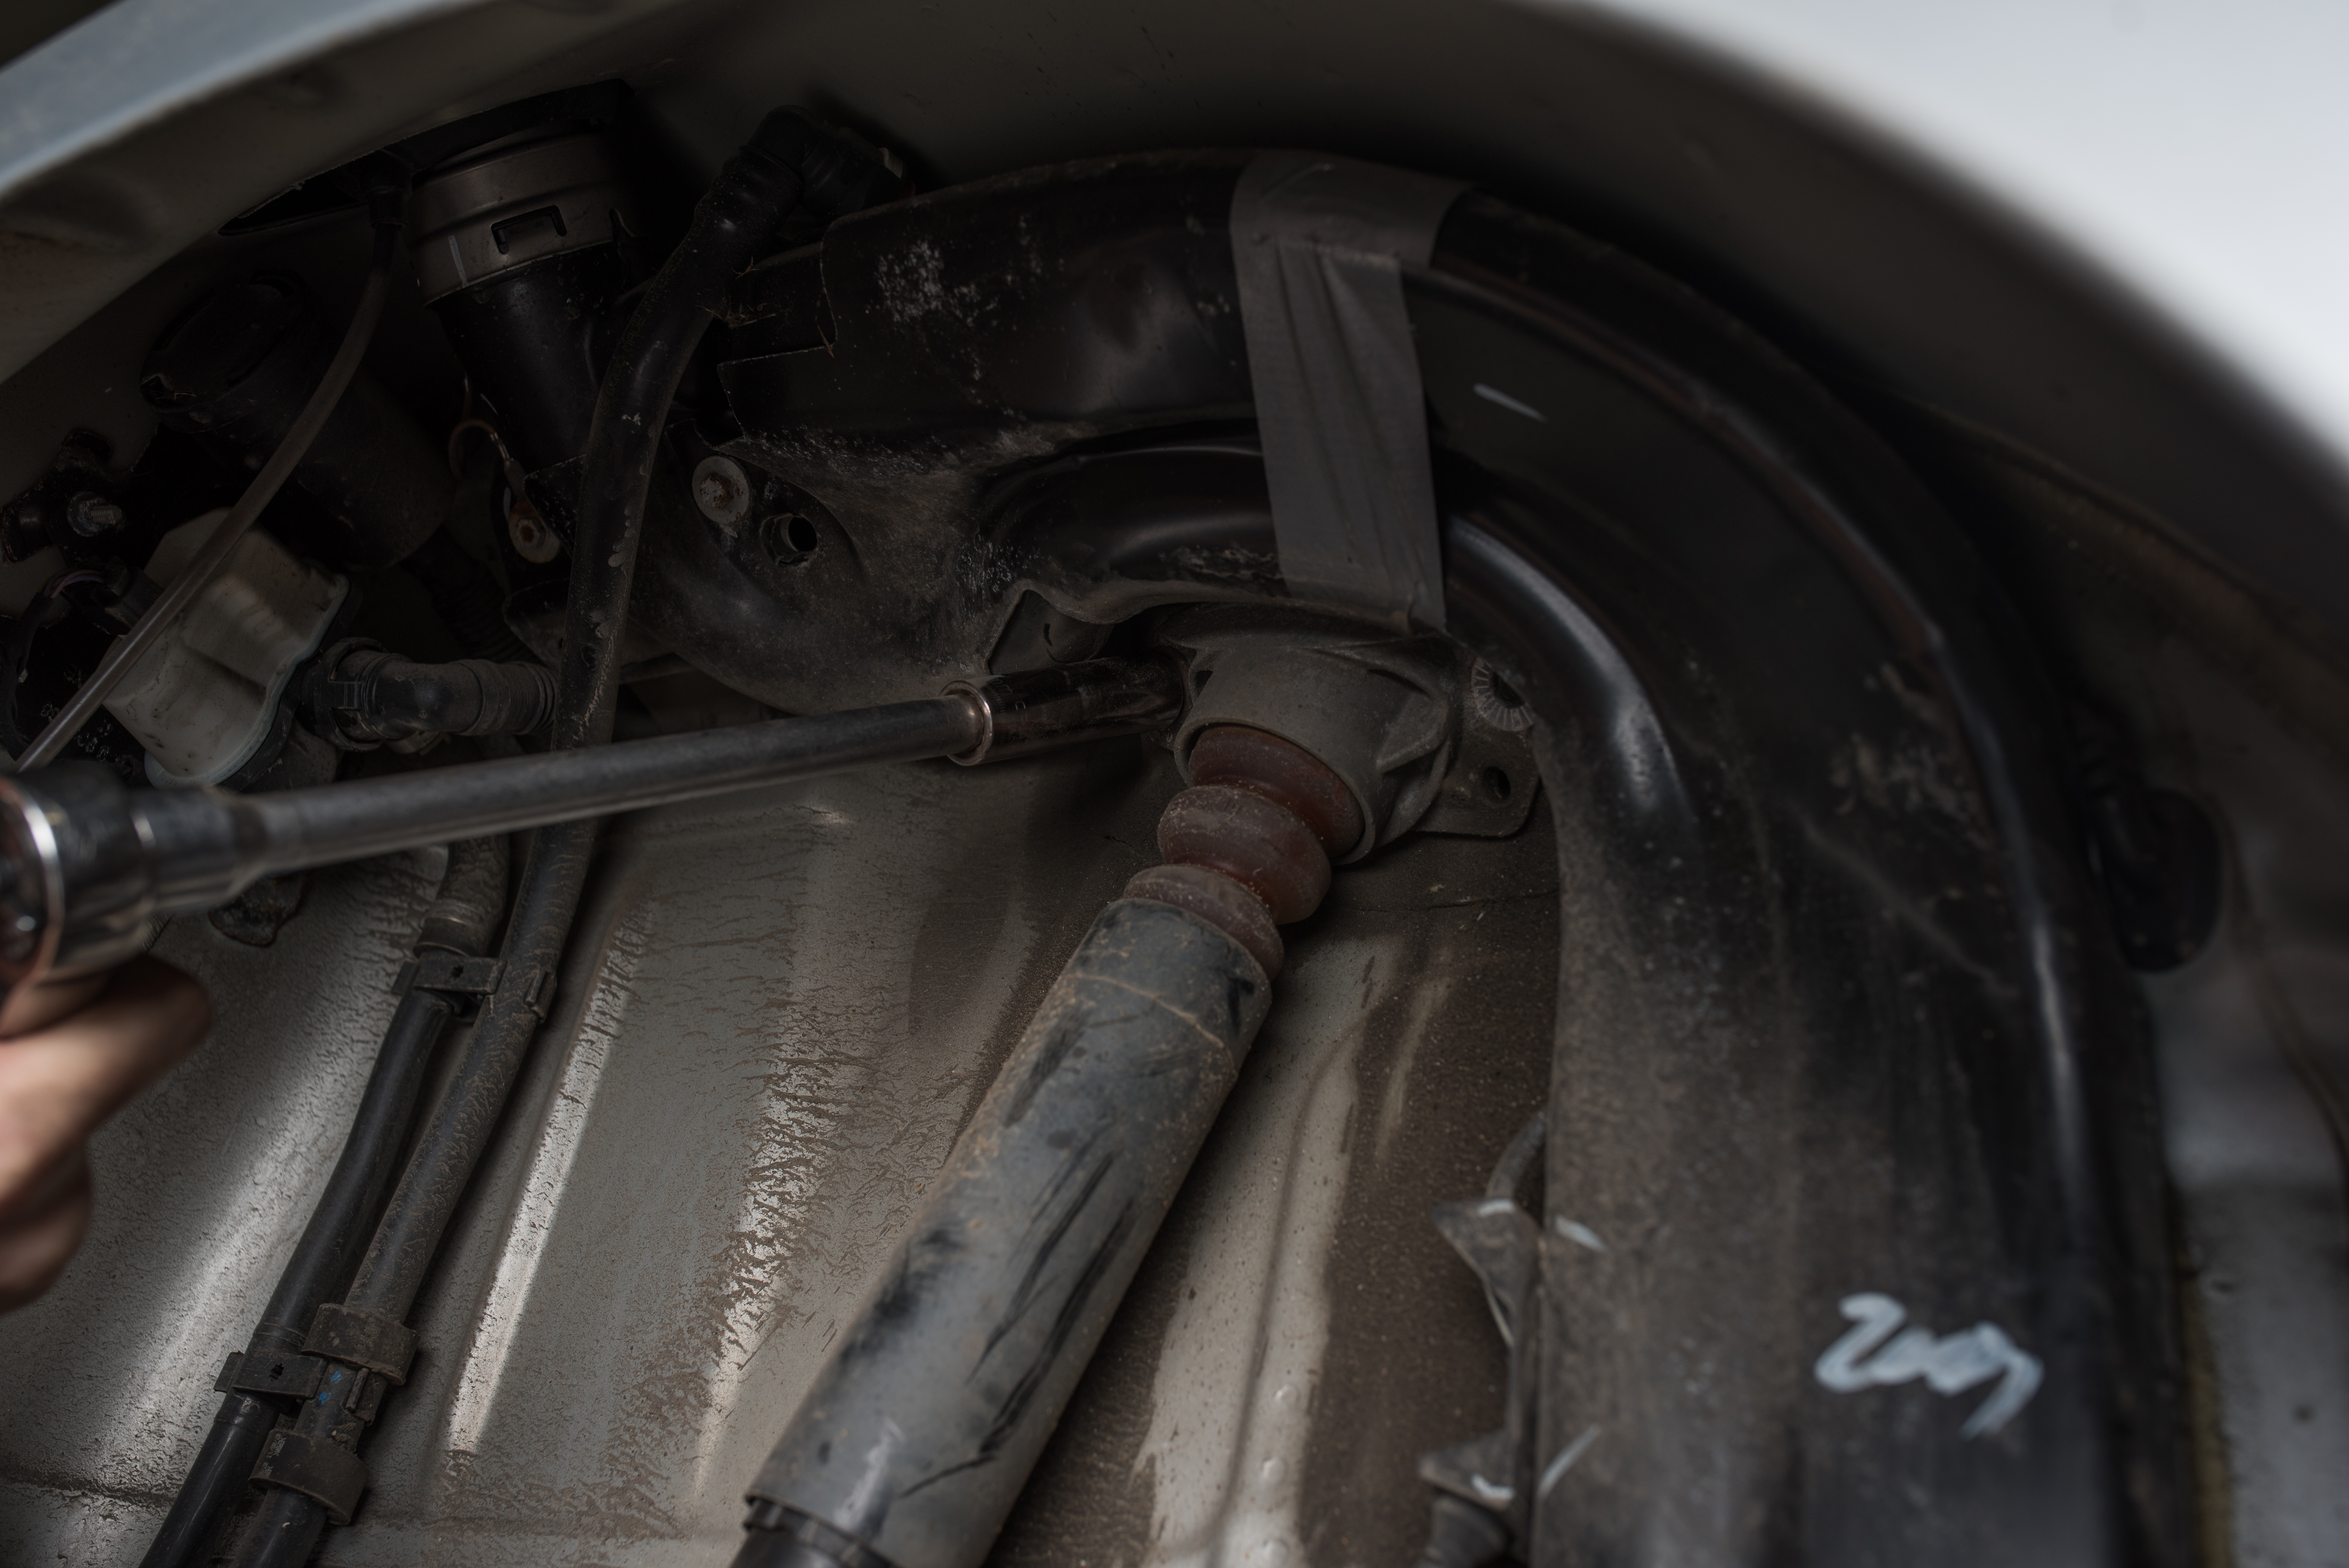
With a 21mm wrench, remove the lower shock mounting bolts.
If you have not taken out the splash guarding inside the wheel wells, you will want to at this time to make the removal of your rear shock mounts easier.
With an extension and a 13mm socket you can remove the two shock mount bolts, freeing the shock from the car.
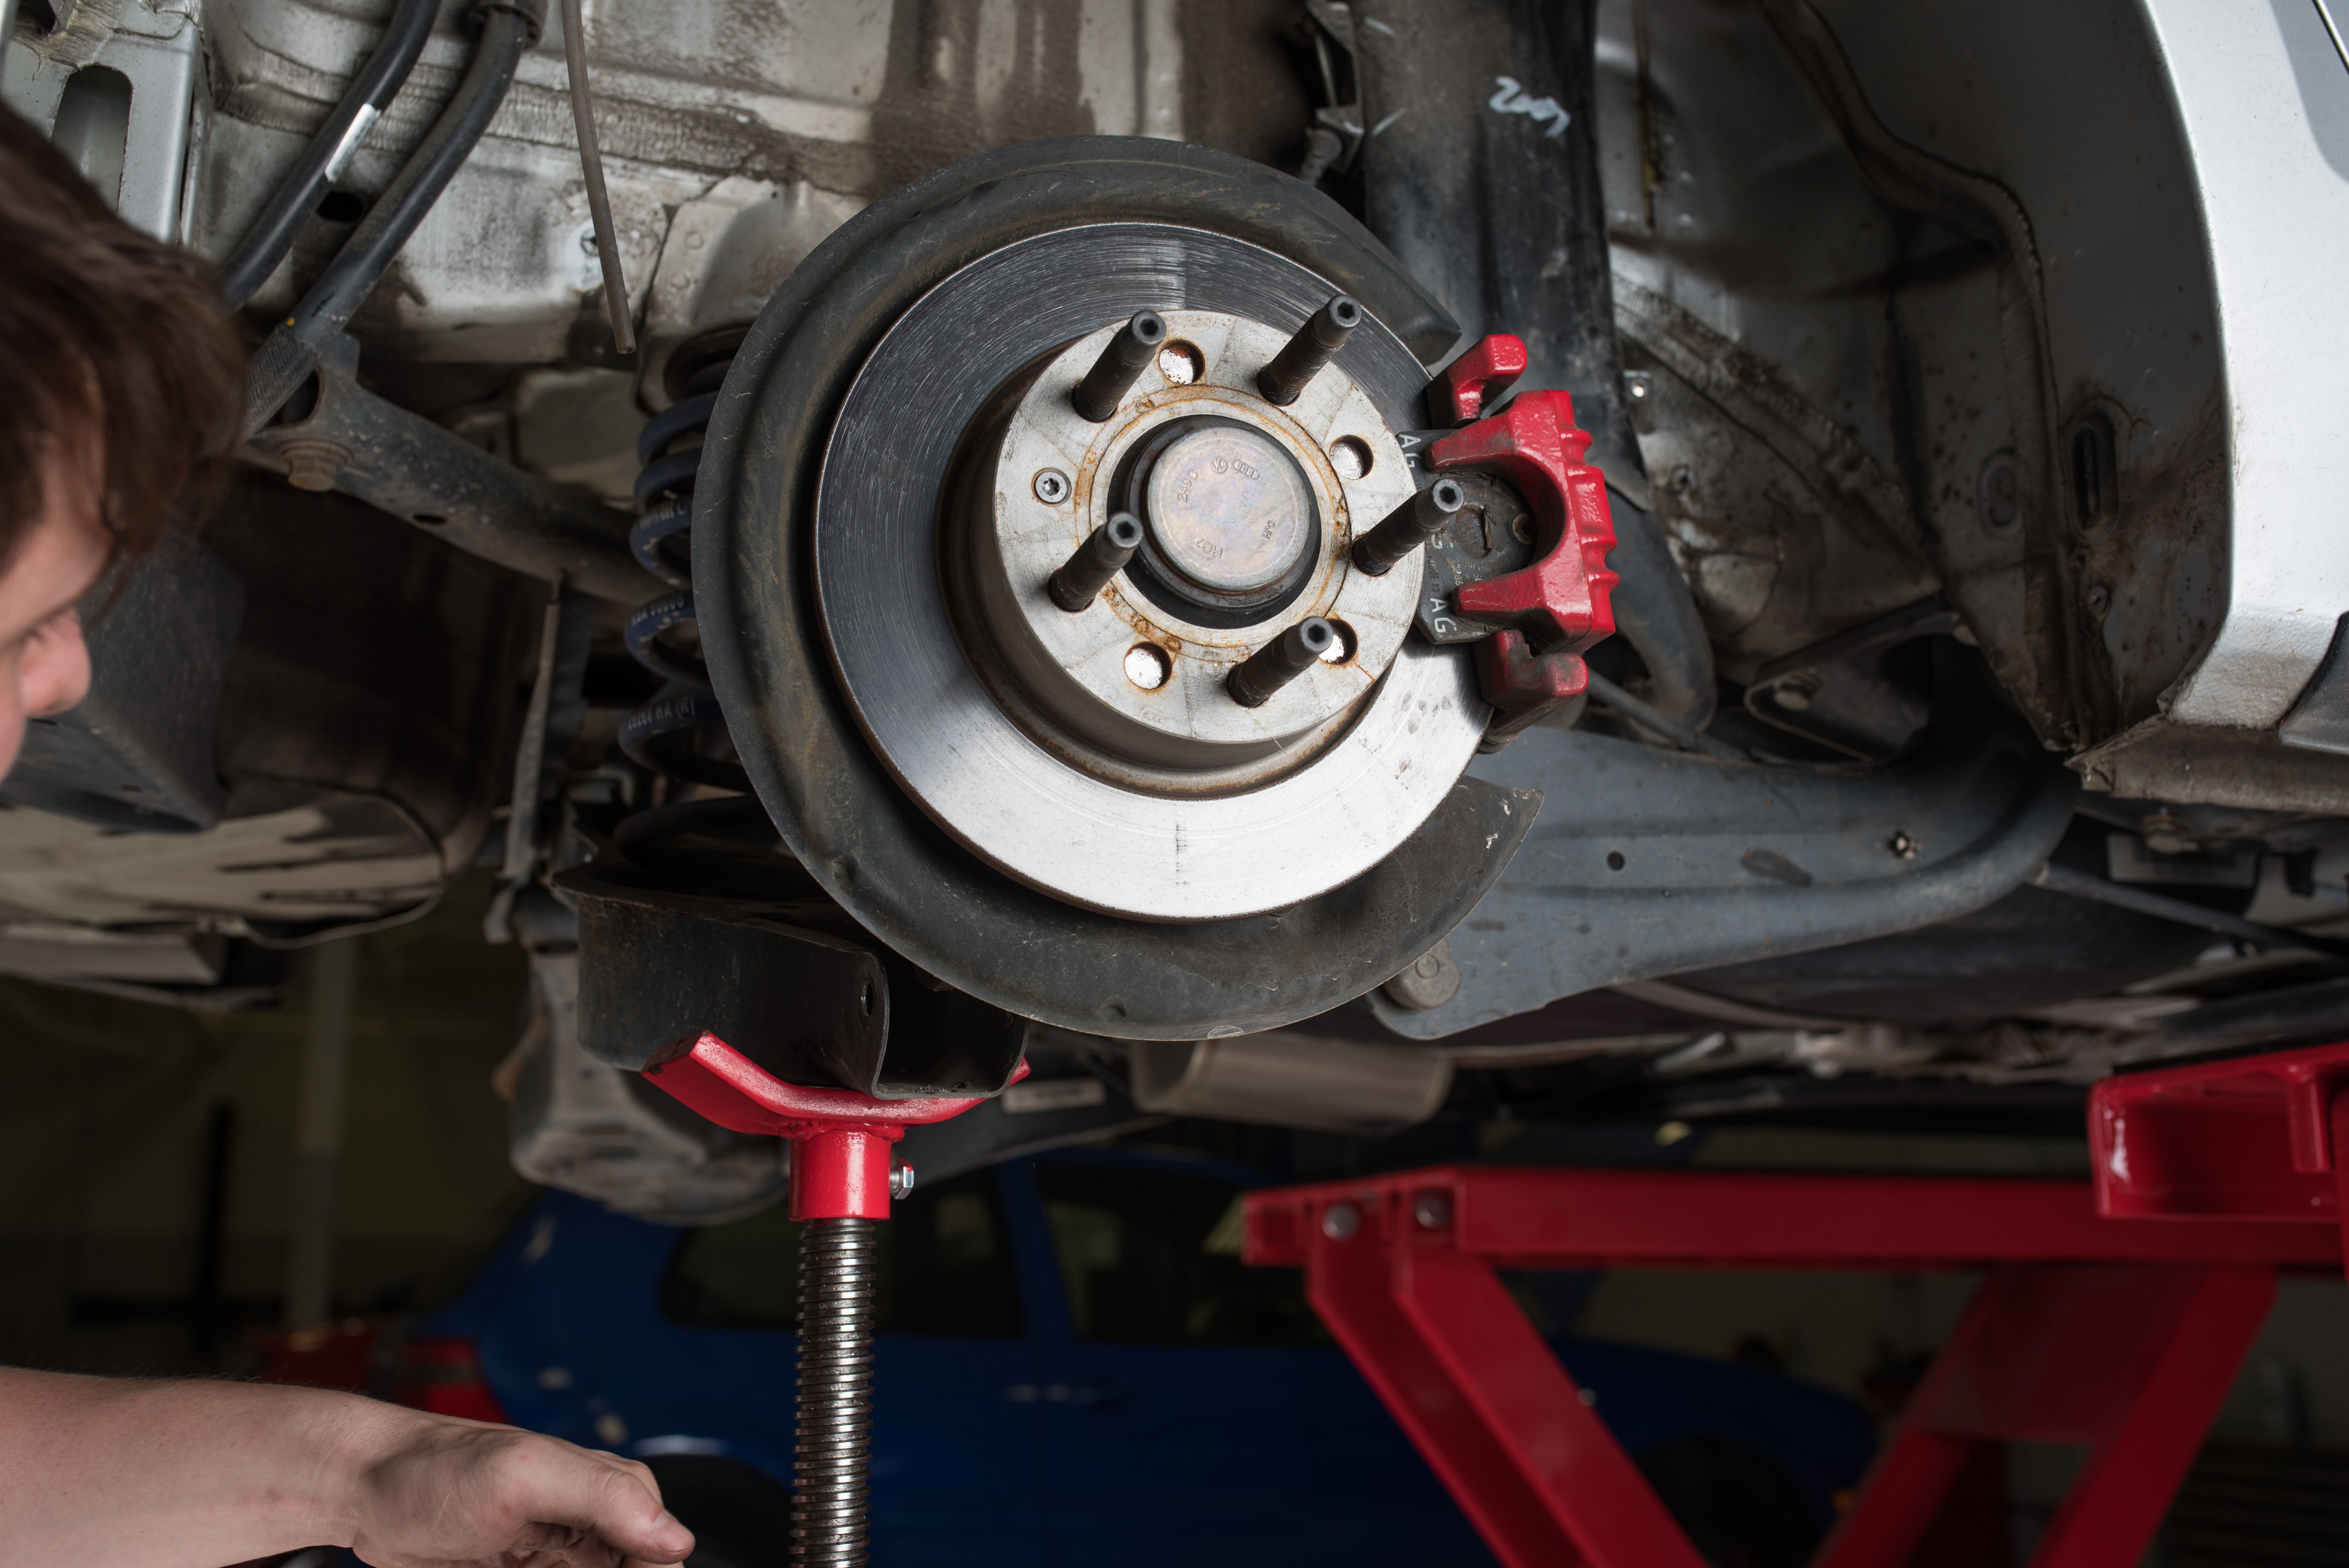
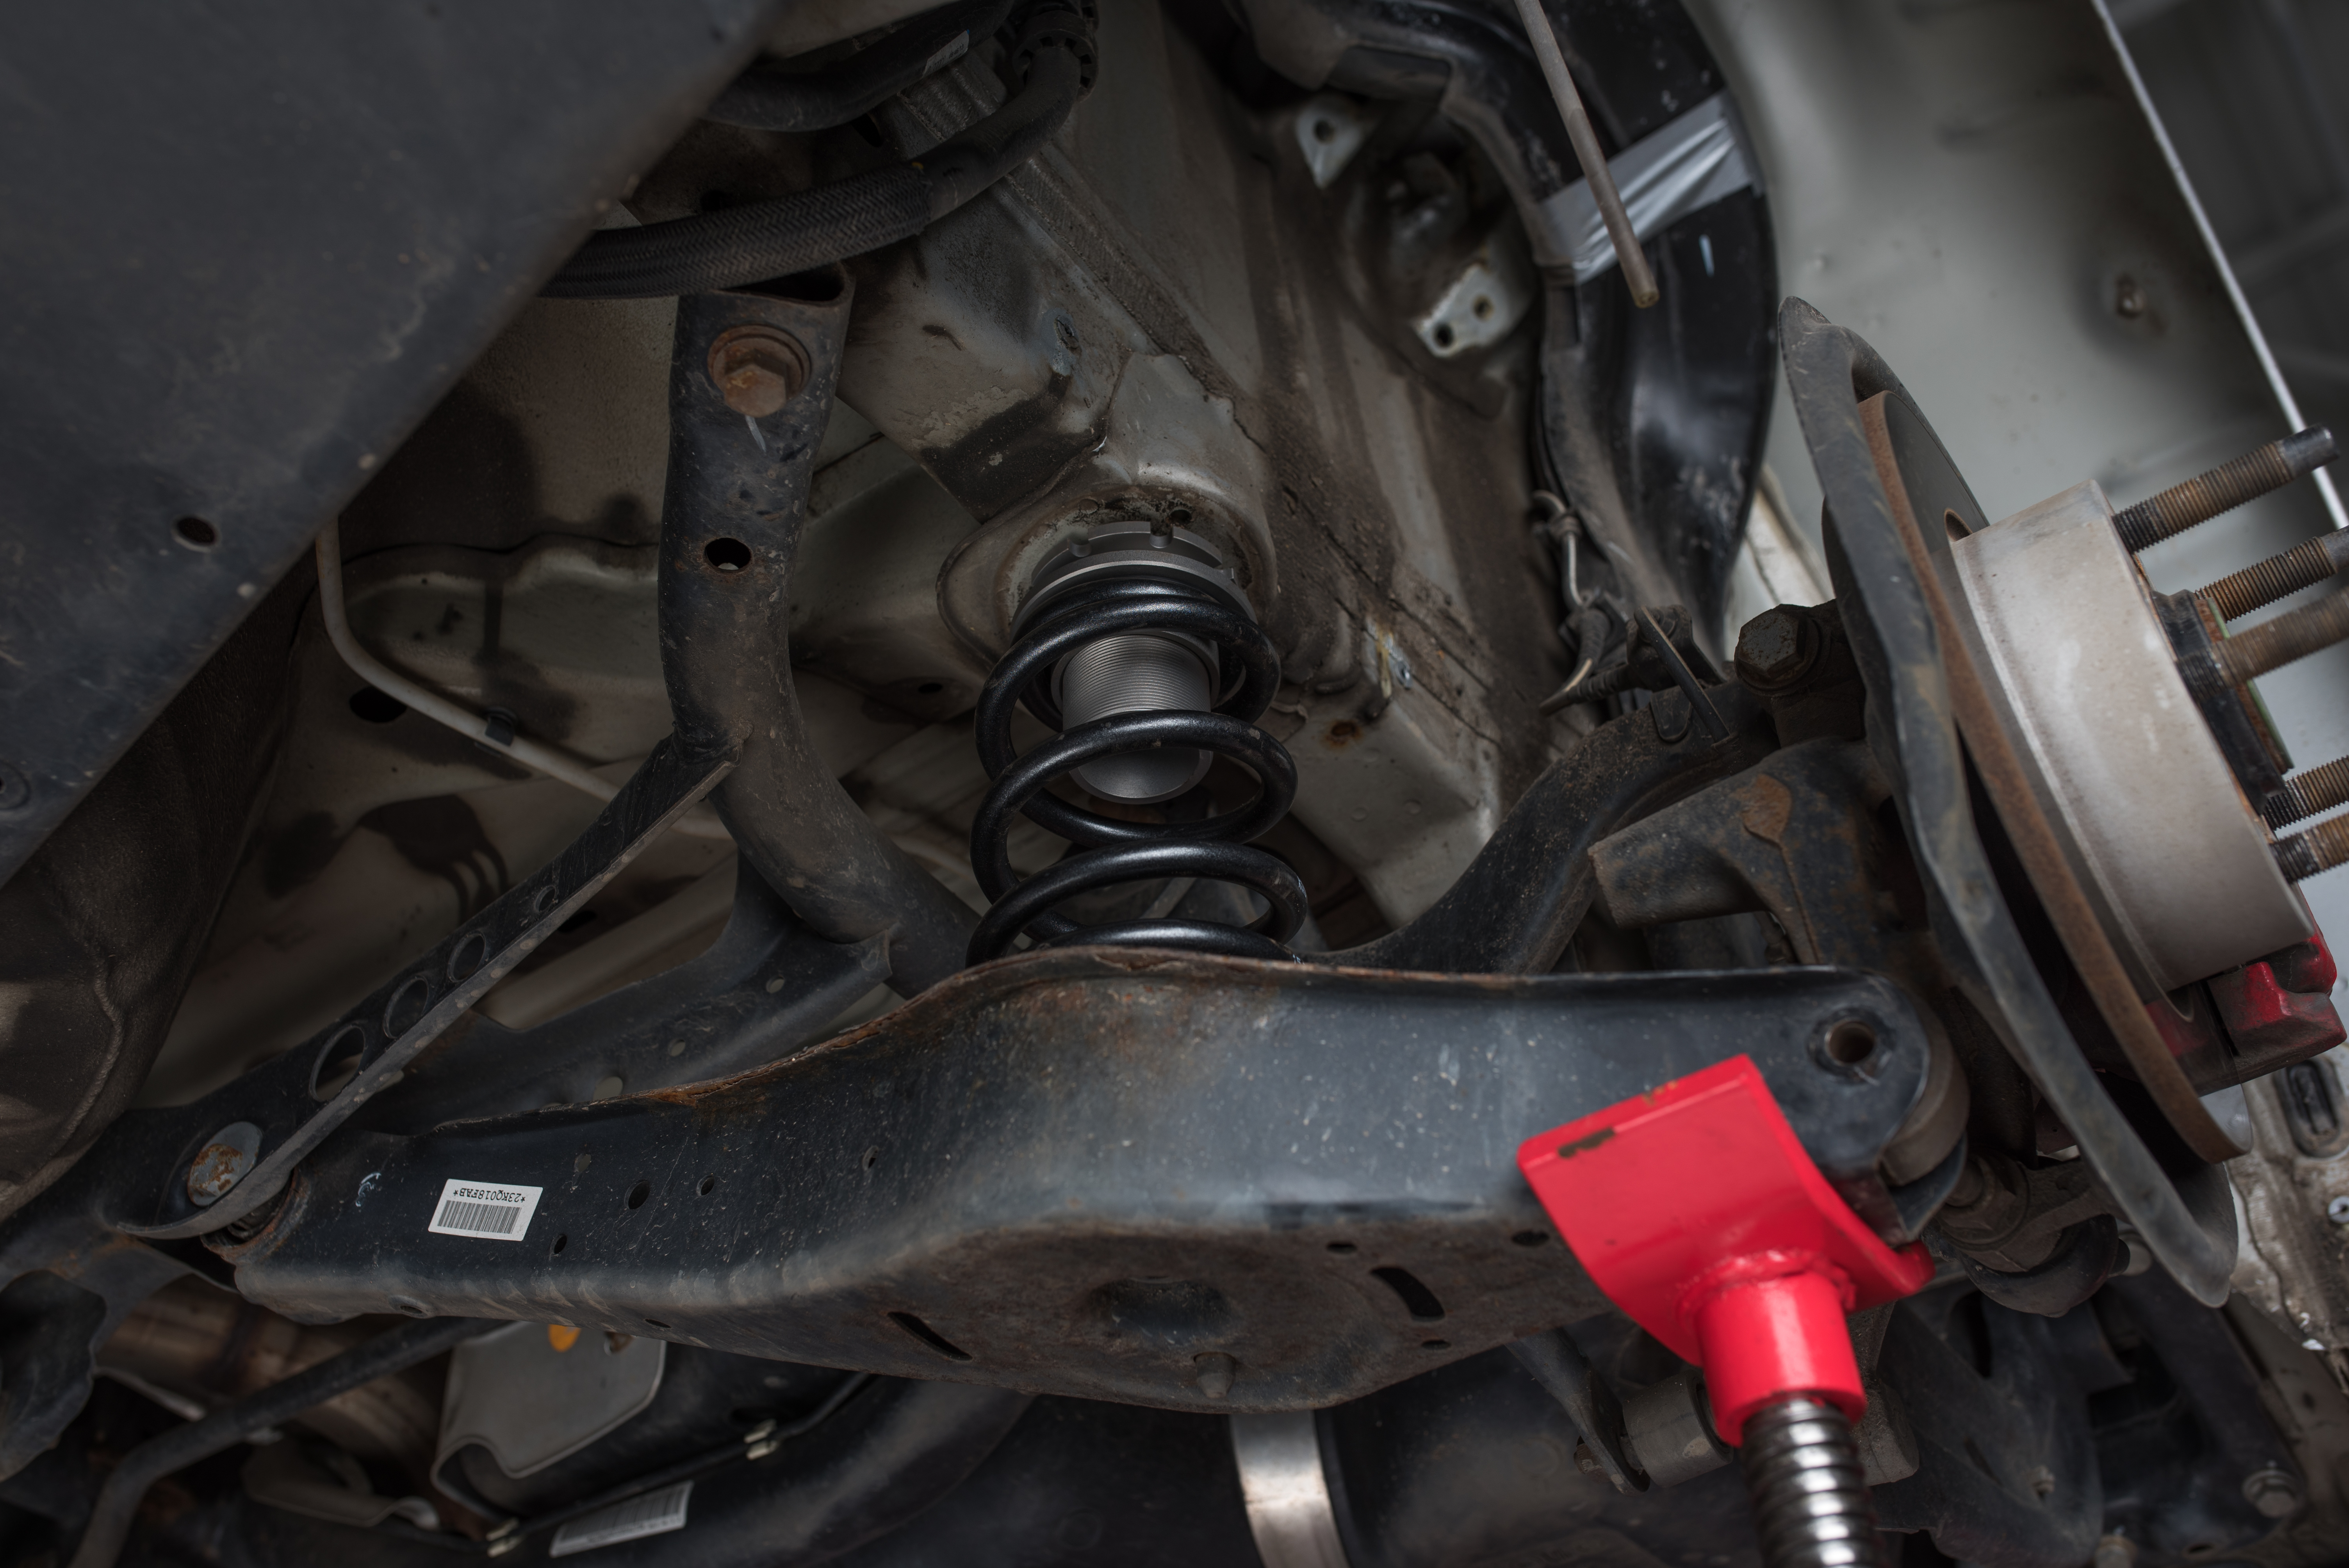
Now that the shocks are removed, take a floor jack and place it under the rear lower control arm. Raise it to meet the arm just inside the wheel hub and this will take some tension from the main bolt on the outer mount.
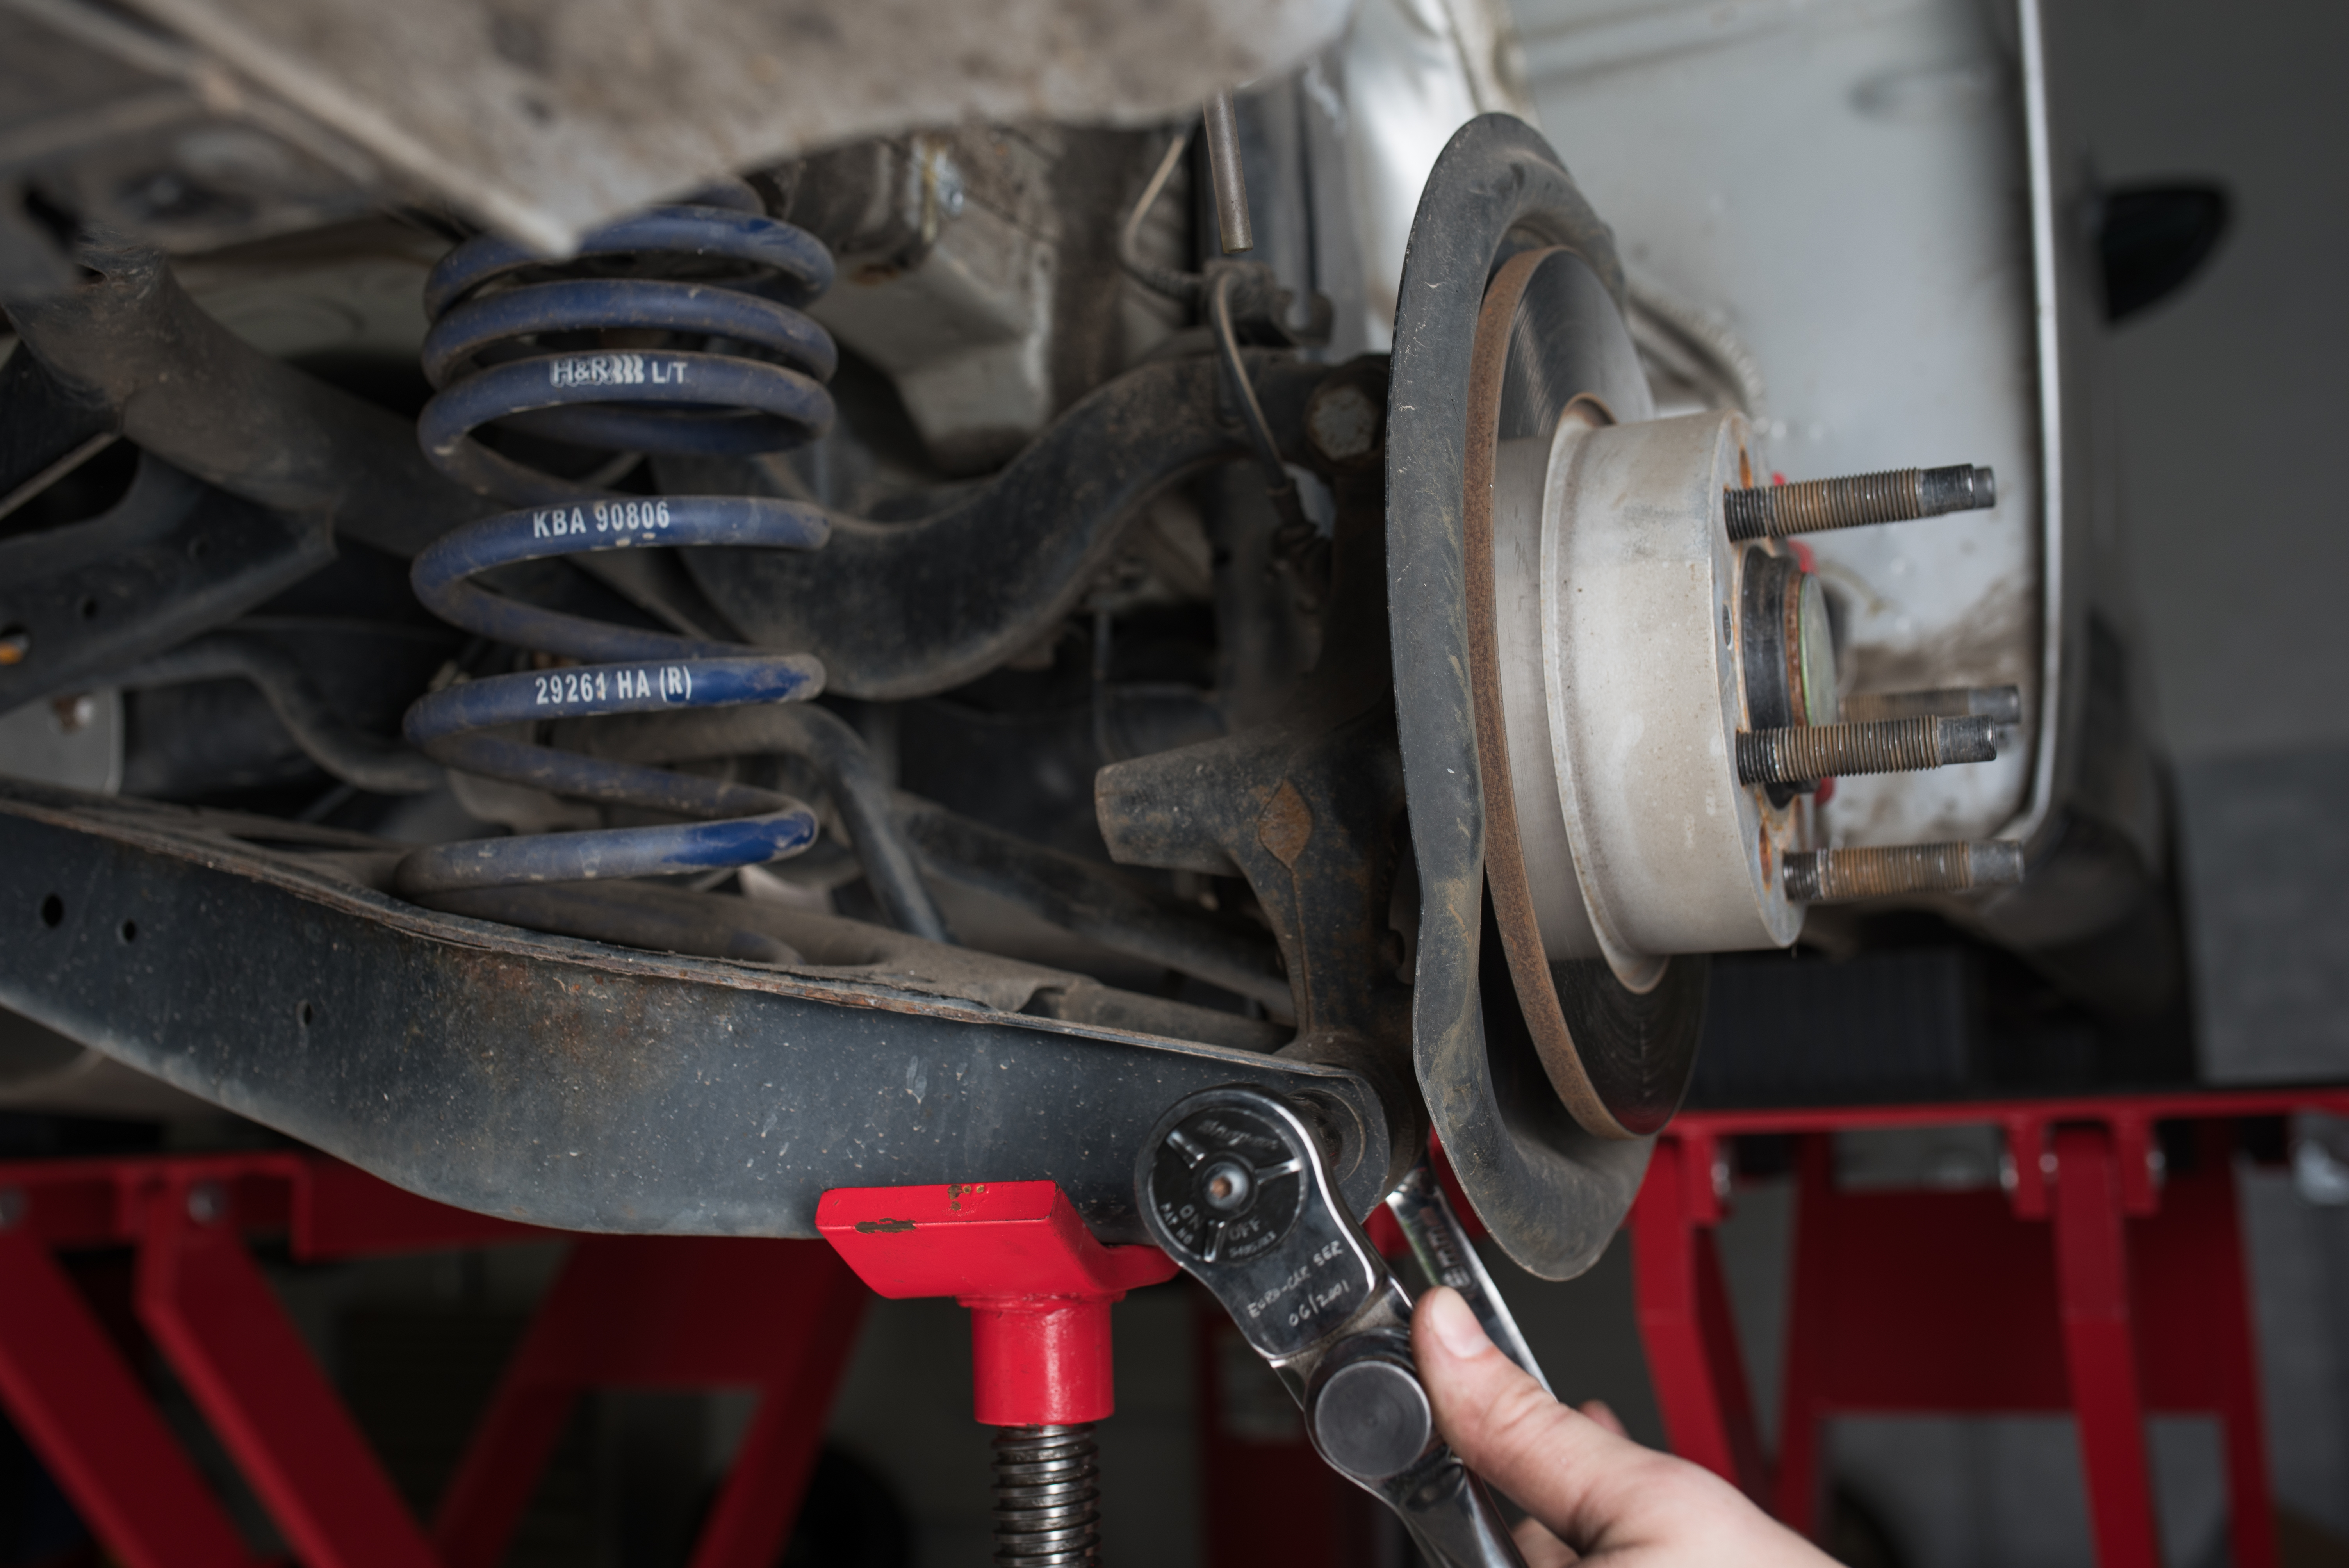
Using an 18mm wrench and an 18mm socket wrench on a breaker bar, you should be able to free the lower control arm. More than likely you will need to actually unscrew the bolt to pull it out of the mount.
Lower the jack and the control arm will lower as well. This allows you to remove the spring from its housing. Make sure your lower spring cushion remains in place in the control arm. The upper cushion does need to be removed, exposing the bare metal.
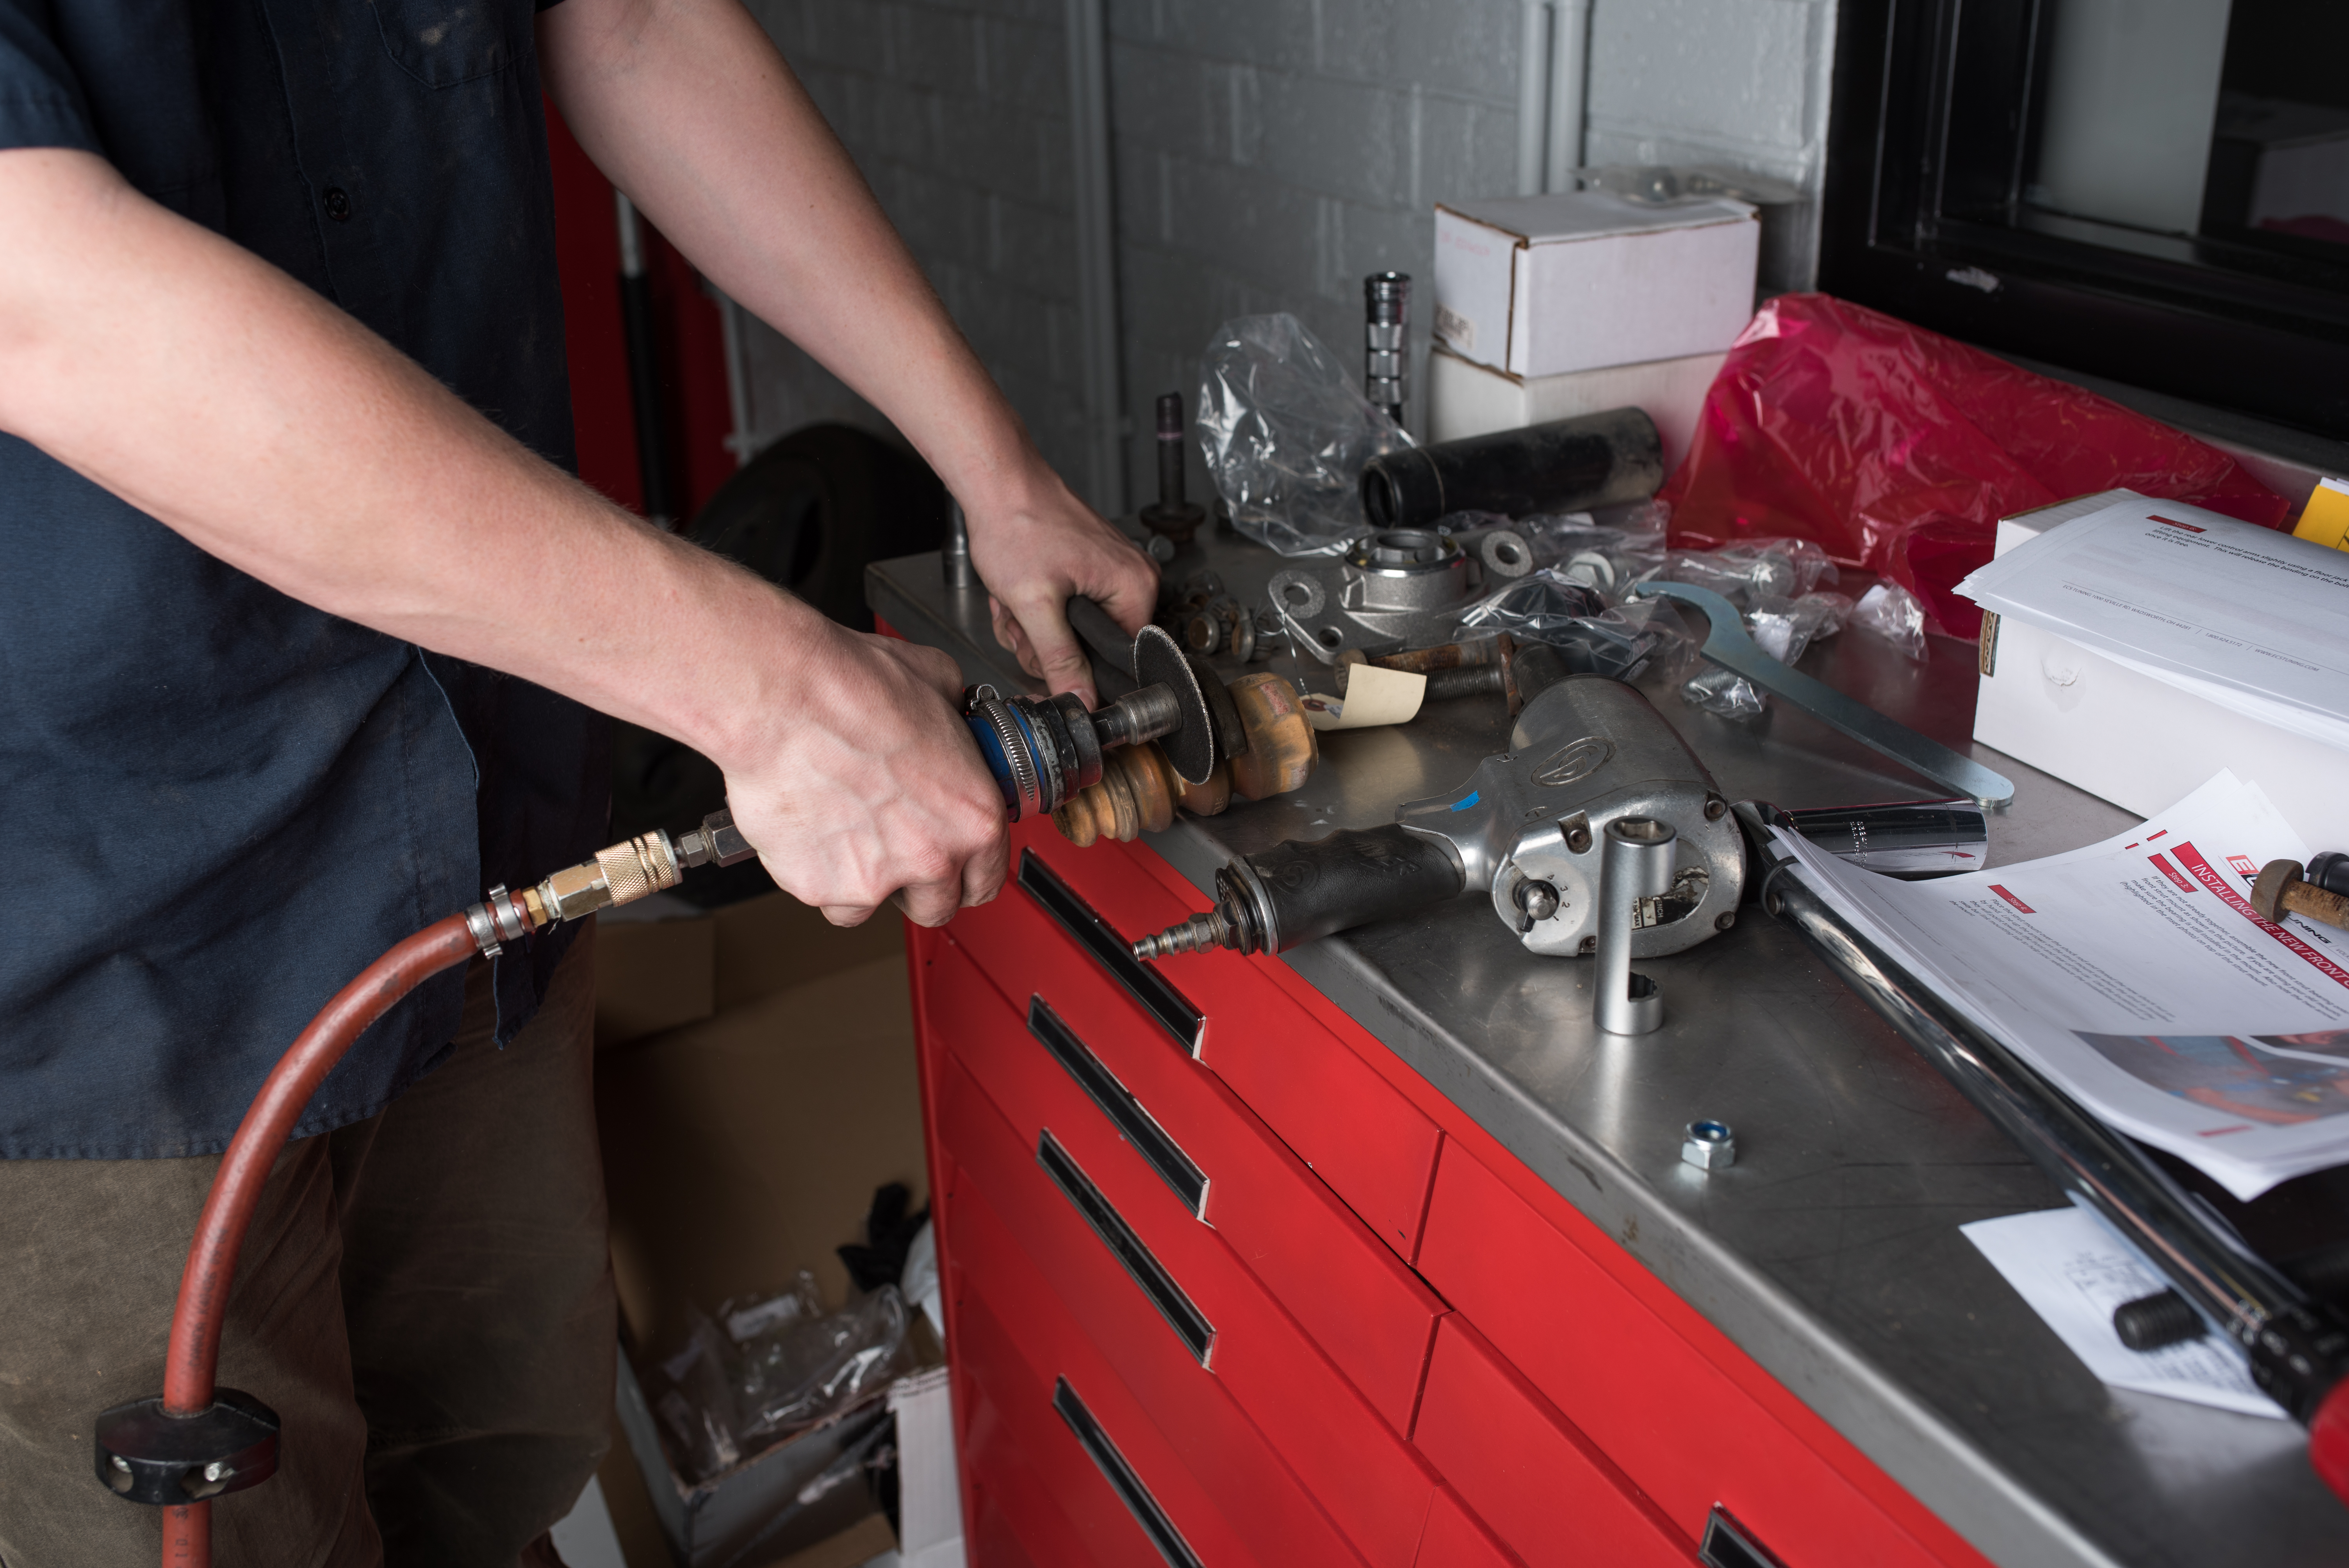
We took our old bump stops and cut them to the first pinch in order to prevent the new rear shocks from bottoming out, but to also allow for a lower ride height. They are fairly thick, so use a cutting wheel or something serrated.
Either re-use the old mount, or replace it with a new one, and place it over the end of the the shock rod. Our KONI kit came with lock washers and Nylock nuts.
Use an Allen wrench to hold the shock rod in place while using an offset wrench to tighten the nut to 18 ft-lbs.
Oil and grease the threads for the rear spring perch and thread the locking collar all the way to the base of the perch.
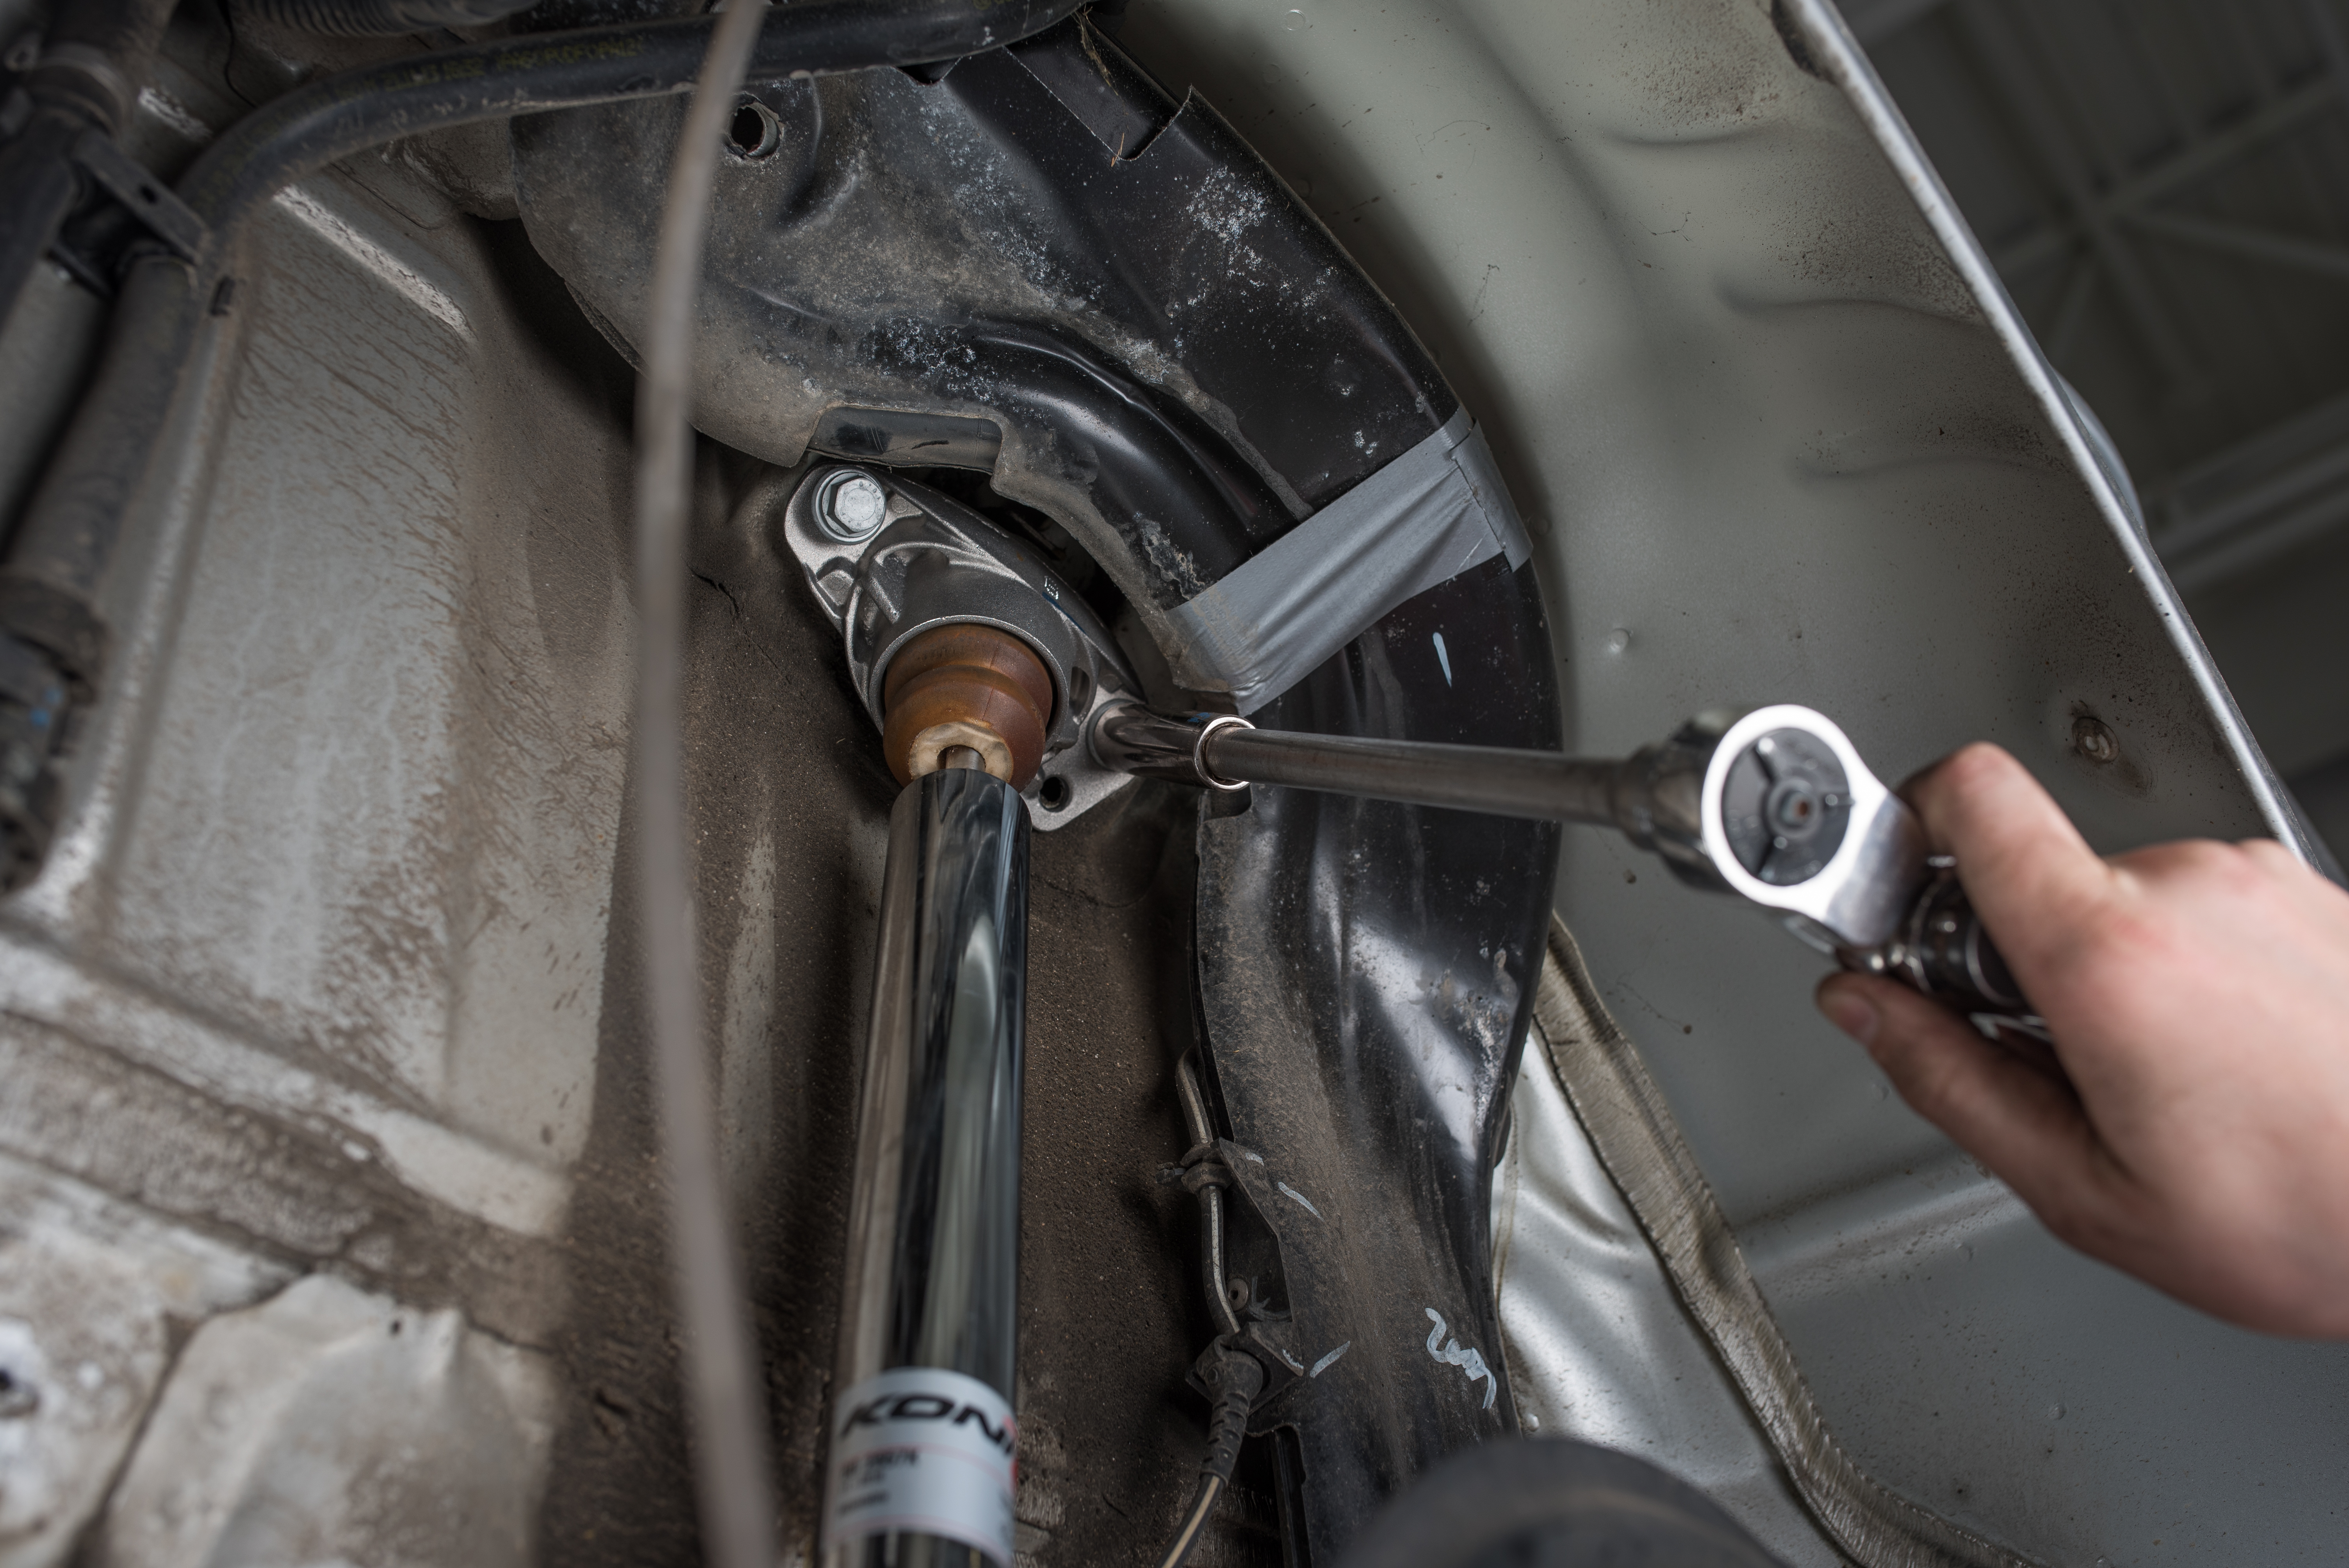
Reinstall the rear shocks with your extension and 13mm socket and tighten to 37 ft-lbs +45 degrees

Install the perch on the top of the spring, and install the spring into its housing in the control arm, careful to check it is properly indexed in the lower mount.
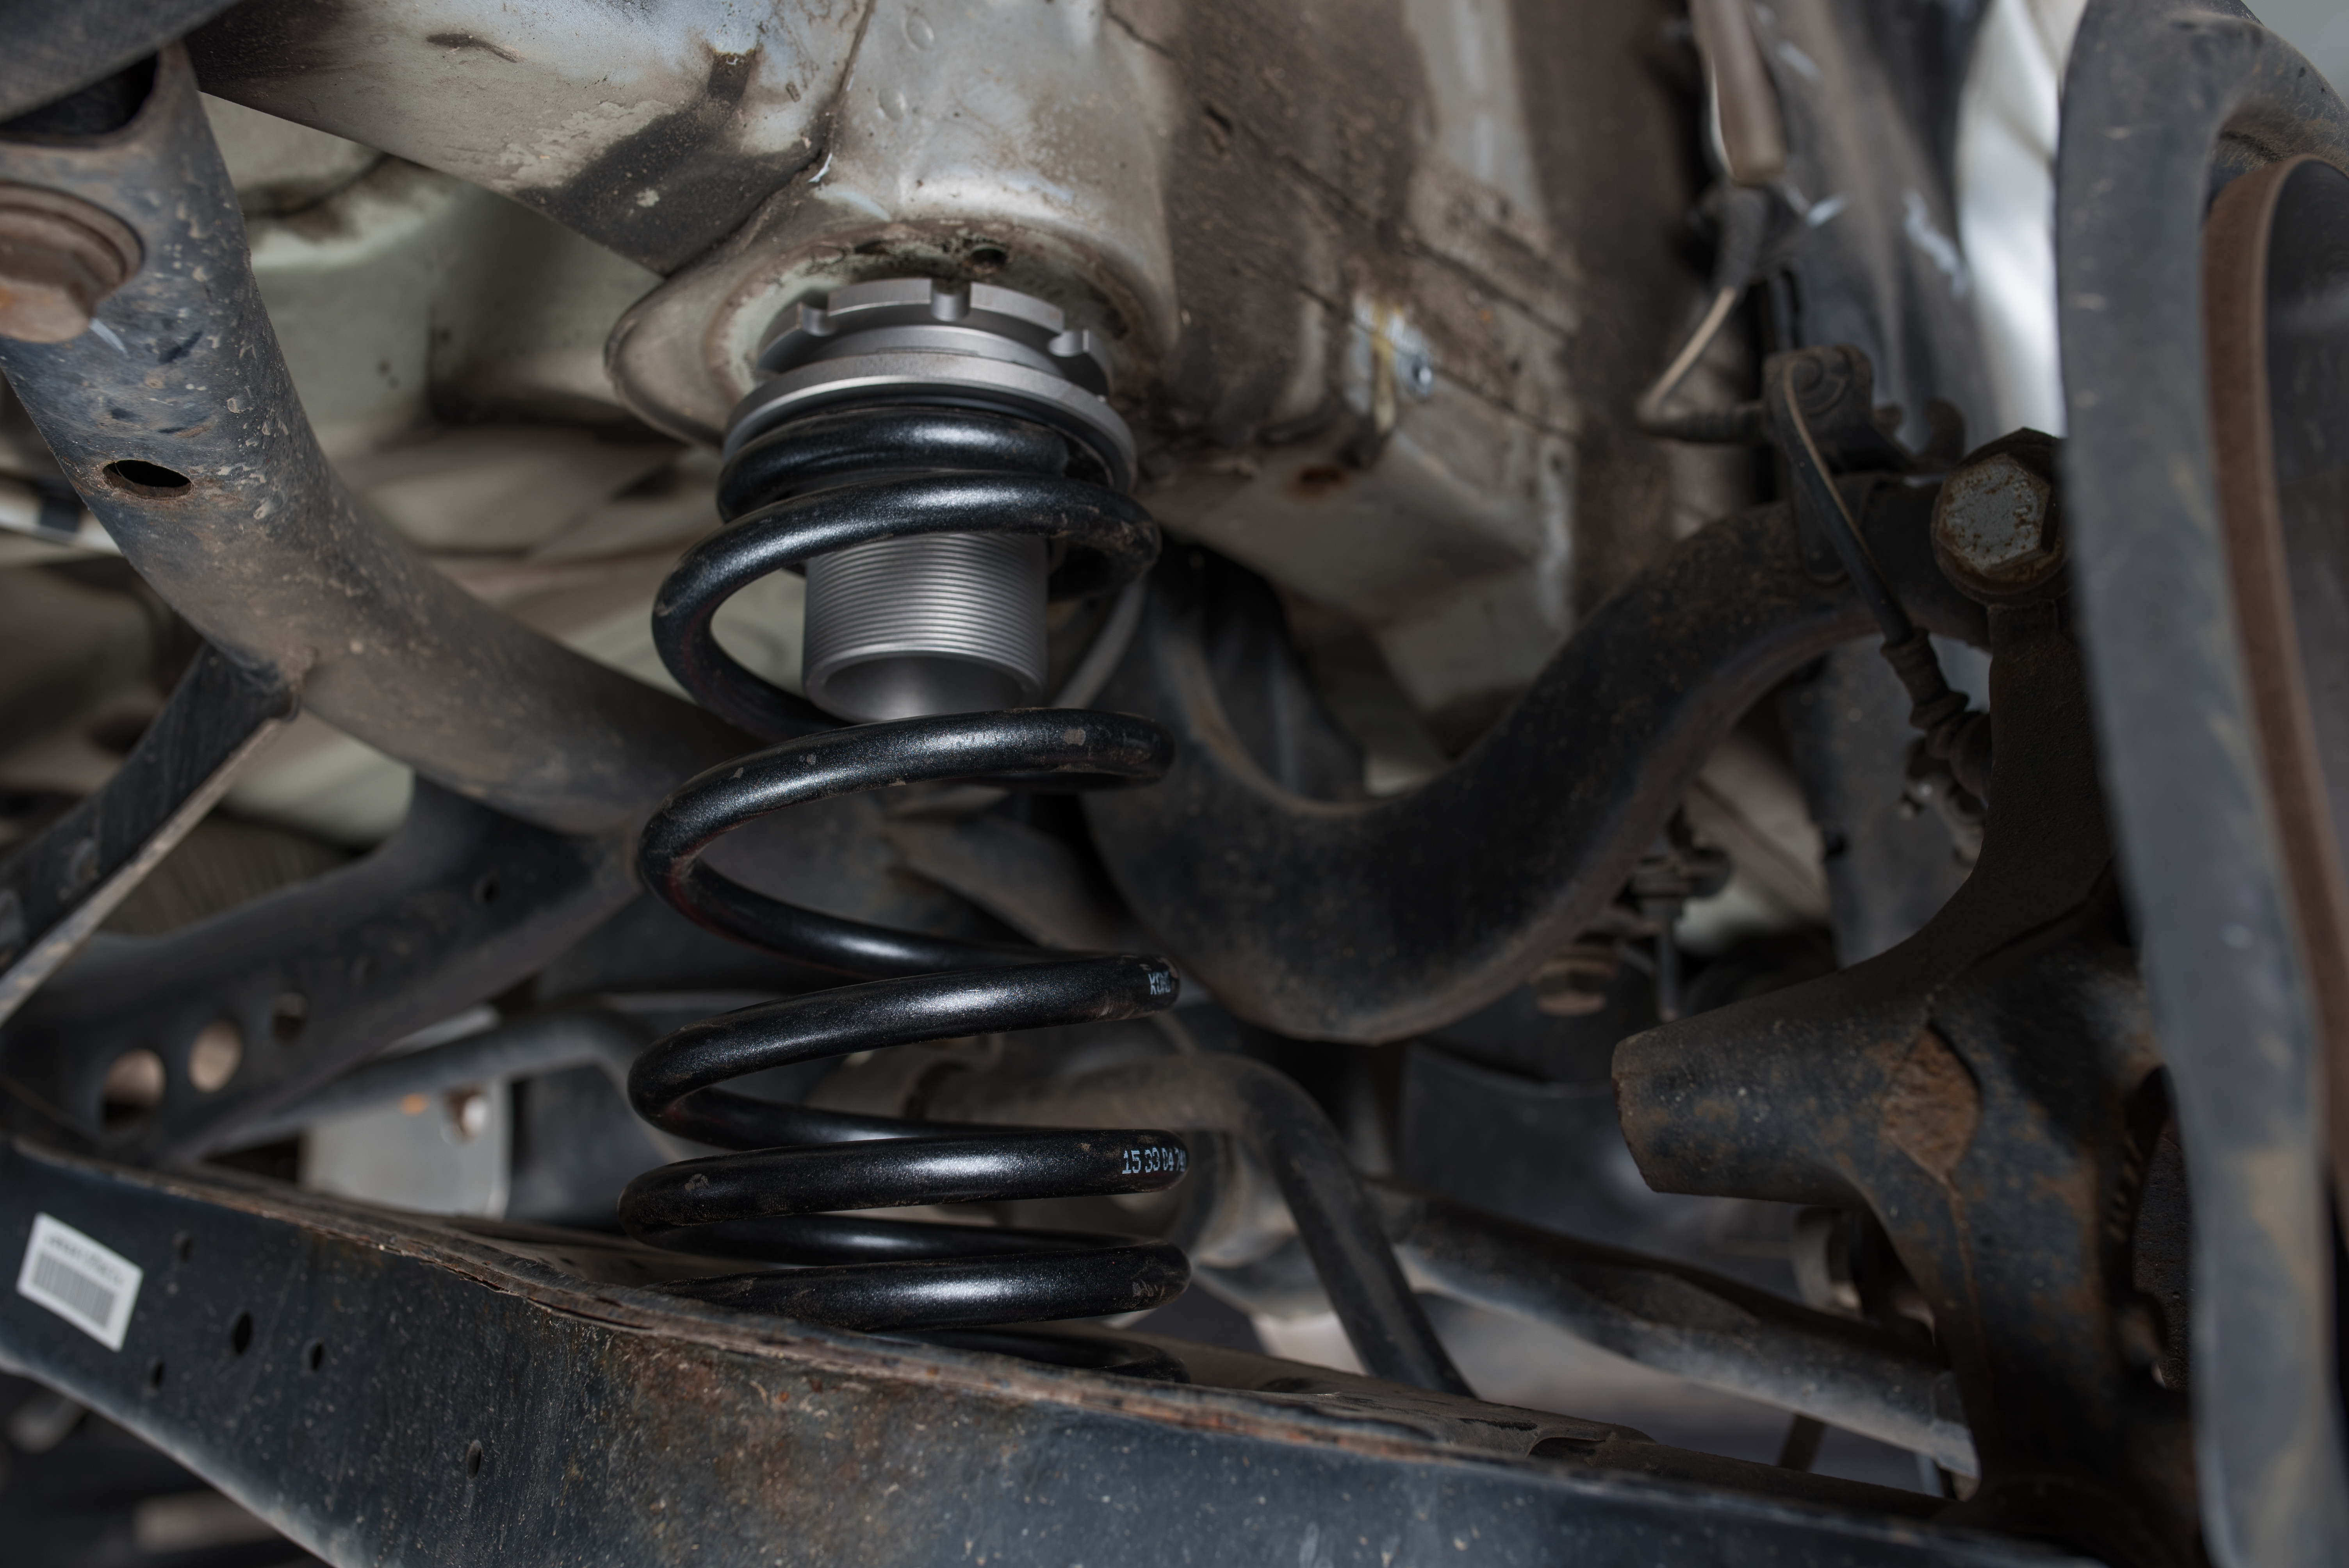
With the spring in the car, align the upper perch with the centering pin in the car. Raise your jack to ensure the spring perch is seated, and adjust the jack height until the outer control arm bolt hole lines up with the hub.
Install the the control arm bolt, but do not torque these down until the car is at ride height.
Install the lower rear shock absorber bolt until it is threaded all the way in but do not torque it at this time.
Finally, connect your headlight level sensor arm, install your wheels, and lower the vehicle for ride height adjustment.
Rear wheels – 89 ft-lbs
Shock absorber bolt – 133 ft-lbs
Rear outer control arm bolt – 66 ft-lbs +90 degrees
To adjust the ride height, you will need to move the spring perches up or down for the desired height. Keep these things in mind while adjusting your ride height:
Lift the car until all weight is off the springs before adjusting the perches
Use the original measurements you took before installing the coils as a rough guide to help you achieve a specific amount of drop. With the Jetta on these KONI coils, maxed low is 25” from the apex of the wheel arch to the ground, all the way around the car. This causes the rear to sag a bit due to the body lines of the car. We recommend raising the rear nearly an inch, and the front a half inch, from their lowest settings. These coils will settle, and the ride height is just about perfect with our measurements.
You will more than likely need to make a series of adjustments to even out the four corners.
Tighten the locking rings once you have the height set where you like it.
Once you have everything set in place, make sure you clear everything with your wheels or tires. Take your front wheels lock to lock before driving the car to see if everything clears.
Driving the car for the first time may point out a few adjustments you need to make, so don’t plan on your first trip being anywhere farther than around the block and back.
If you add any new components like fatter sway bars, control arms, polyurethane bushings, or other suspension changes, you may need to make further adjustment of the coilovers.
Lastly, always have your car aligned after making any suspension changes. As we said before, keeping your car aligned will keep your tires from wearing out too early.
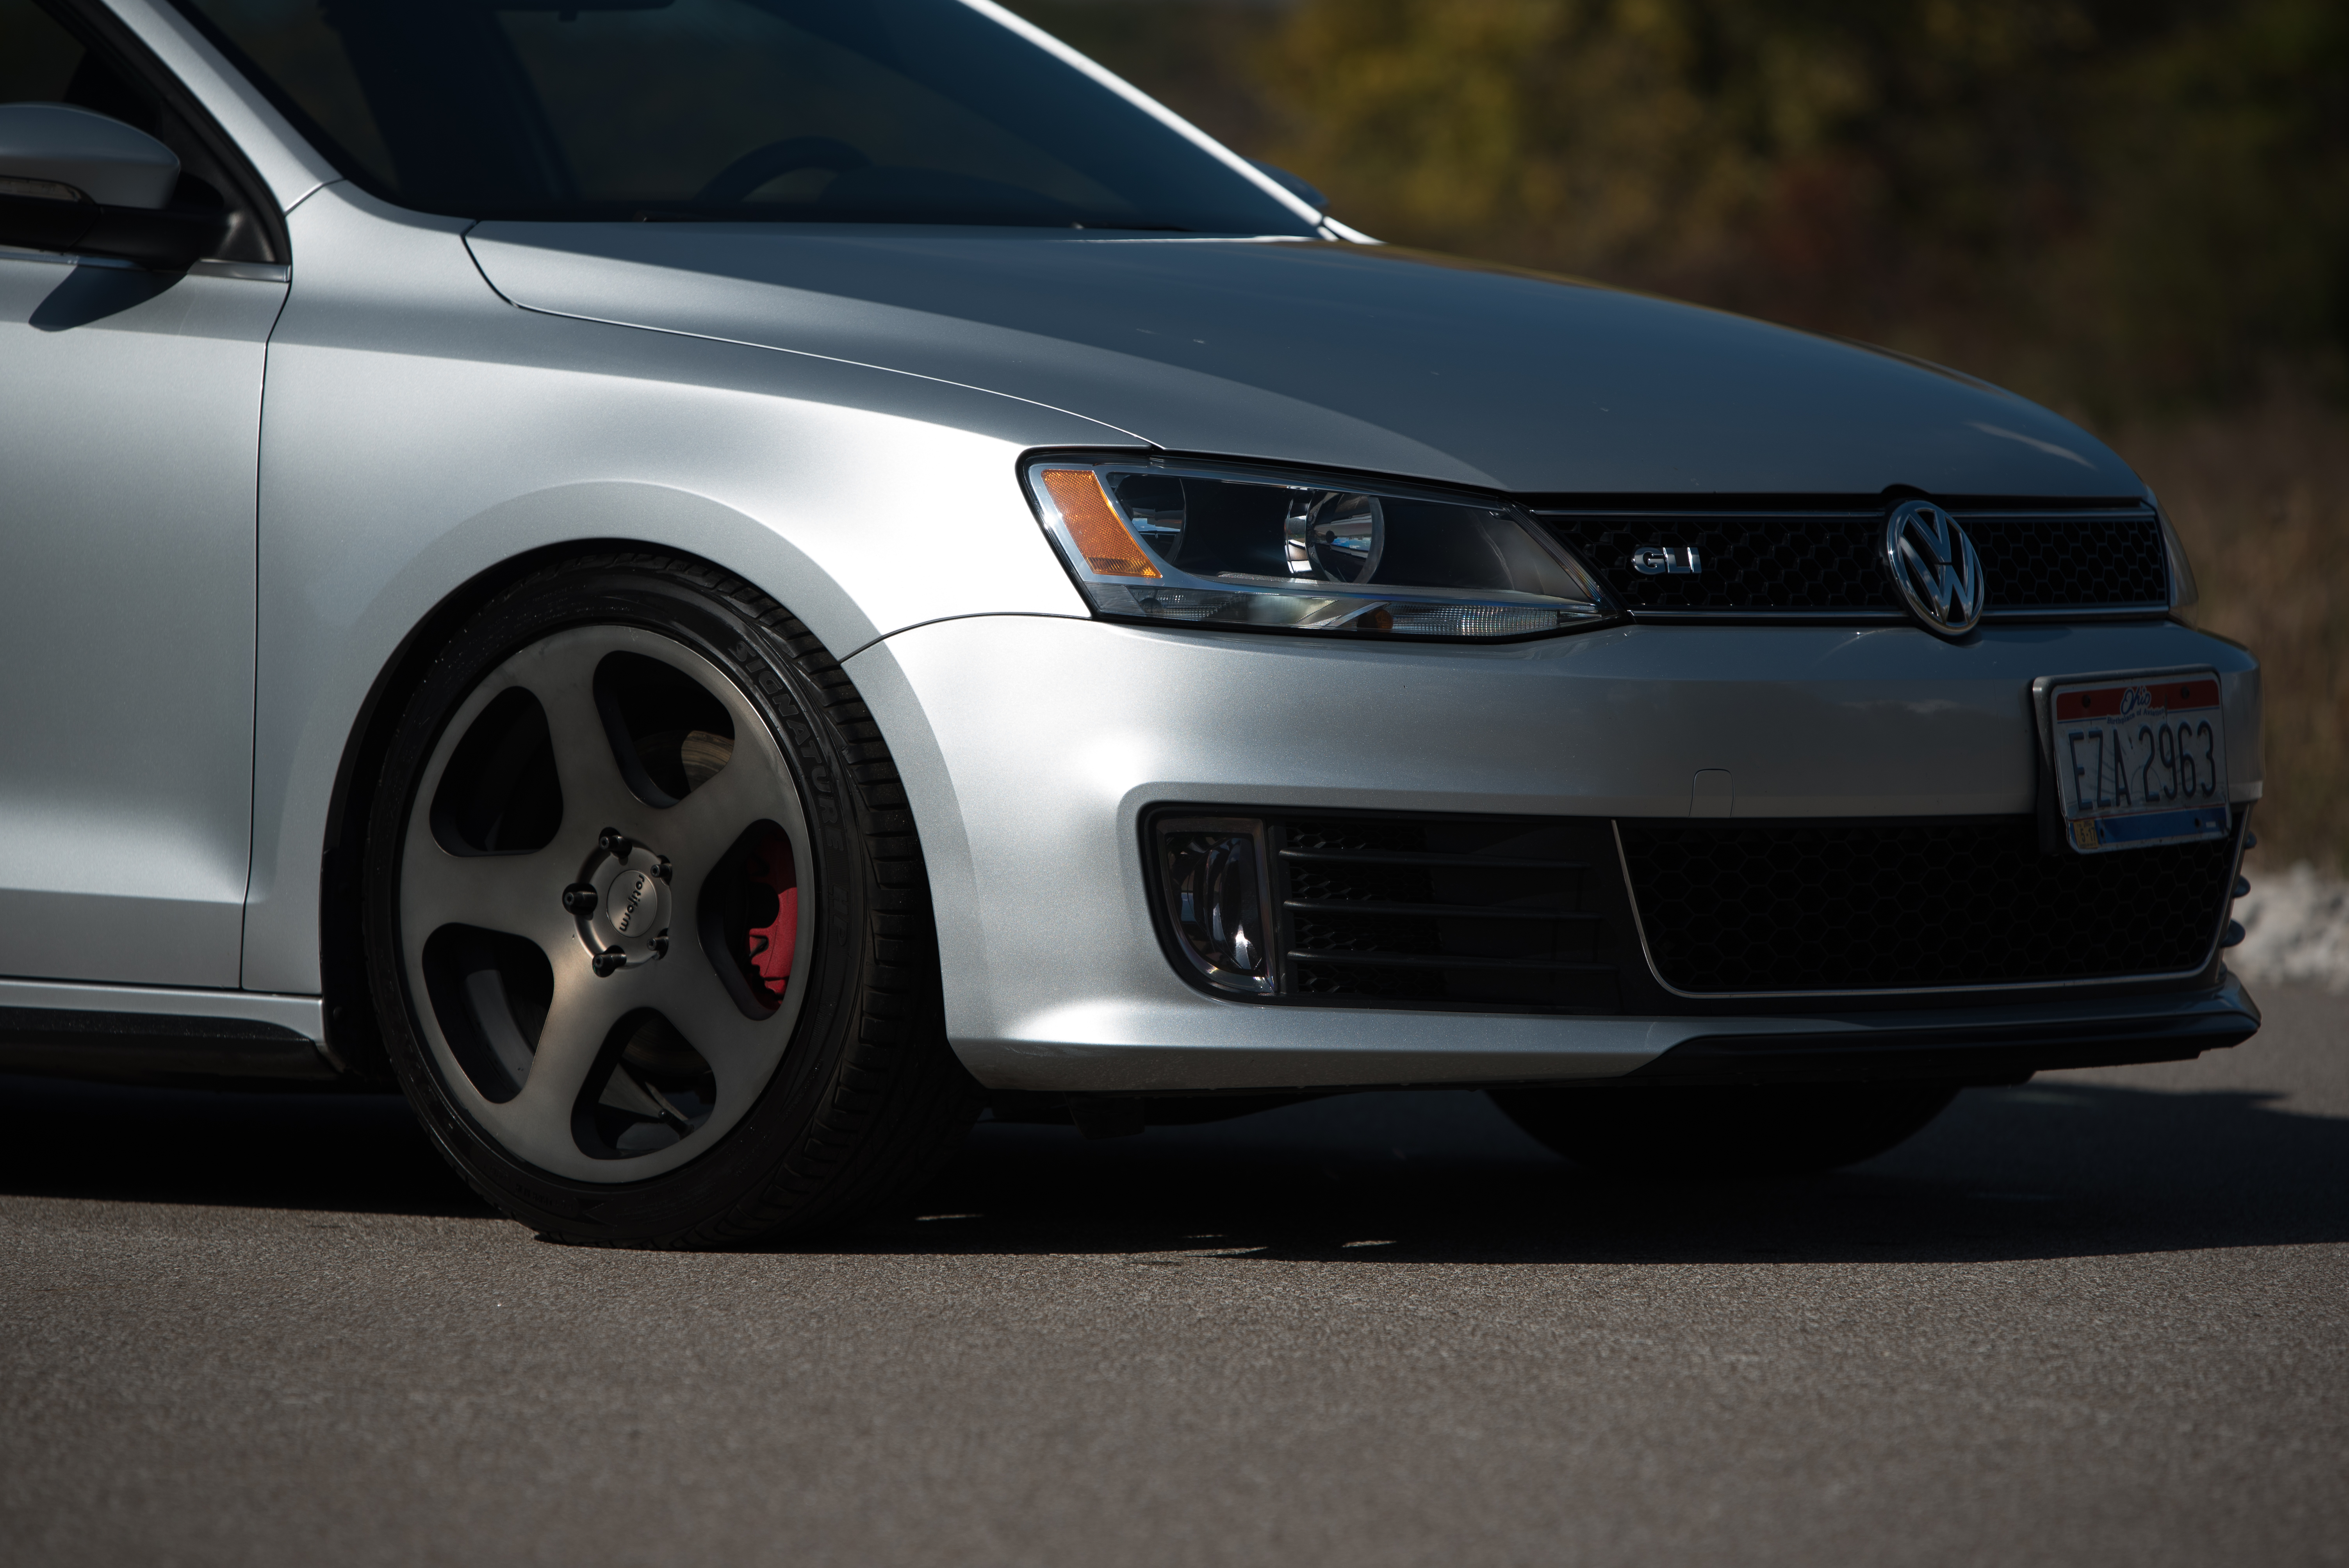
Before:


After:


Torque Specs:
CV Joint To Wheel Hub 12 Point Bolt: 147 ft-lbs +180 degrees
Front Upper Shock Nut 44 ft-lbs
Front Upper Strut Mount to Body 11 ft-lbs +90 degrees
Lower Ball Joint to Aluminum Lower Control Arm 74 ft-lbs
Rear Control Arm Outer Bolt 66 ft-lbs +90 degrees
Rear Shock Nut 18 ft-lbs
Rear Shock Lower Mounting Bolt 133 ft-lbs
Rear Shock Upper Mount Bolts 37 ft-lbs +45 degrees
Wheel Bearing Housing to Suspension Strut 52 ft-lbs +90 degrees
Sway Bar Link to Strut 48 ft-lbs
Wheels 89 ft-lbs
Interested in Purchasing?
Keep your VW close to the ground and stable through corners with quality and comfortable KONI Adjustable Coilovers and our expansive catalog of Jetta parts.